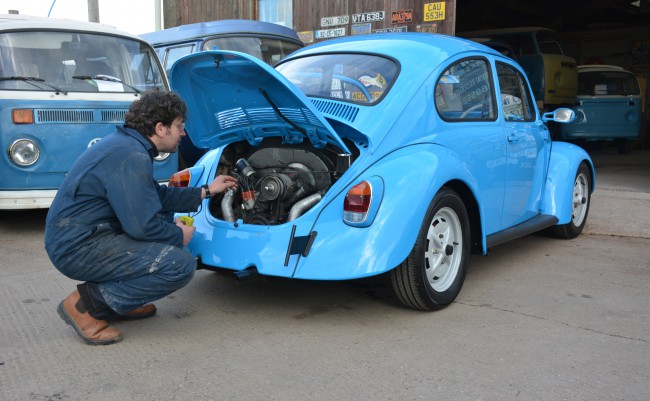
Time to get the TV bug back into shape this month as I visit my old chum Steve Johnson, of Johnson Autoworks fame, in order to get the ’72 running like a Swiss watch.
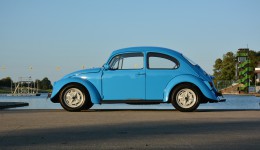
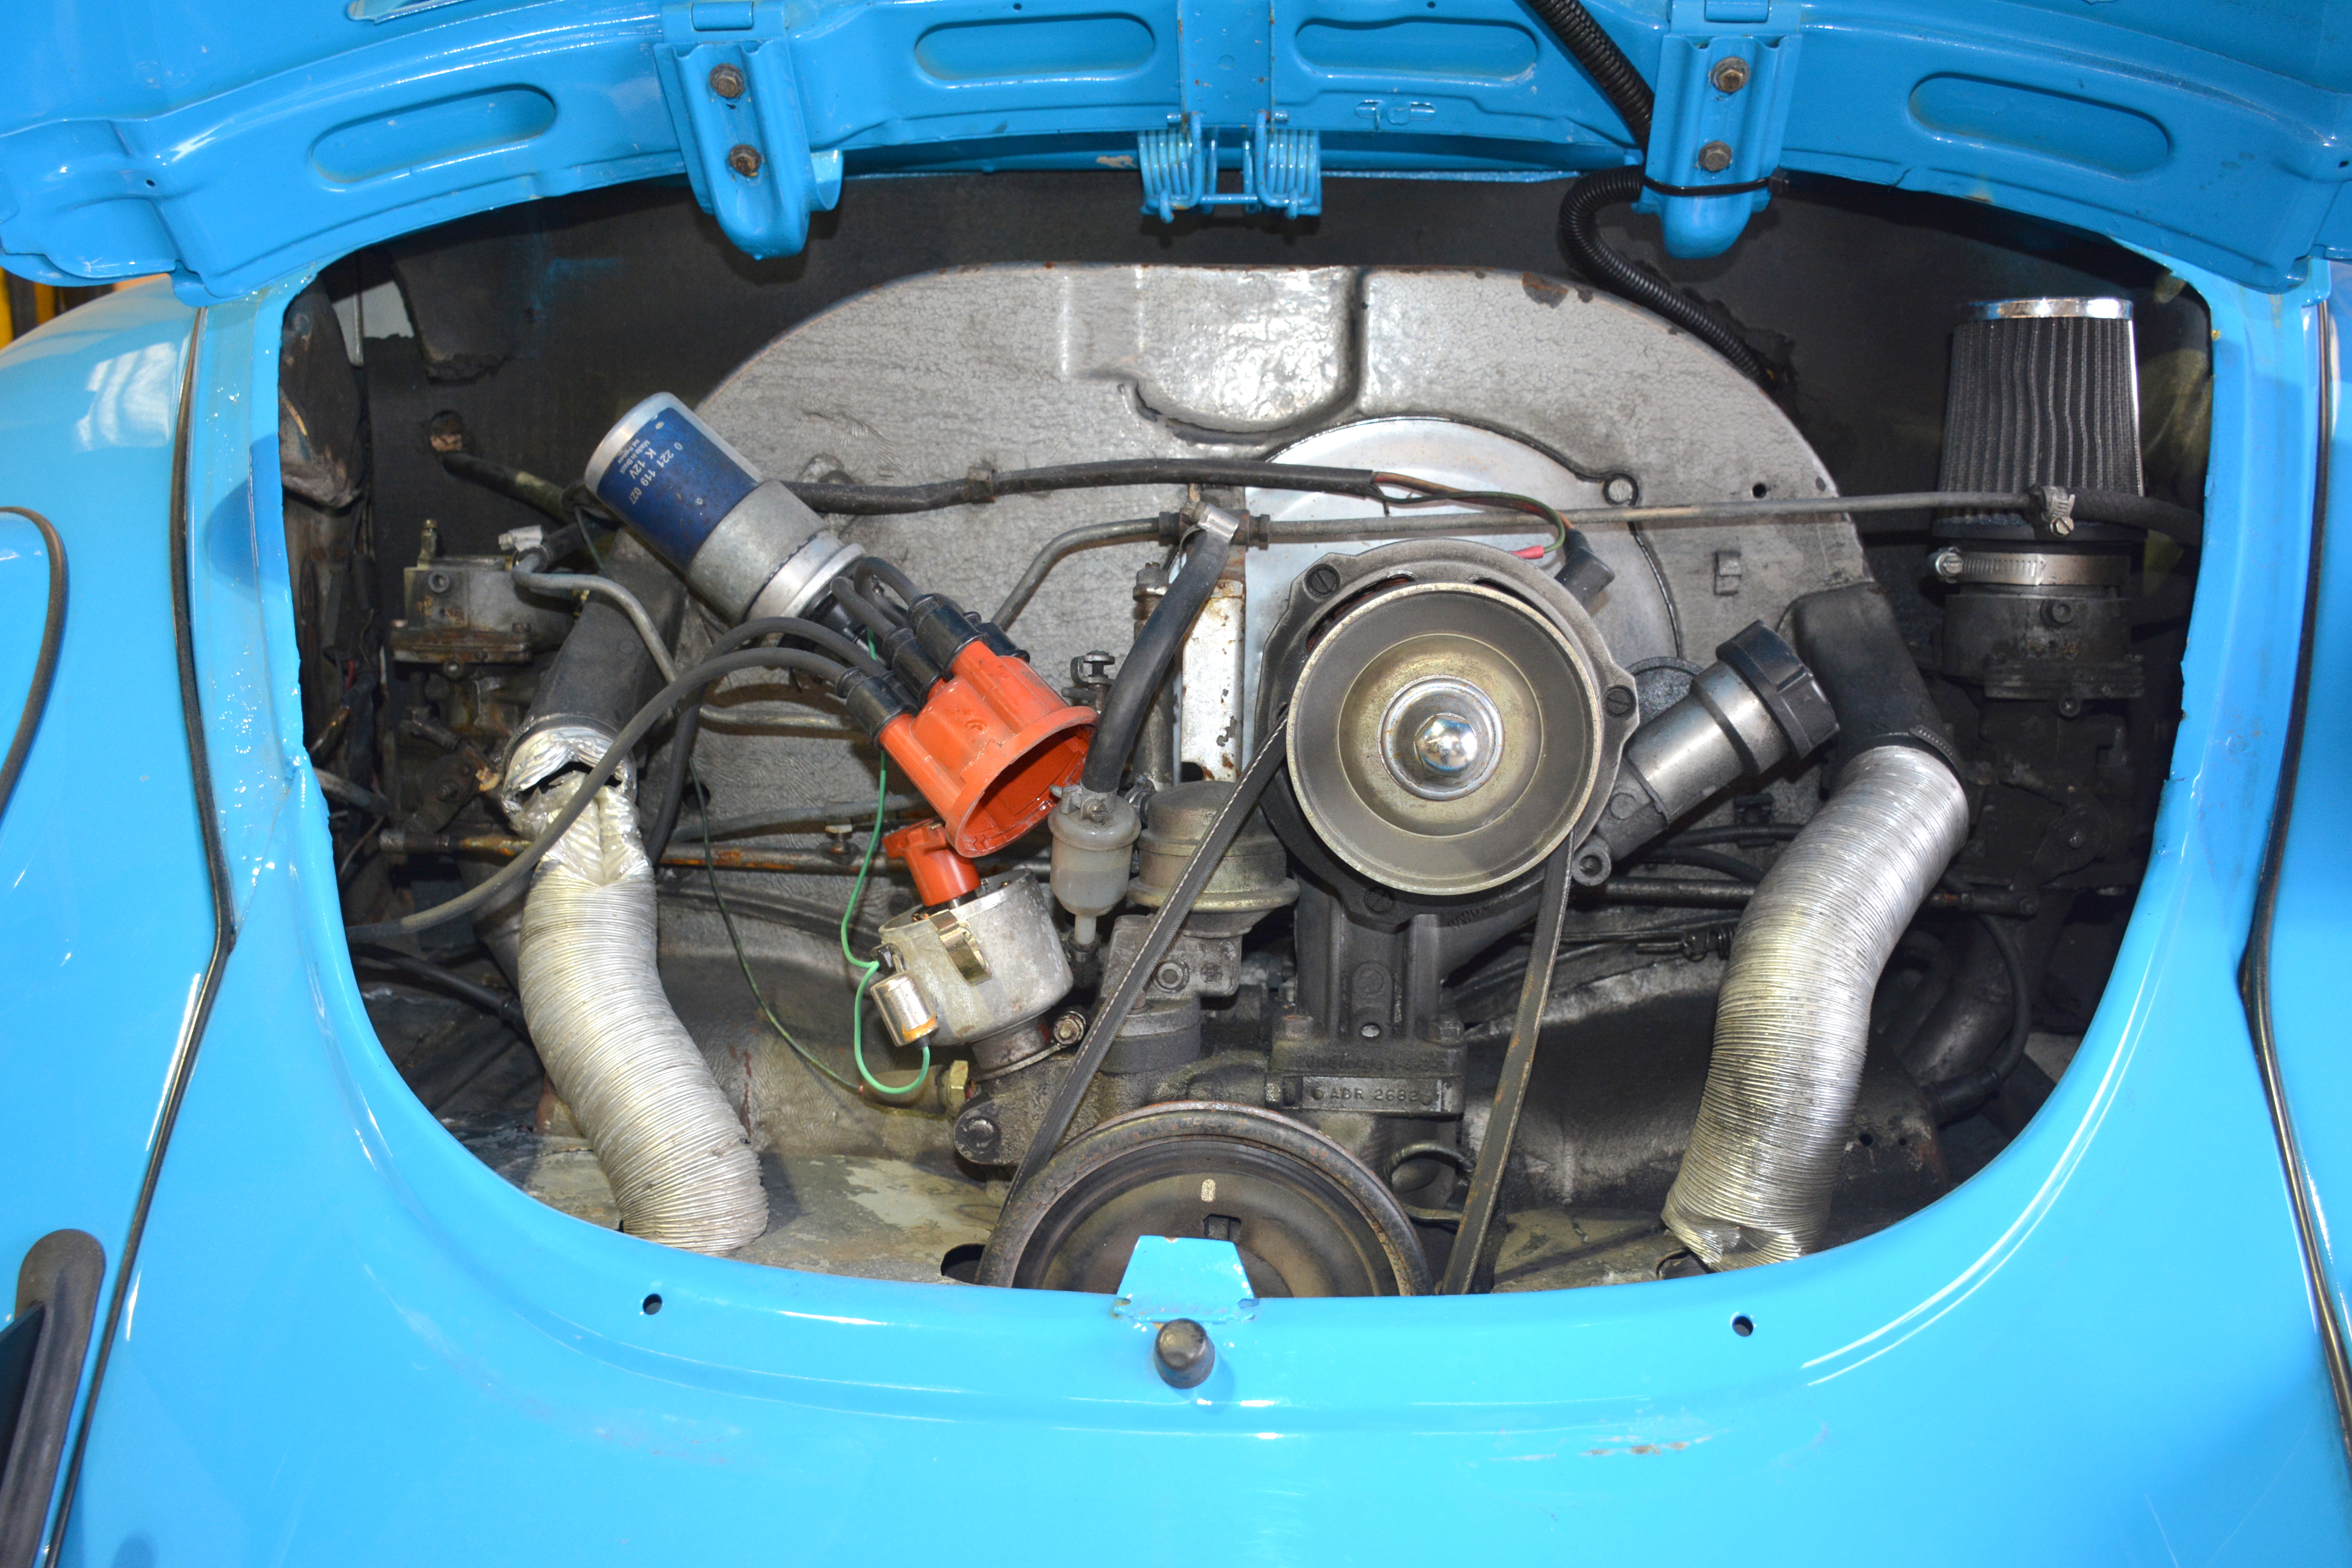
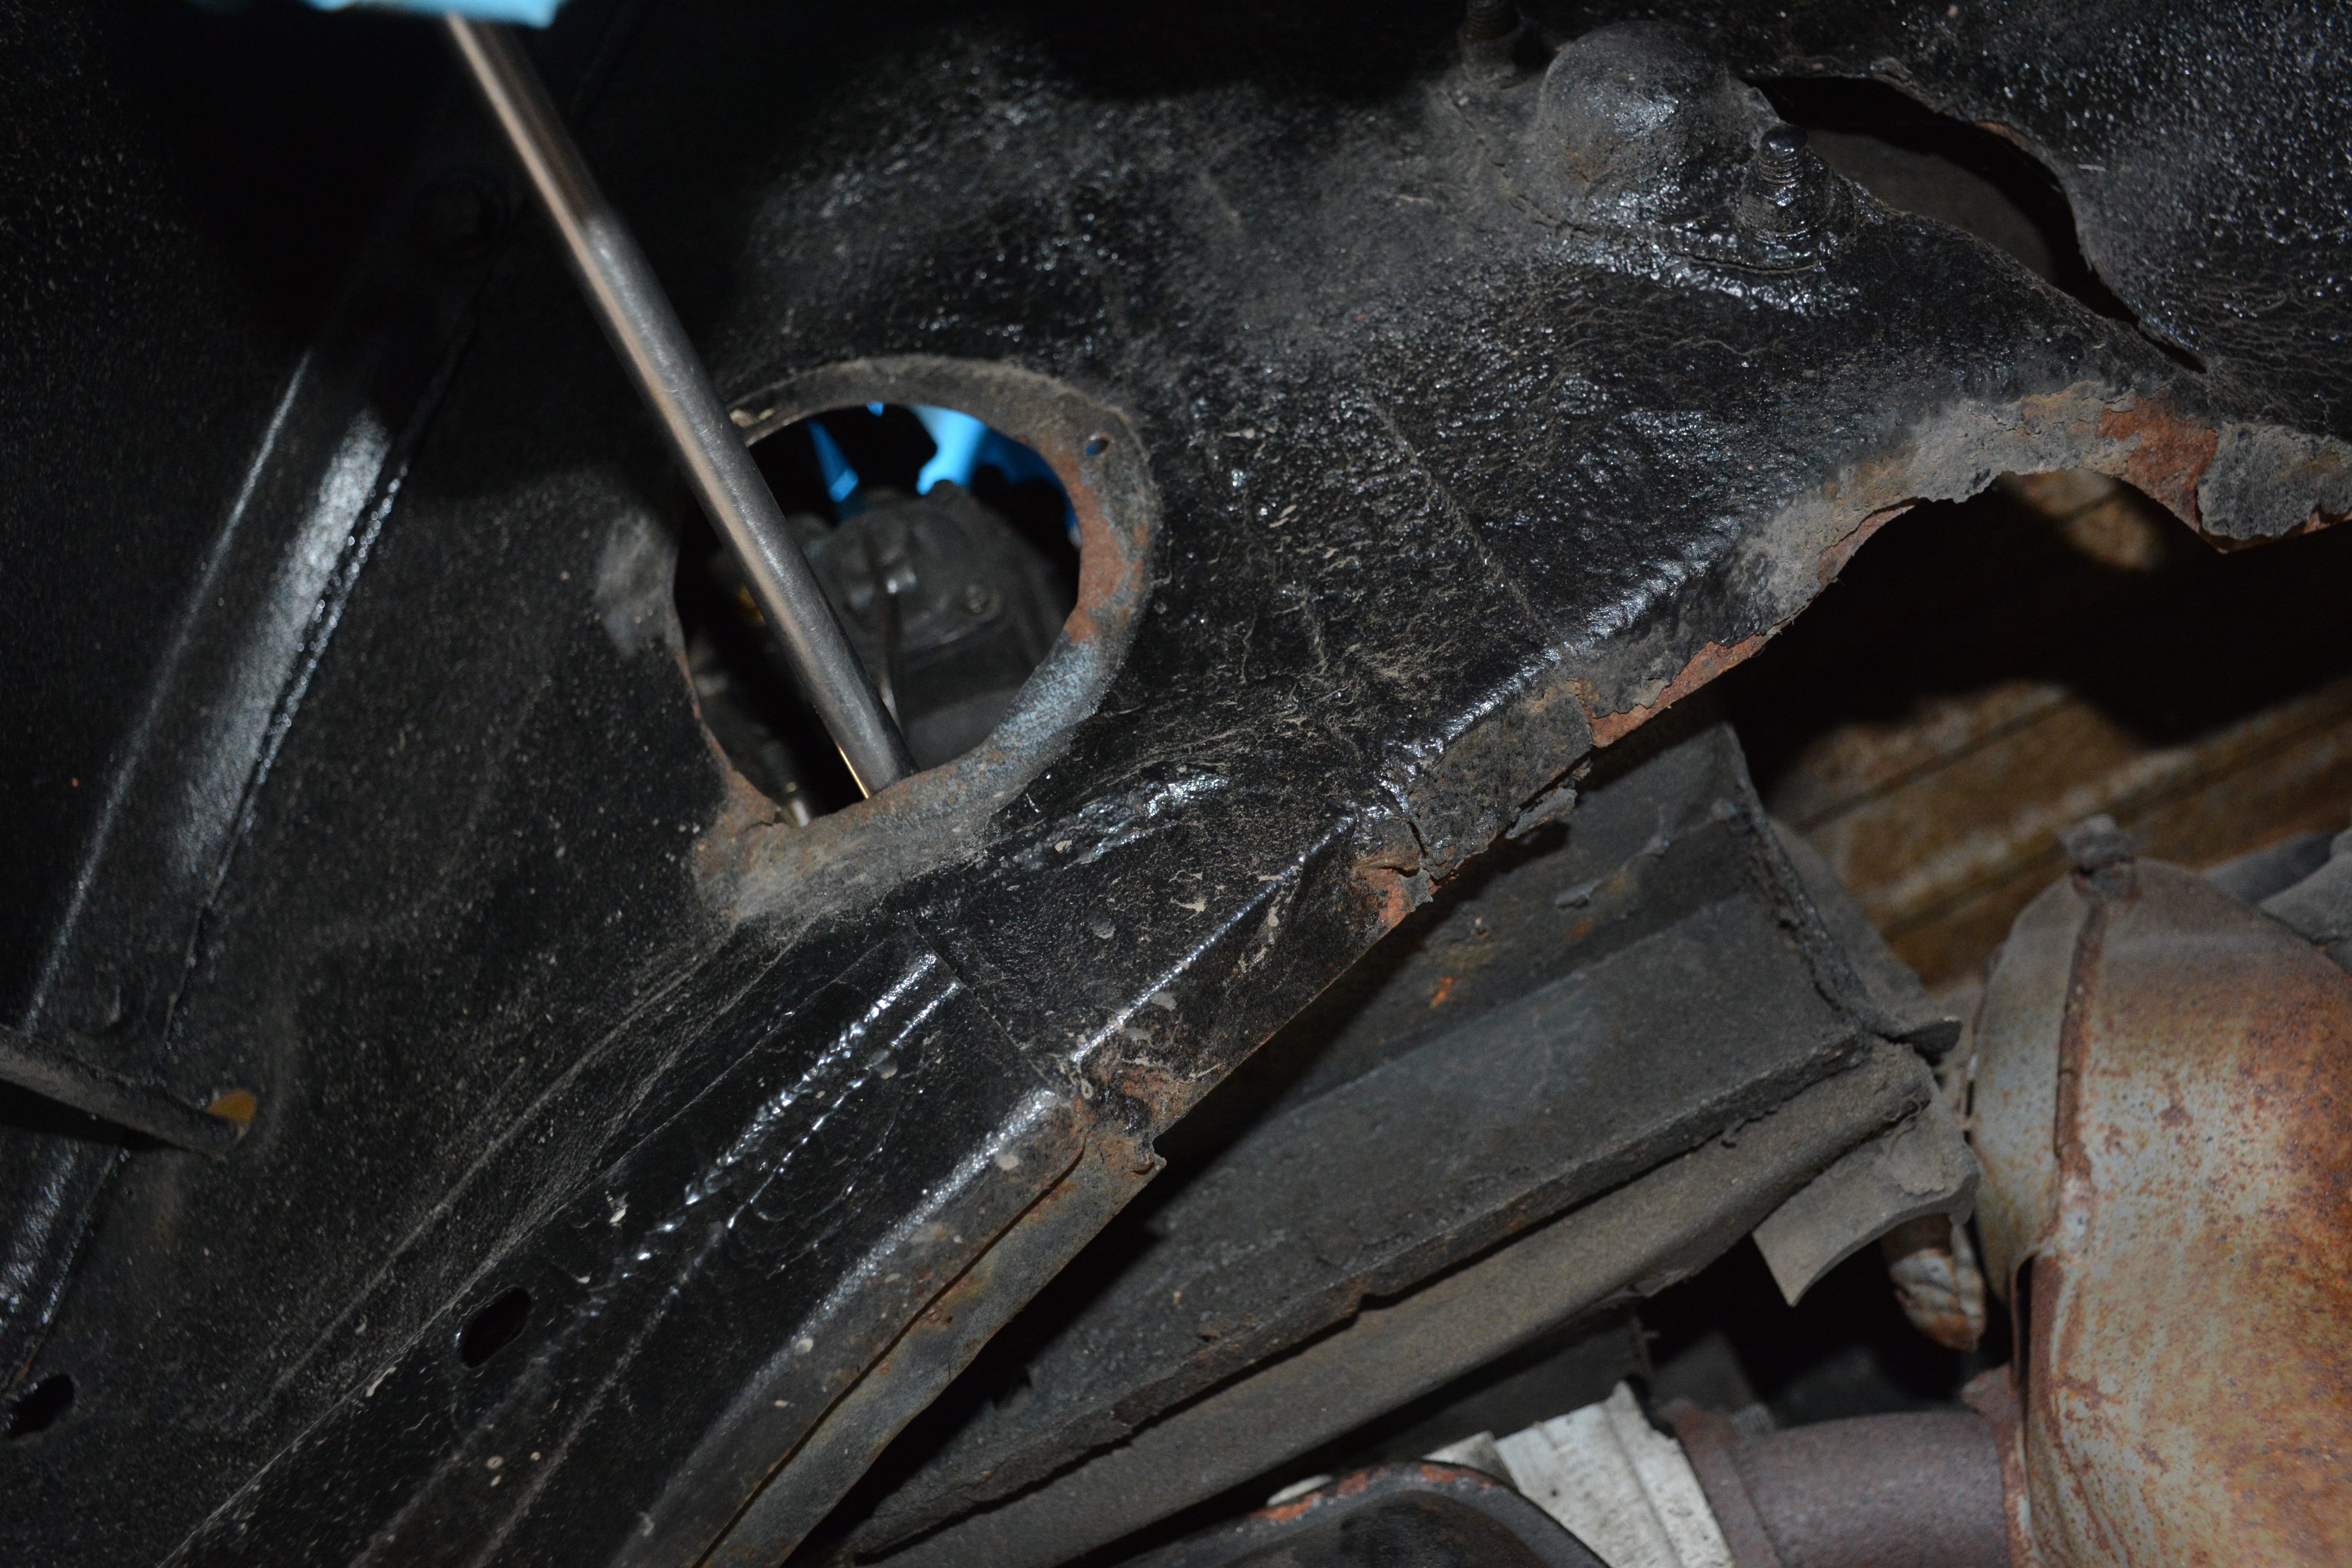
A shiny VW is always a lovely thing to behold, but if the mucky bits beneath it are not looking, or working, as well as they could be, then life behind the wheel is never going to be great. And so it was with my ex-Discovery channel TV Beetle. Rescued from the production company’s compound, it may have looked tidy and presentable from 10 paces, but under the deck lid, where it counts, all was not rosy in the garden. Having never really enjoyed a proper service for many years, and having had only the most cursory of fettles in order to get it to run for the cameras, the ’72 only just managed to cough and splutter its way from venue to venue. The fan belt was loose enough to practically jump off the pulley and the poorly-fitting air filters were leaking air around their entire circumference. It was little wonder that every journey I made was accompanied by the sound of backfiring, and it was no surprise that the twin-carbed motor really didn’t want to start when it was cold.
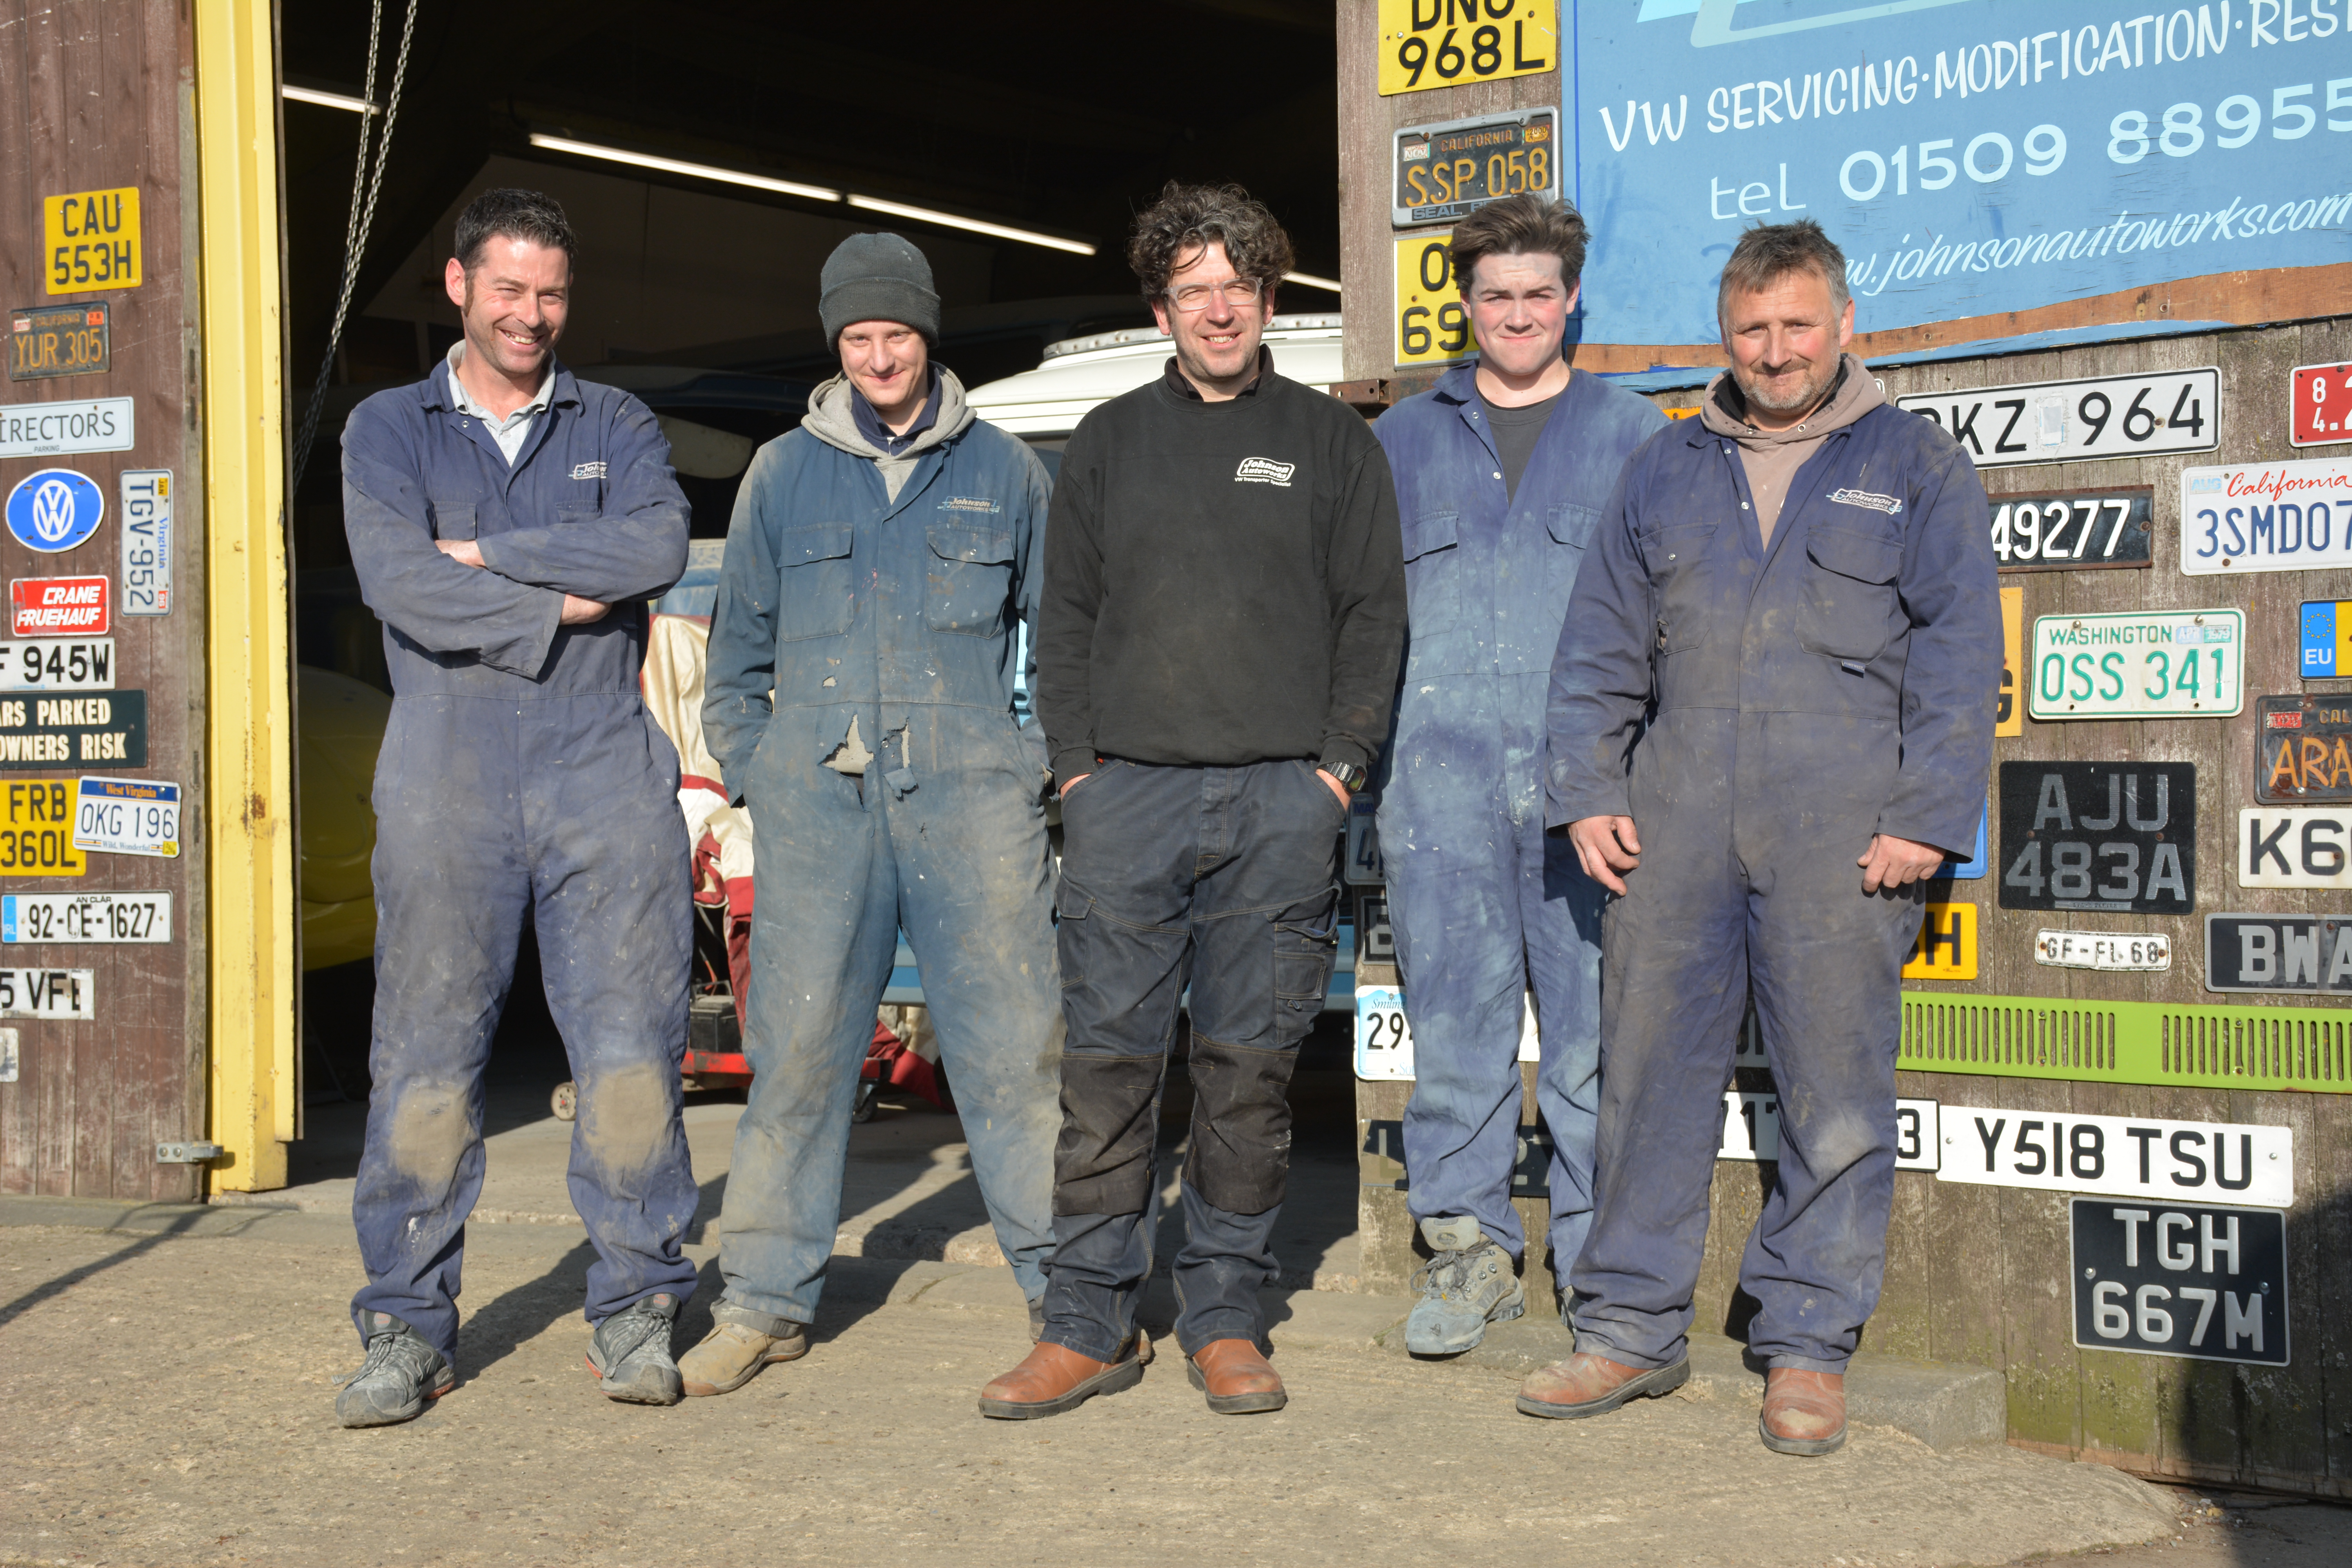
Sorting these maladies would be a man I have known for 20 years. Steve Johnson and I first crossed paths all those years ago when he bought a very straight ’71 Squareback off me. Since then, of course, Johnson Autoworks has become quite the ‘go to’ venue for air-cooled rides, and a regular sight on these pages. Steve and I both cut our teeth on ‘70s Beetles, so if anyone could get the old girl running perfectly once again, I was pretty sure it was him.
Our ears told us that the tappets would need doing, and as it’s always wise to adjust these components when the engine is cold, to ensure that clearances aren’t skewed by the expansion of the hot metal, I dropped the car off the night before to allow the engine to fully cool. Before it did though, Steve also dropped the old oil while it was still warm and easy to drain. So, when I returned the next morning, we had a stone cold engine, ready to re-oil and adjust. Here’s how we got on…
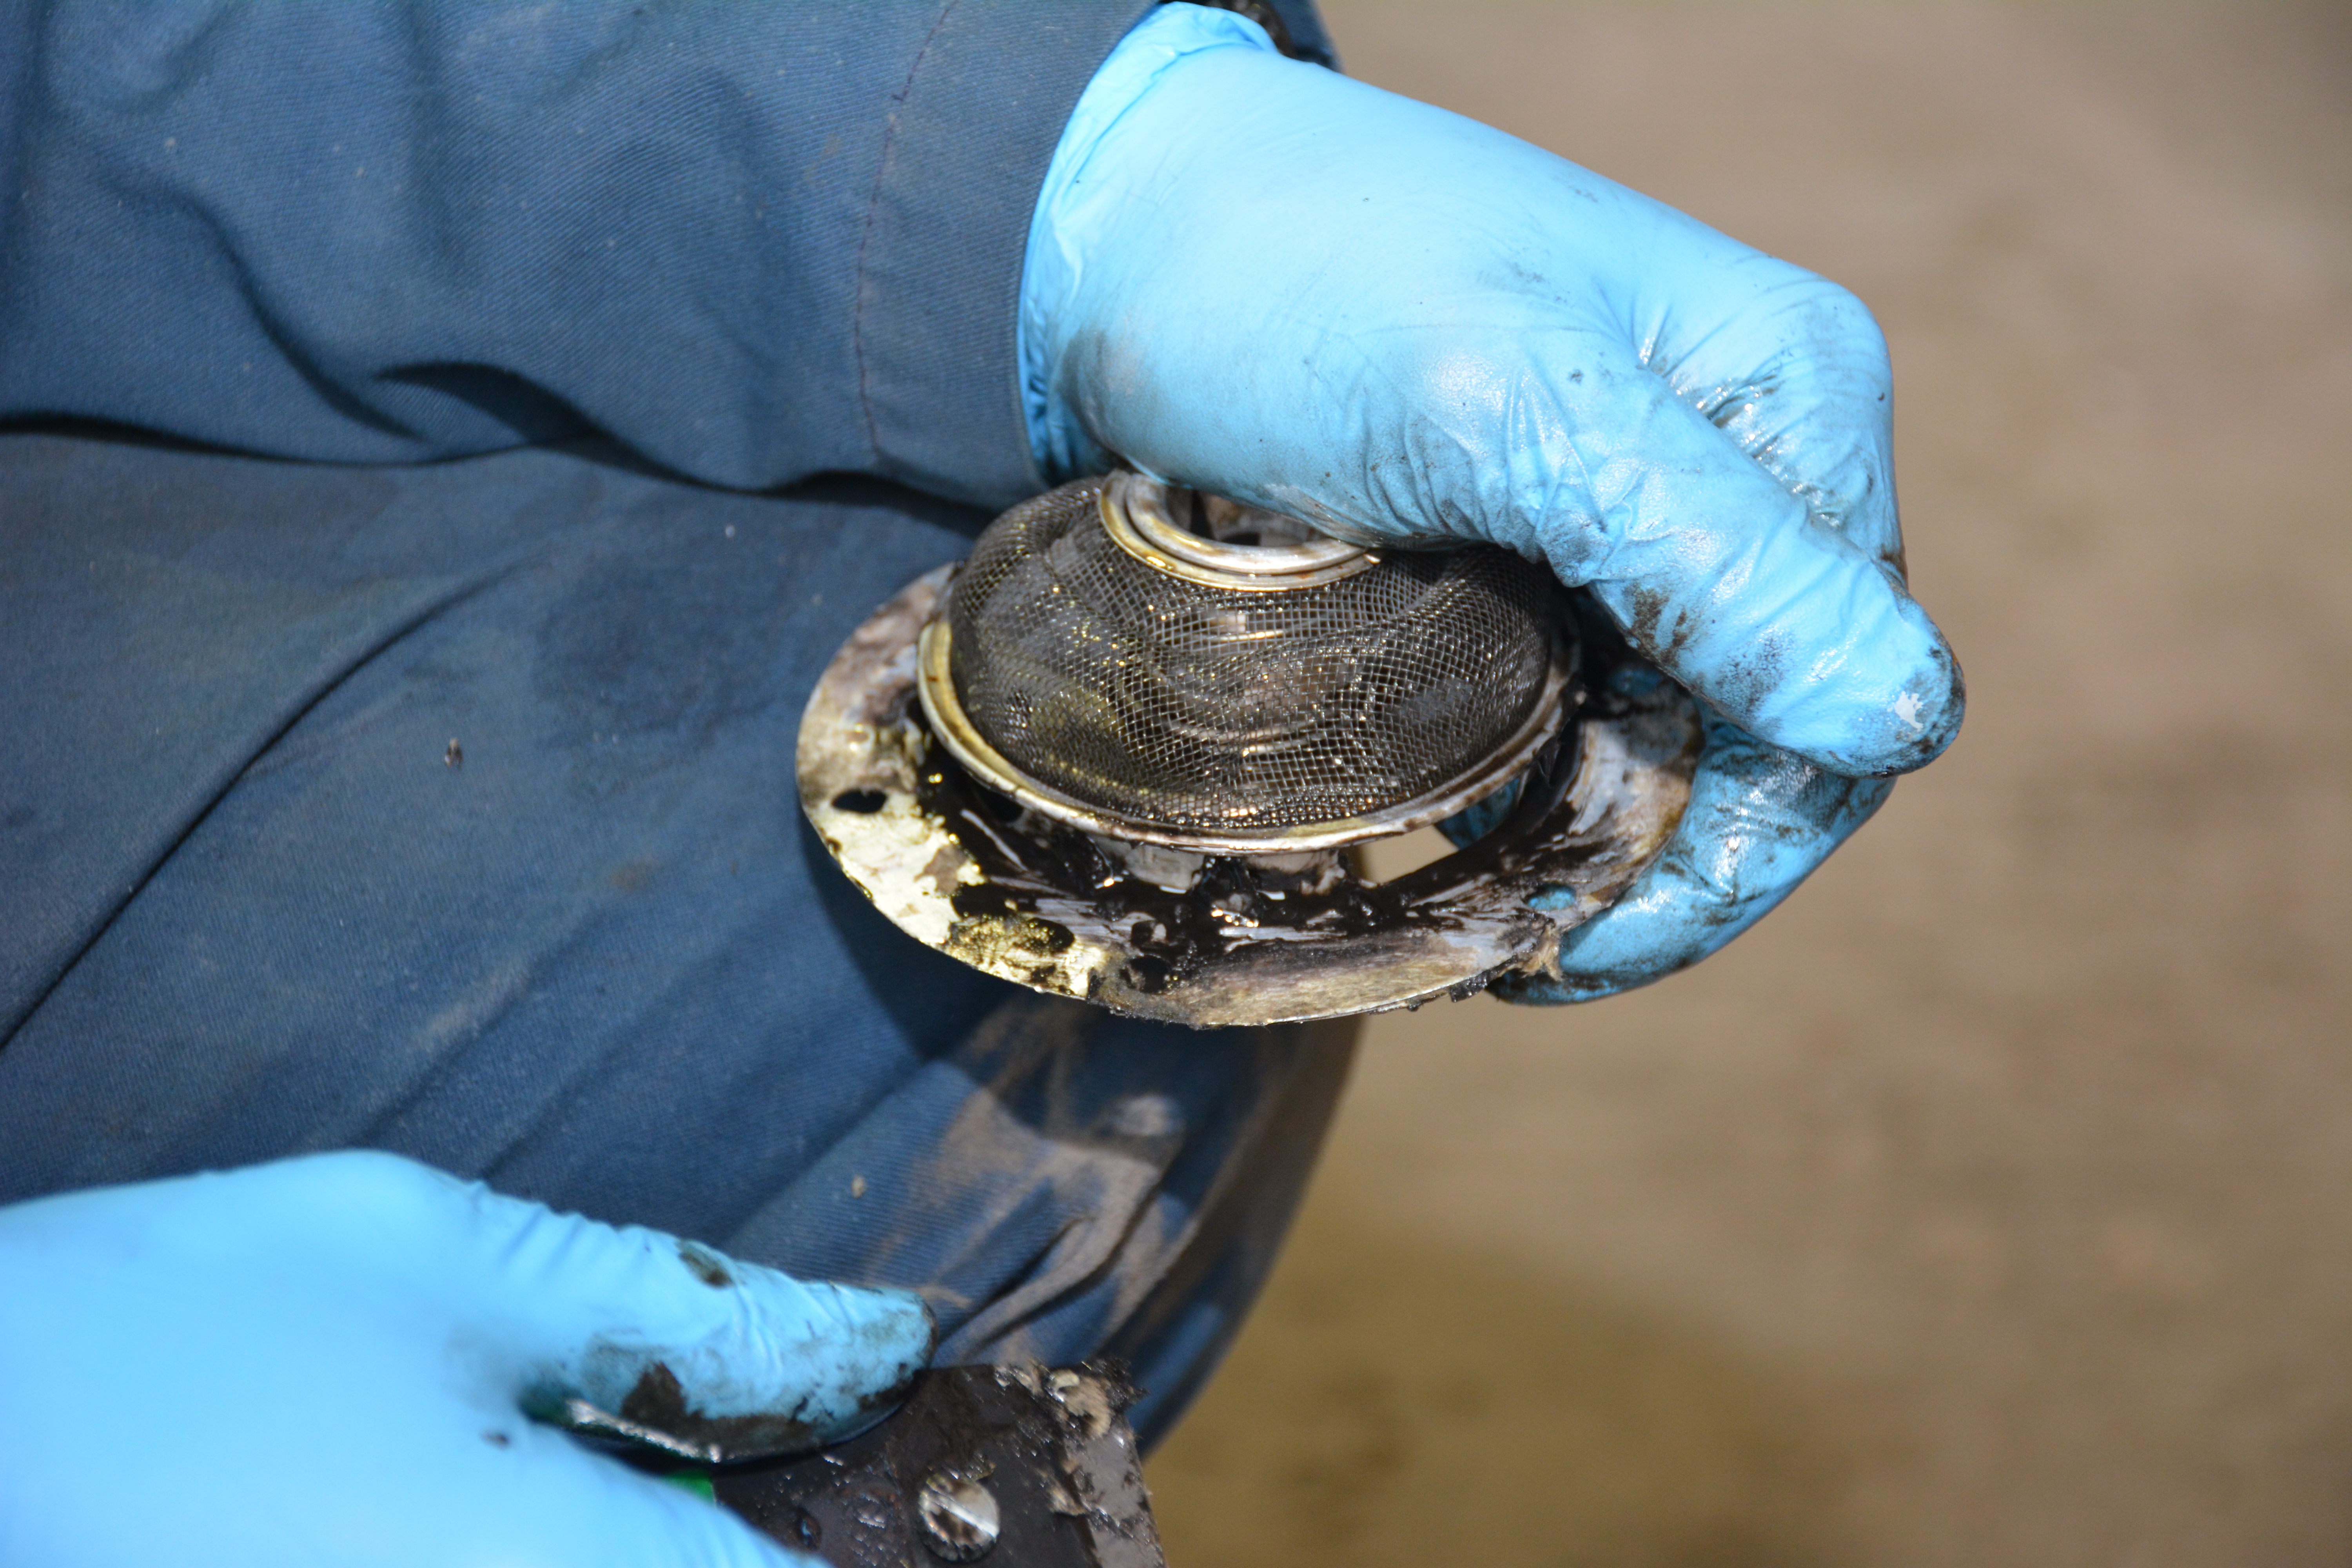
First job was to remove the sump plug and strainer plate. Don’t be tempted to remove just the plug and clean it. The strainer is your oil filter, so it’s imperative that you go to town on it!
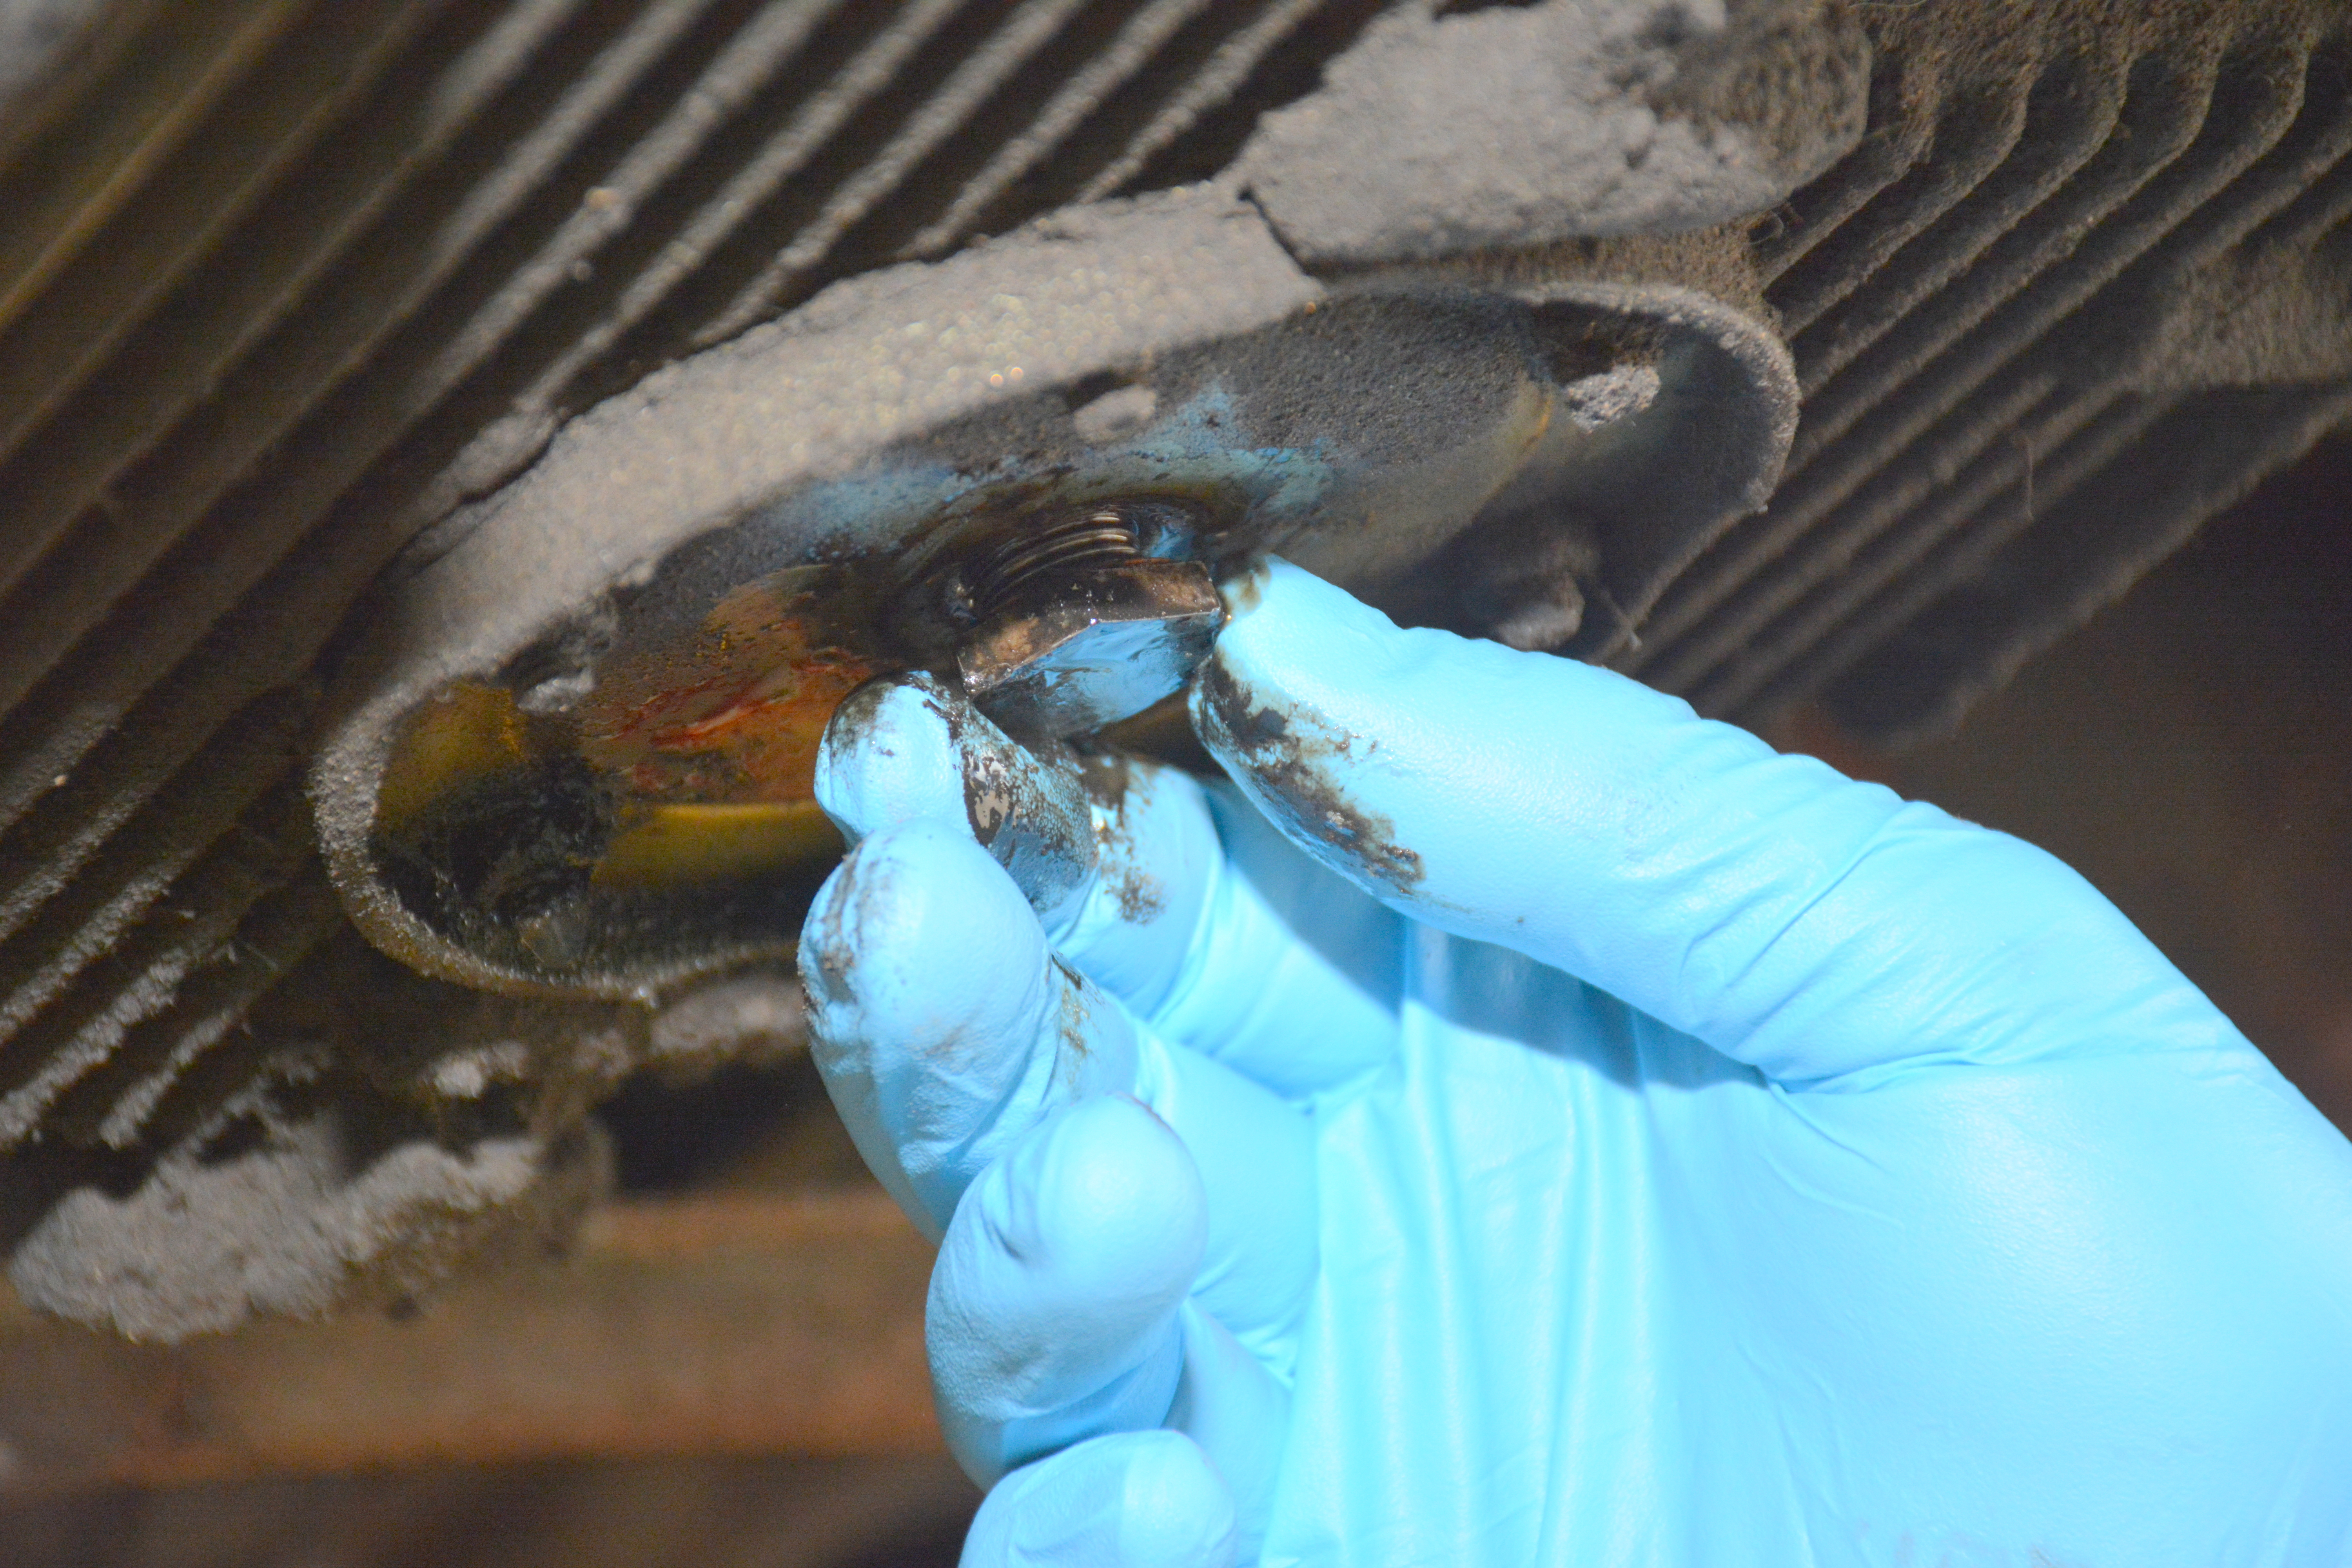
Mine had been ‘gunked’ in in the past, so Steve spent a good few minutes scrubbing and razor-blading it for a perfect seal.
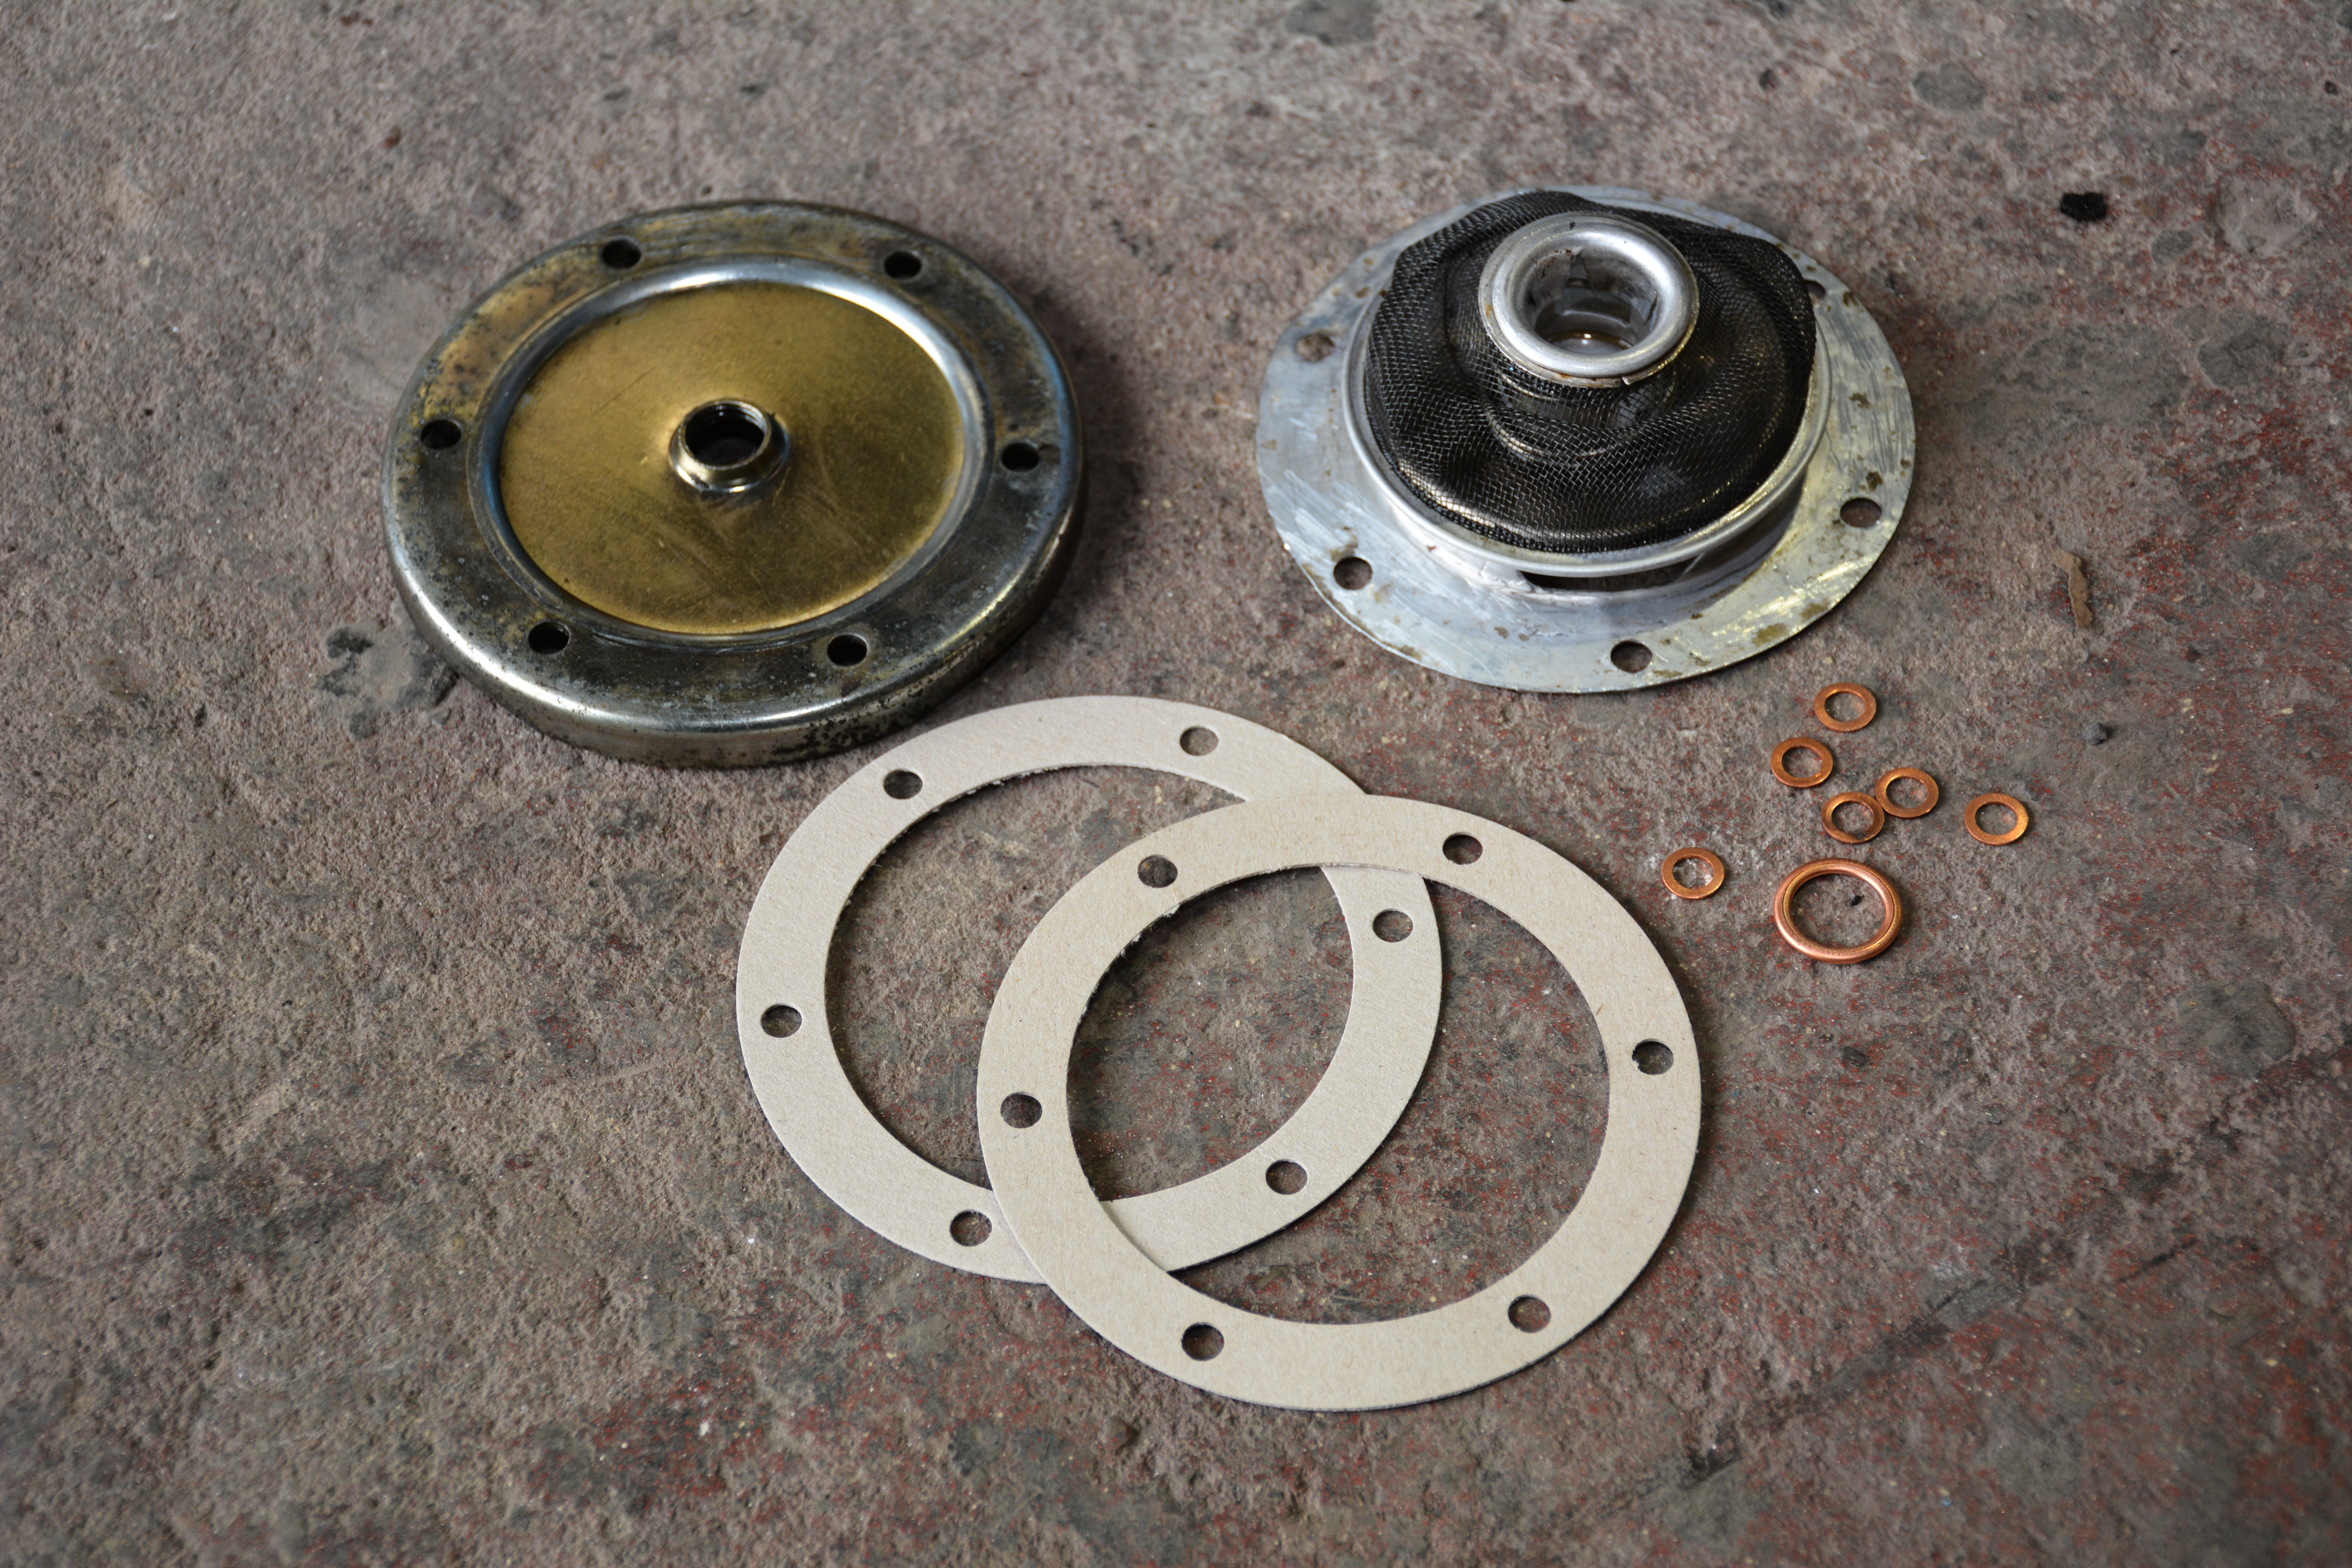
With a new gasket and copper washer set from the Johnson Autoworks service drawer, and carefully torqued up, my sump is now oil-tight!
With a new sump full of Steve’s preferred grade duly refilled, it was time to move onto the next step.
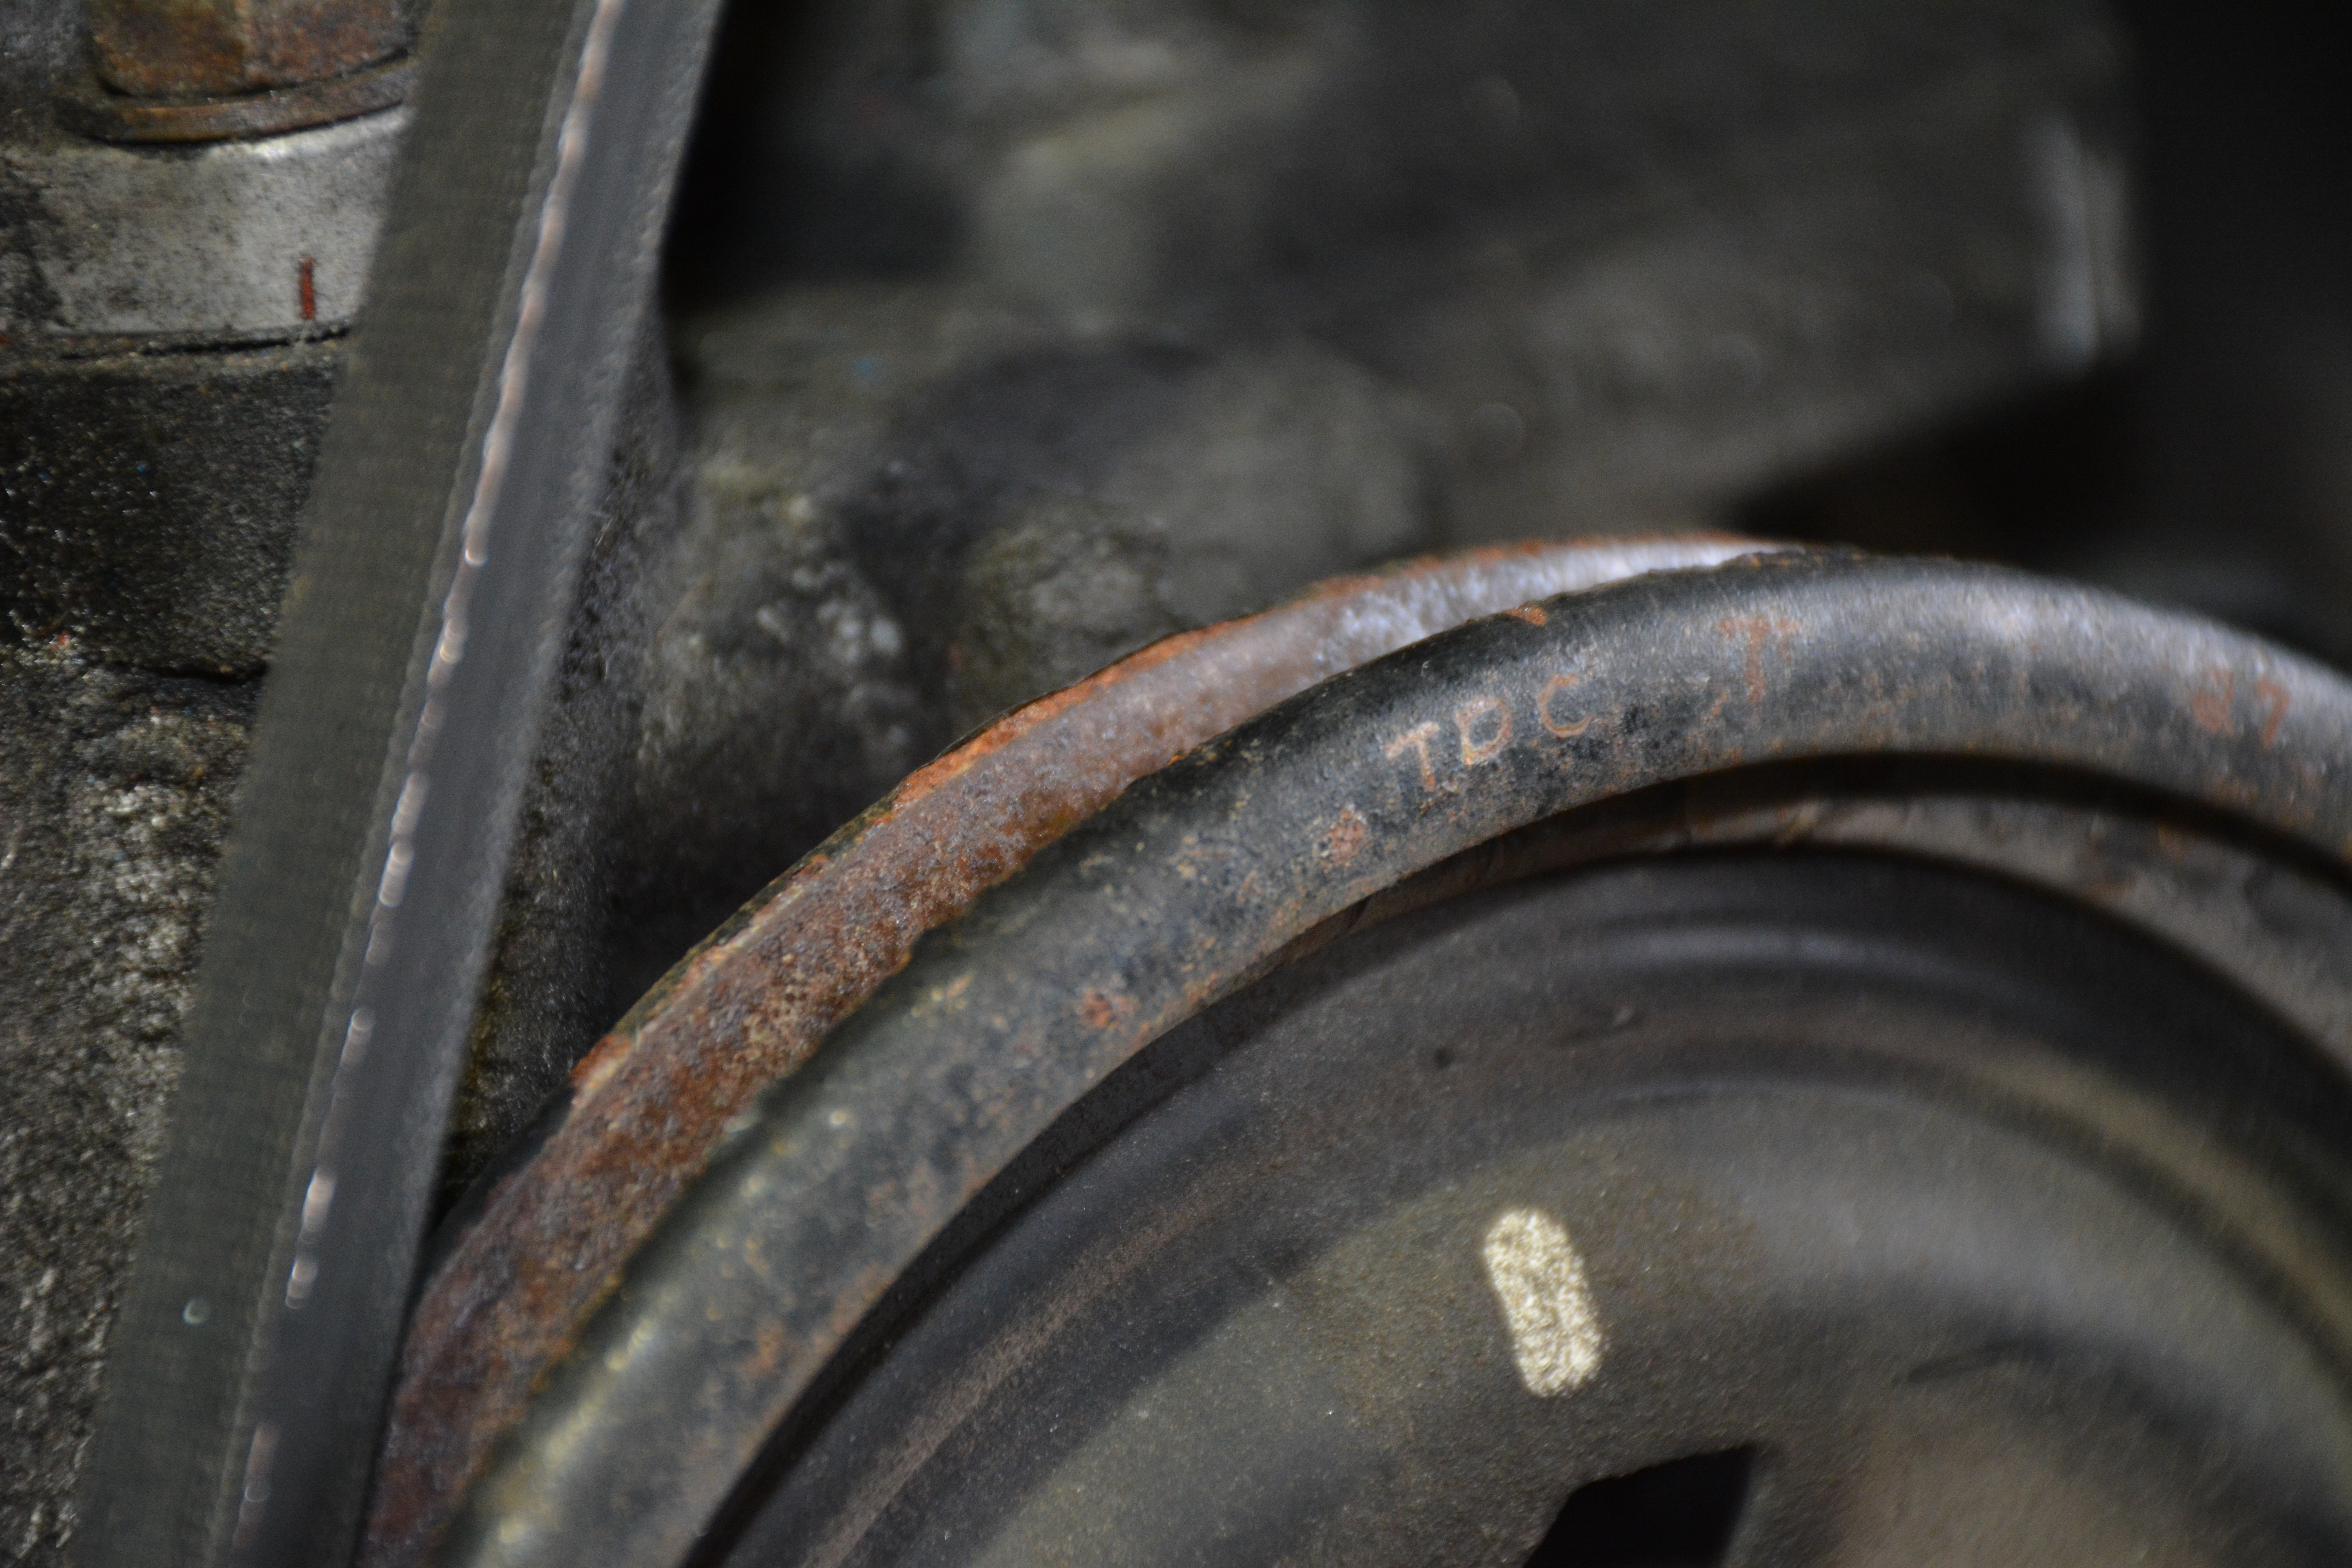
Next up was valve clearances. It was abundantly clear that these hadn’t been done for a while! Steve made sure to start with the crank at Top Dead Centre (TDC) There should be a factory mark, or if you’re lucky, even some handy letters from the previous owner!
Accessing the tappets is simplicity itself. All you need is a bit of leverage – and some kind of lever! A screwdriver is your man, here!
Steve checked that this was all good by lining up the rotor arm with the notch in the distributor.

Then, cylinder by cylinder, each one was carefully gapped to 0.006-inch, before moving onto the next.
Once correctly gapped, Steve locked each one off using the 13mm spanner and flat-bladed screwdriver.

New cork gaskets all round will keep the new, happier tappets in oil-tight splendour! These old VW engines can be quite drip-free if you take the time to keep the mating surfaces clean and use good quality new seals.
We decided to treat the ’72 to a new dizzy cap, rotor arm, point and leads. It’s always worth adding a dab of lube to the dizzy shaft before you fit the new part.
New set-up not only looks better, but it’s cheap motive insurance really. For what these parts cost, it’s always good to keep them fresh! (Cup of tea mandatory at these point, apparently)

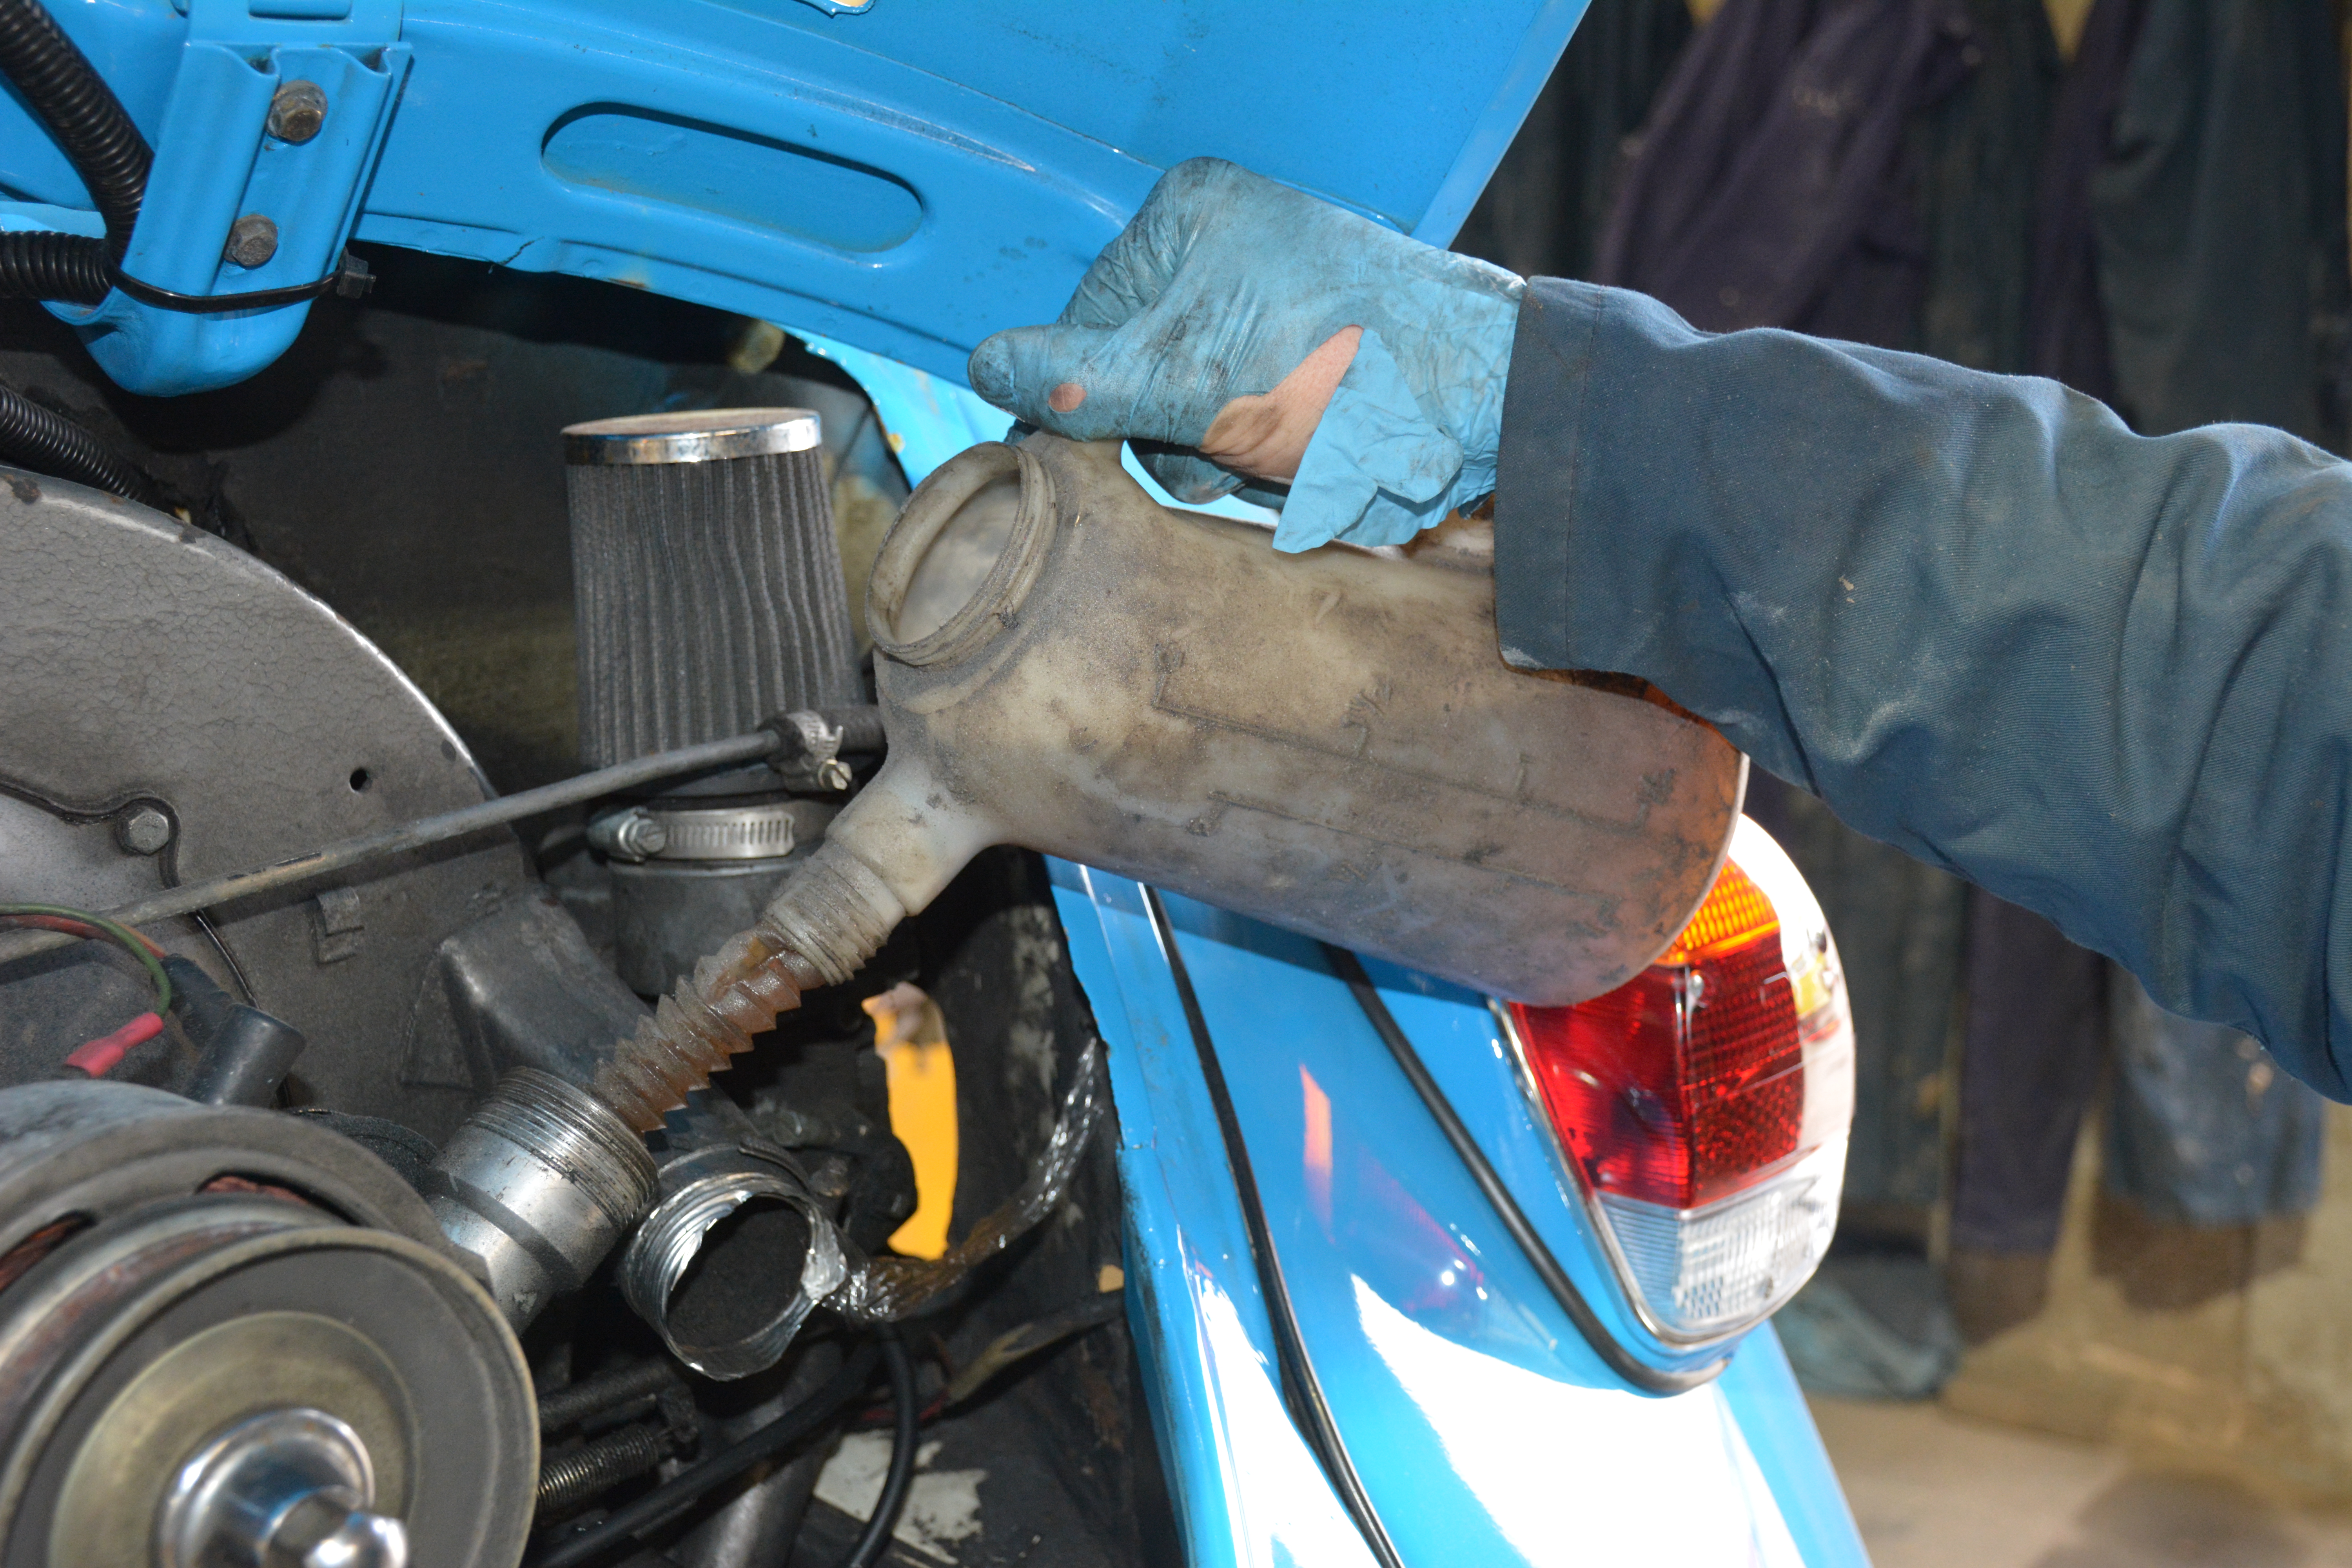
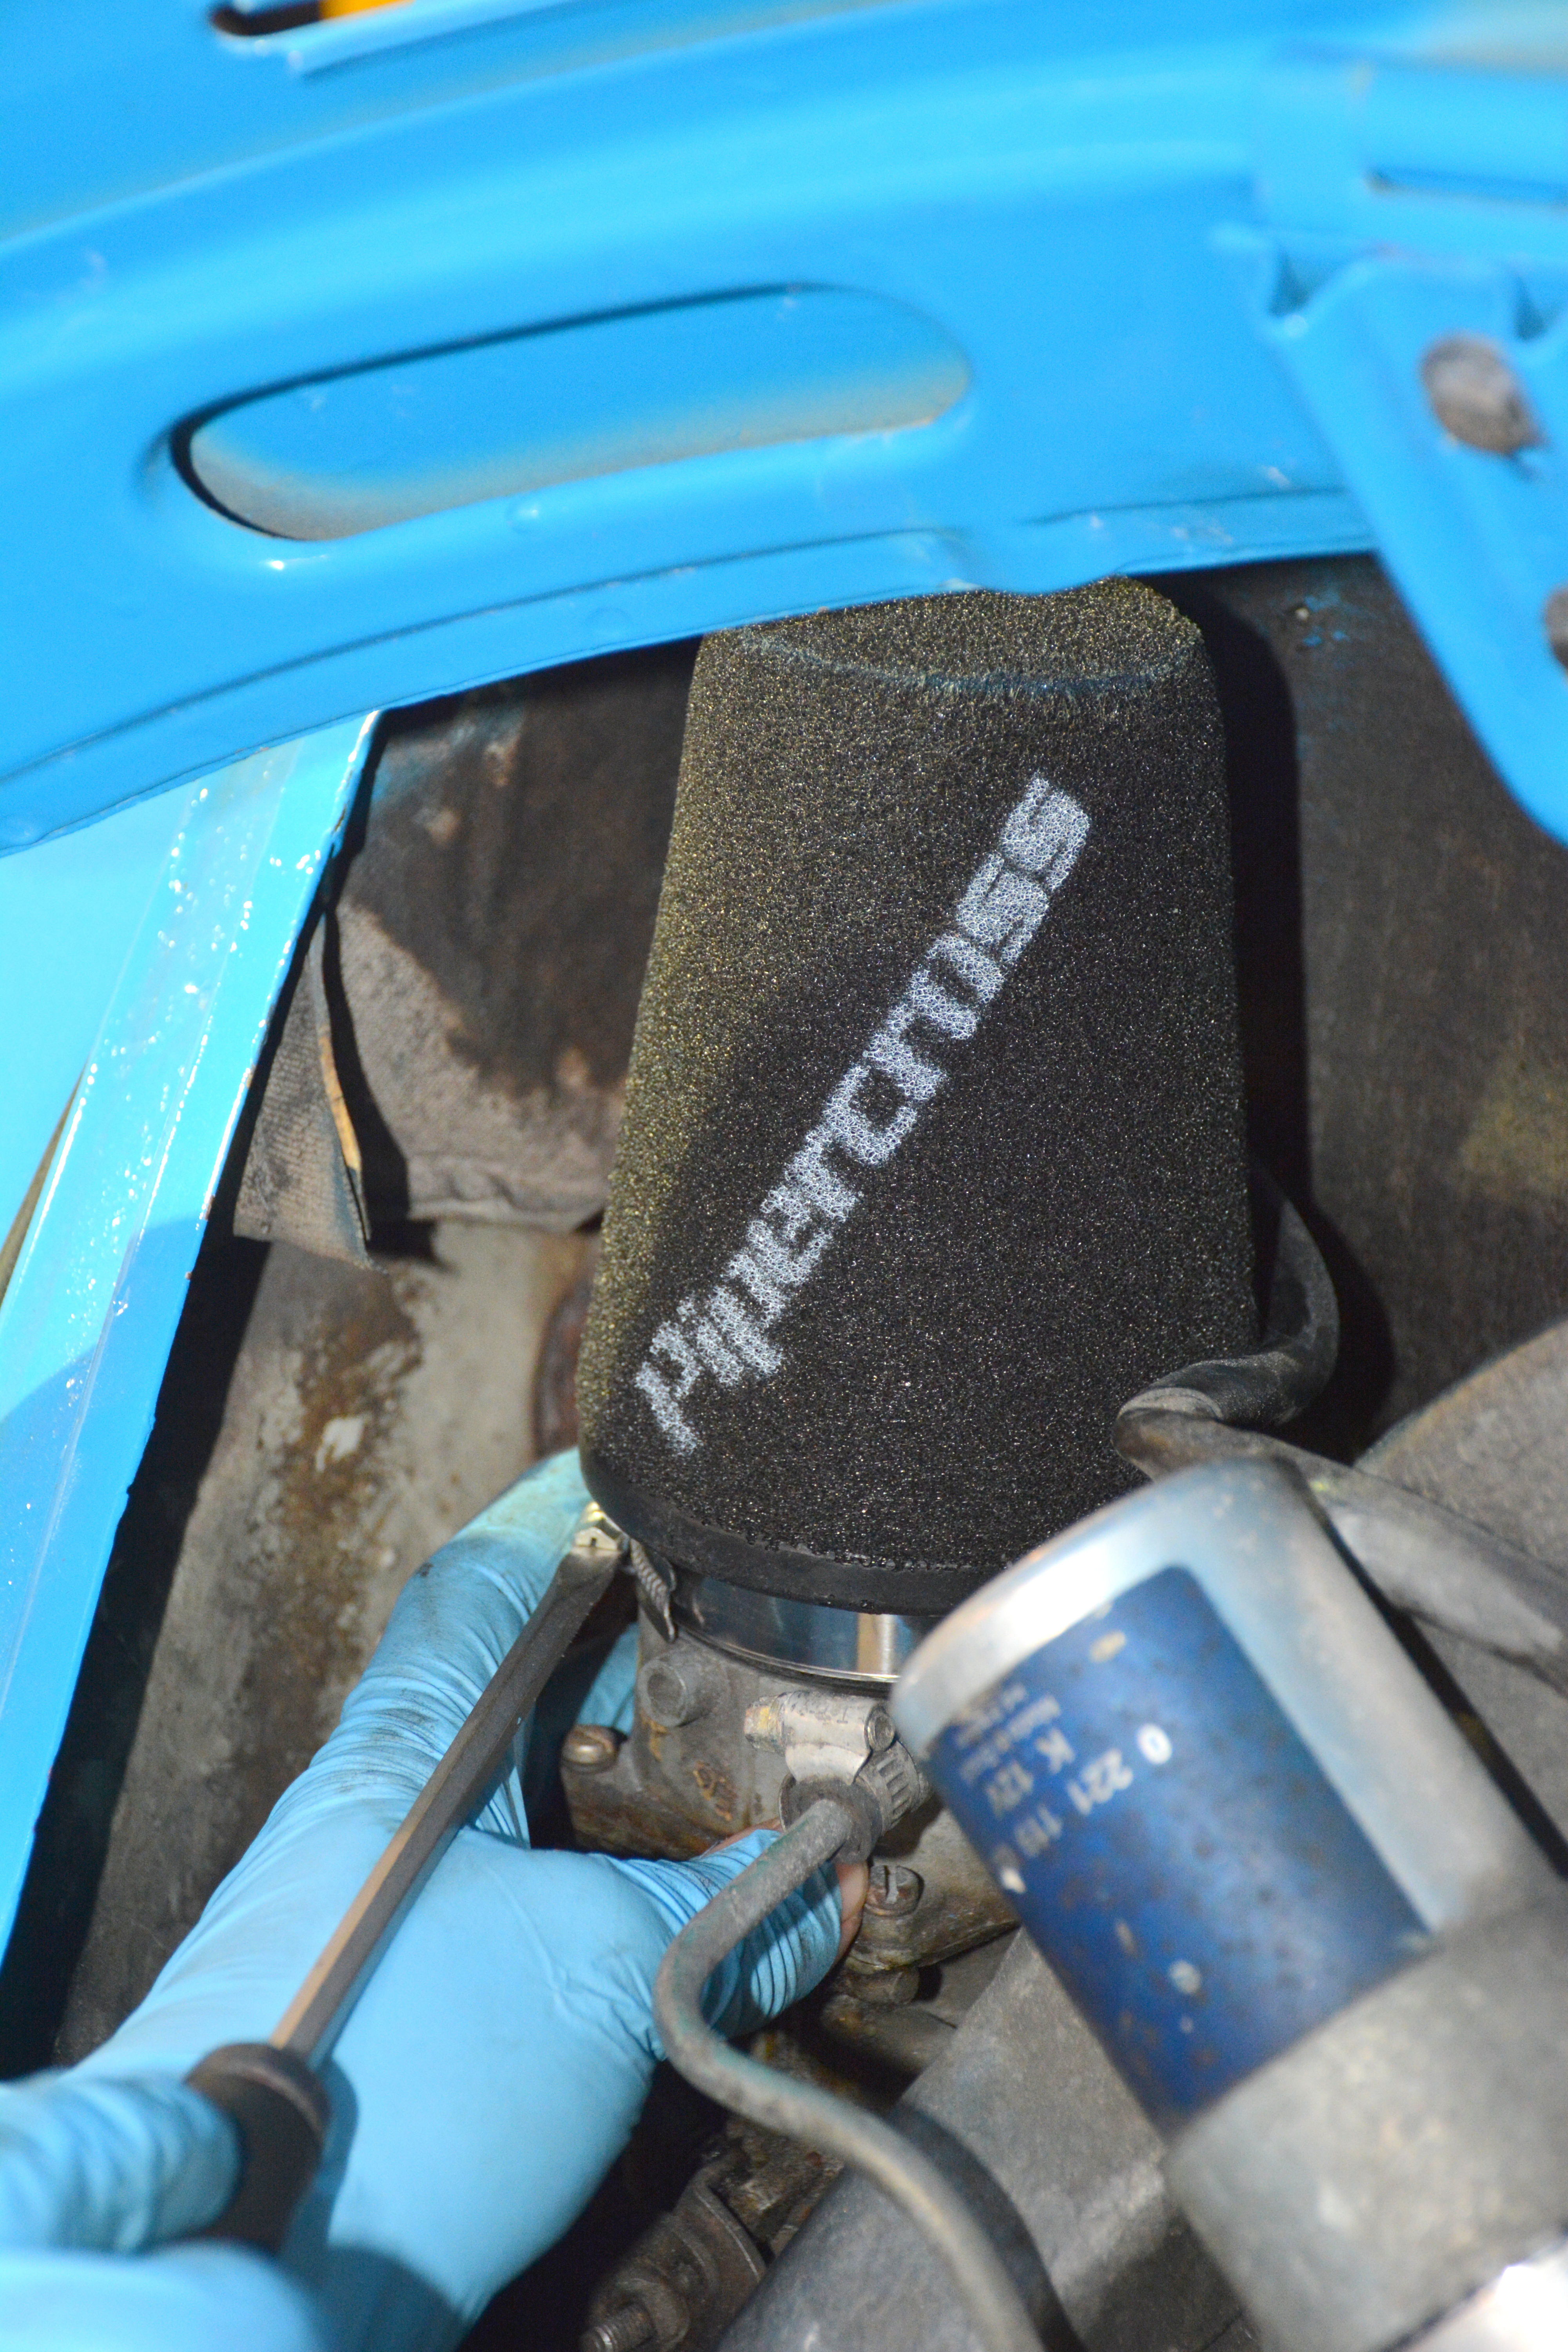
Troublesome, poor-fitting cotton gauze filters also replaced with swanky new Pipercross upgrades, which fit perfectly on the Kadron’s 65mm shoulder. Look better and filter down to a finer rate. These come with new screw clips too, for an easy fitment.
Torn alloy hoses were also replaced during the service. As my exhaust is a tubular ‘extractor’ type, the paper type wouldn’t last five minutes! A new set of these was the easy choice.

The original fan-belt was also checked. Safe to say that there was a little play here!
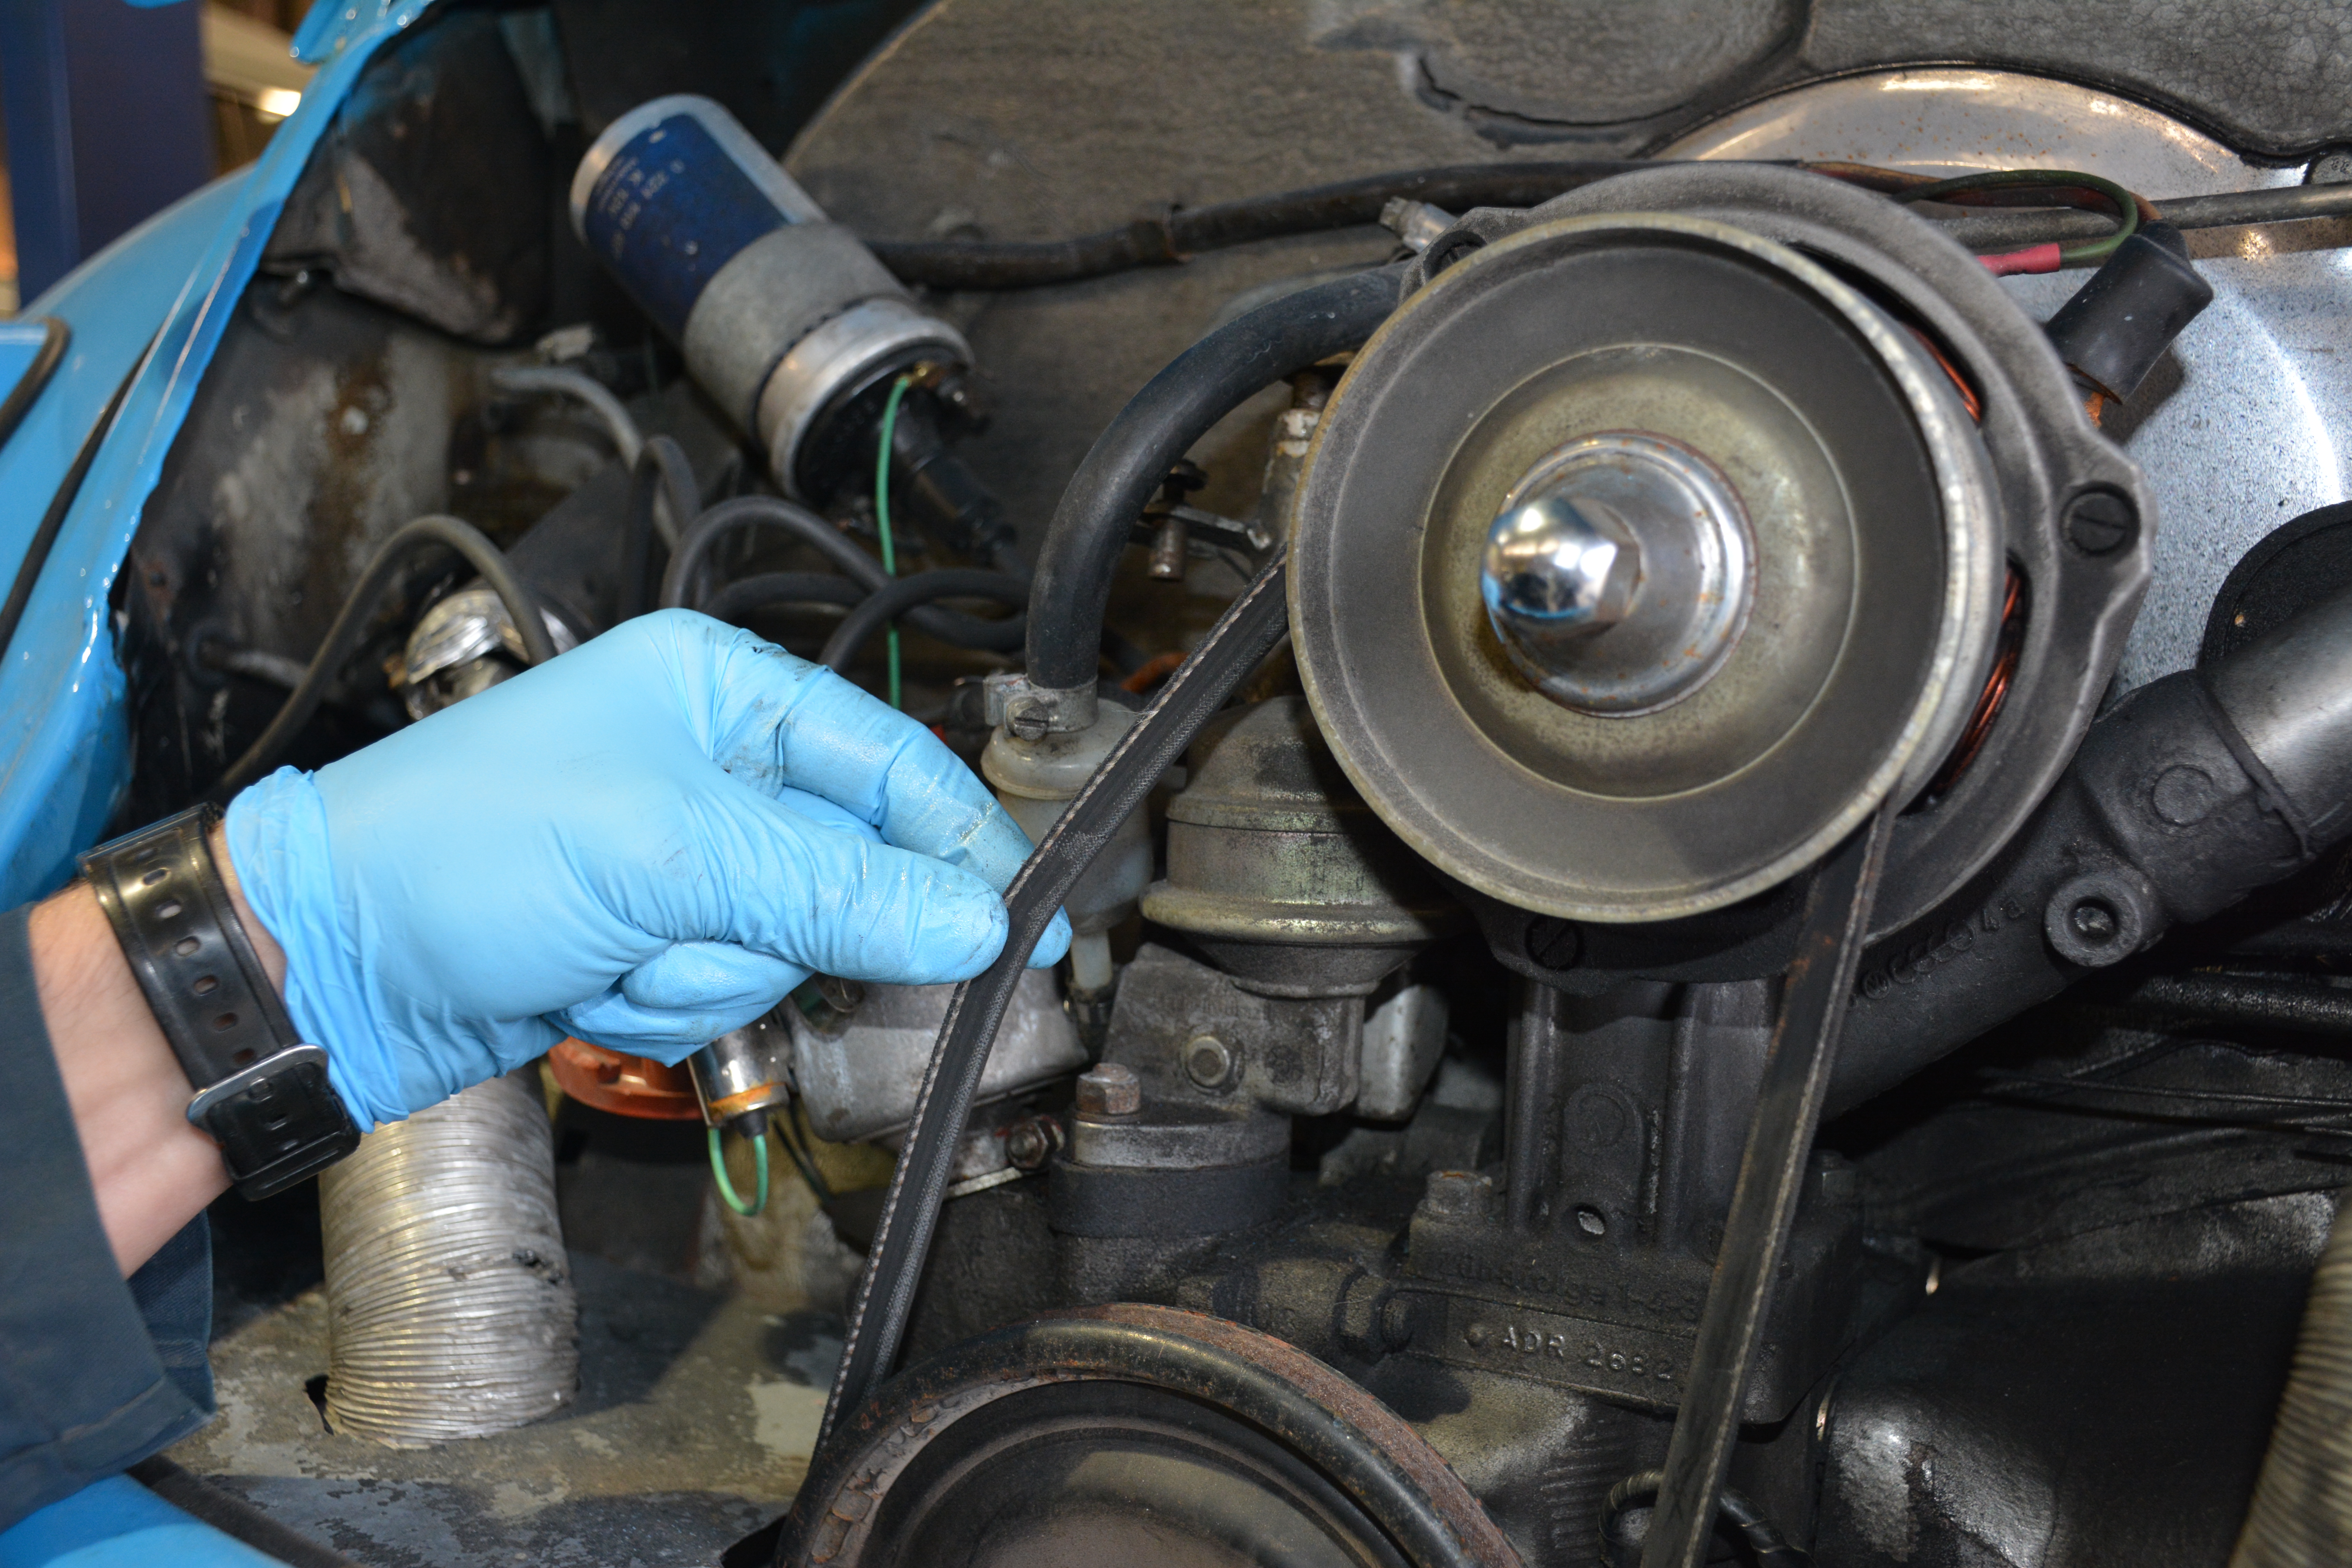
This shouldn’t be able to twist more than a quarter turn. Naturally, we replaced it.
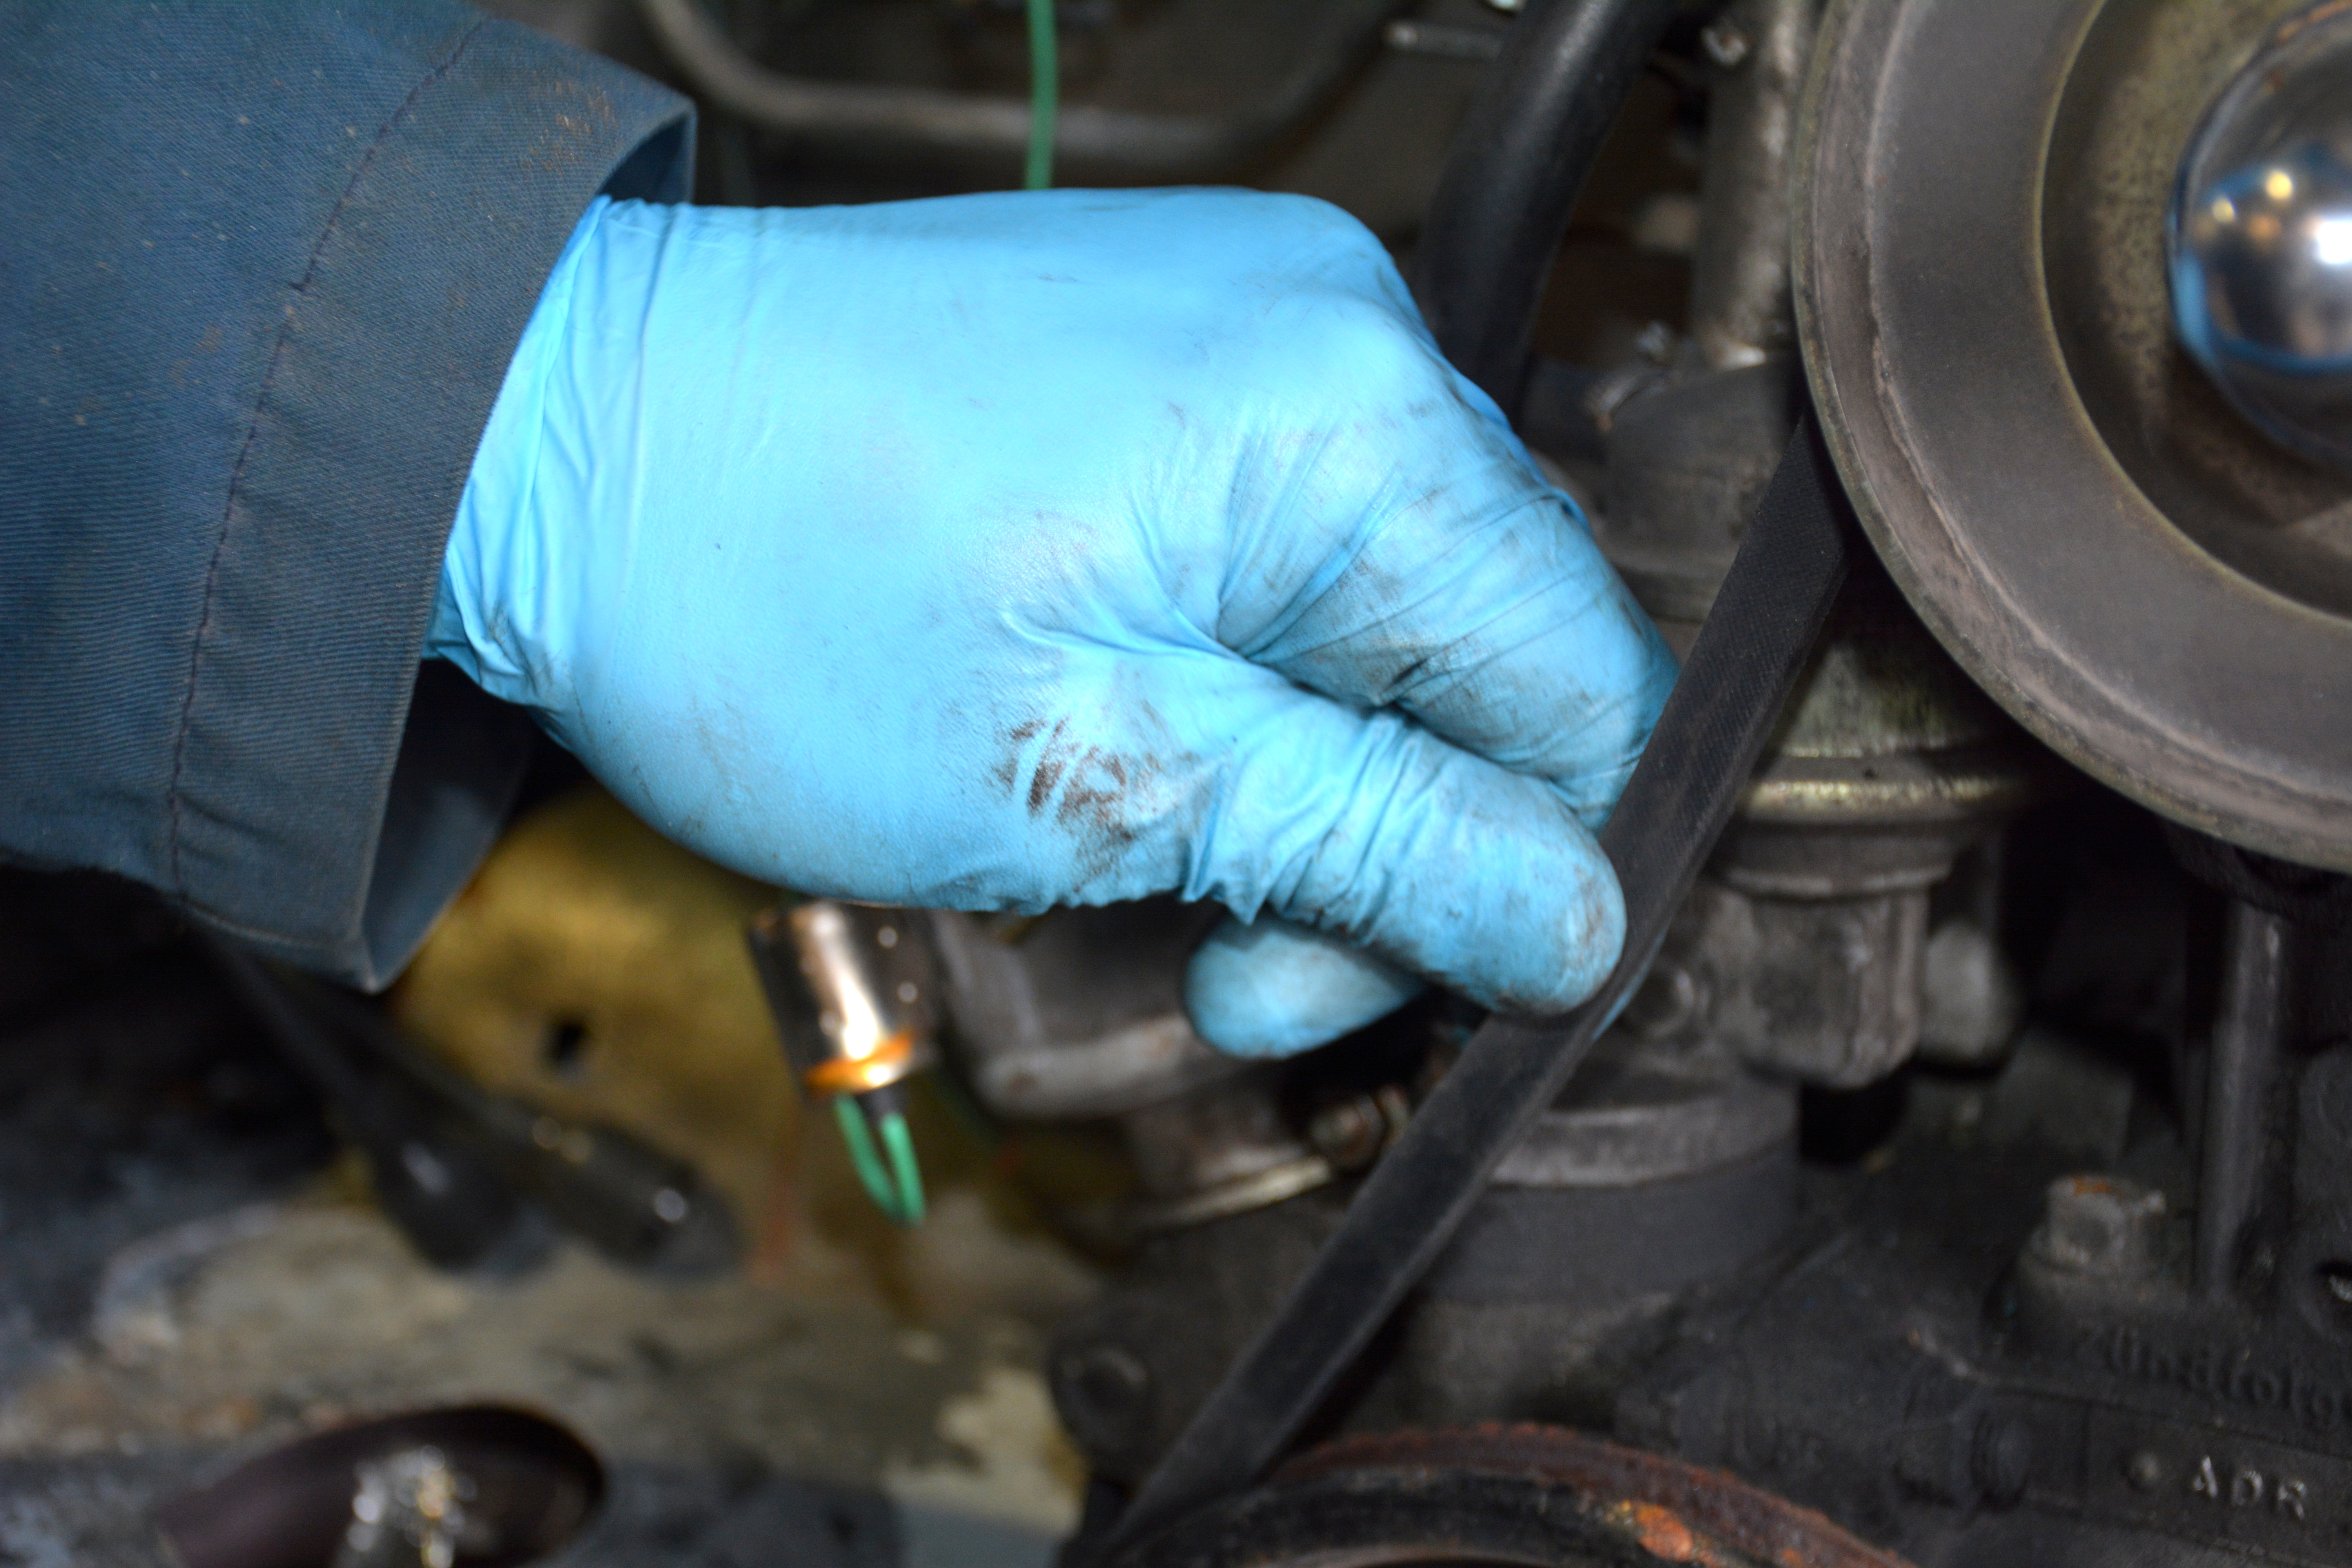
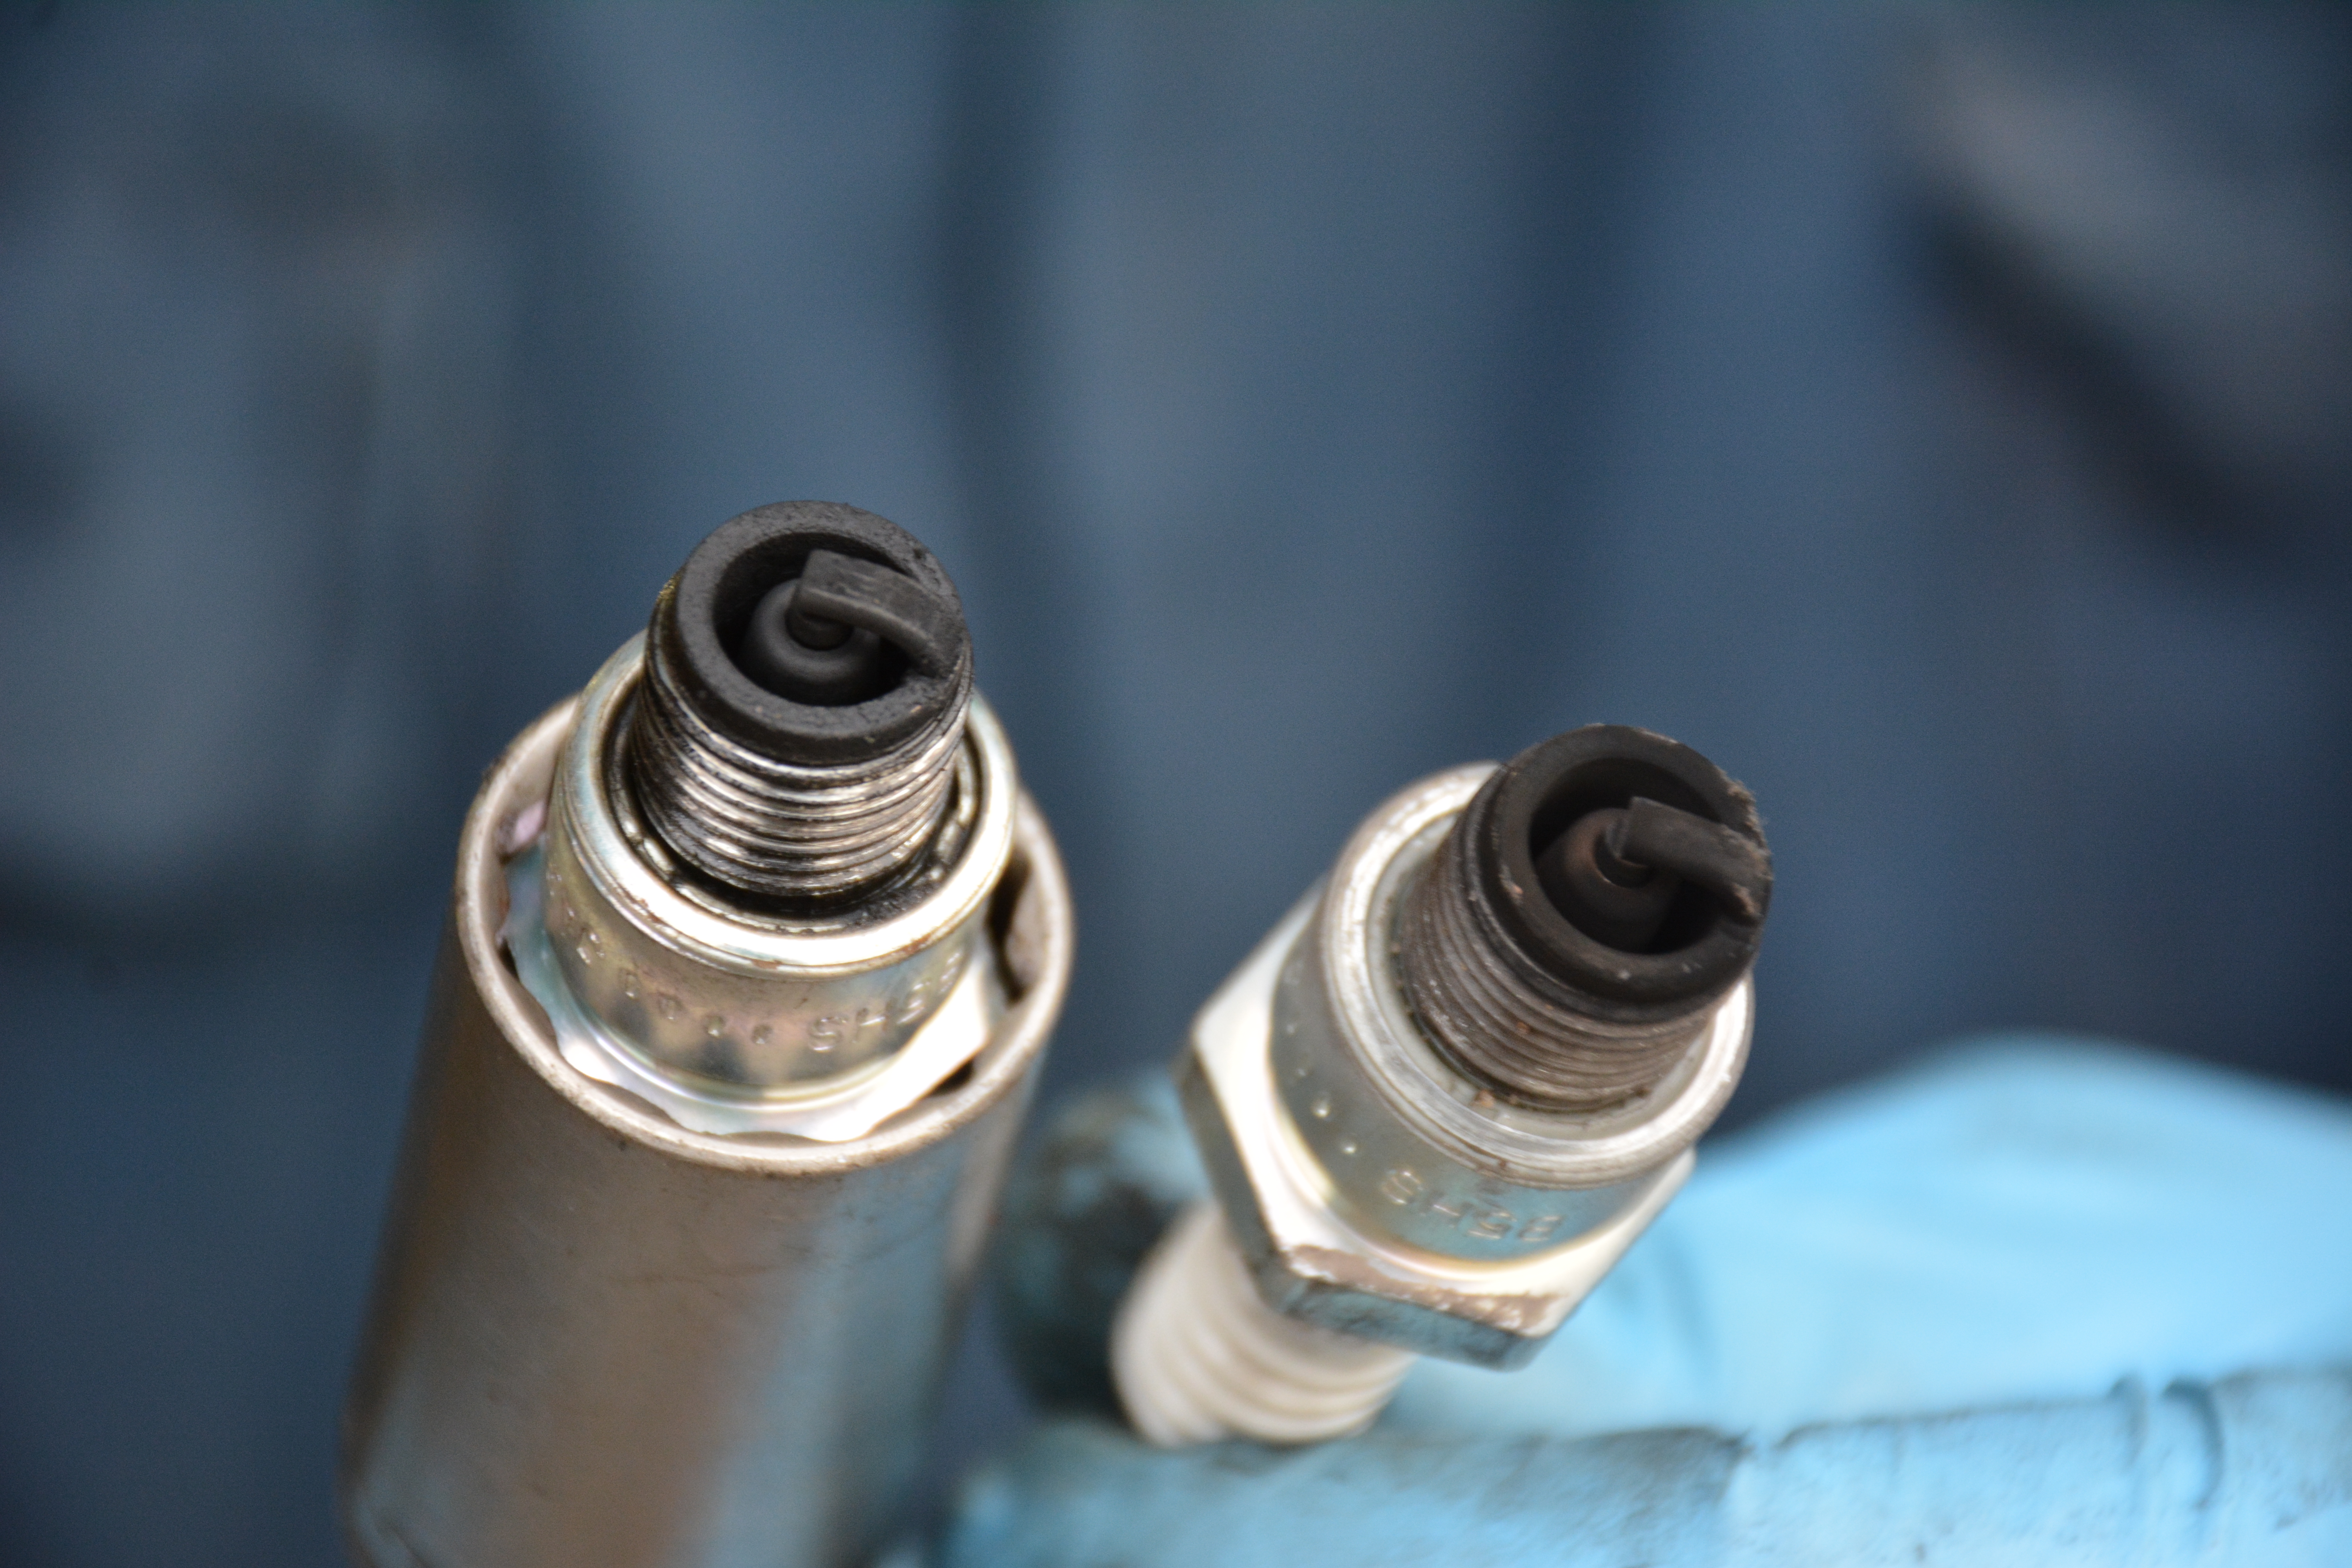
Again, for what they cost, a new set of plugs was added, just to be on the safe side. Although not in terrible shape, a couple were wet, clearly as a result of the previously poor timing!
Luckily for us, one of the previous owners had added these rather helpful rear plug access plates, made using OEM steering box covers. Made the job a whole lot easier. A great mod, particularly if you have the knuckle-skinning twin-carb option on your car.
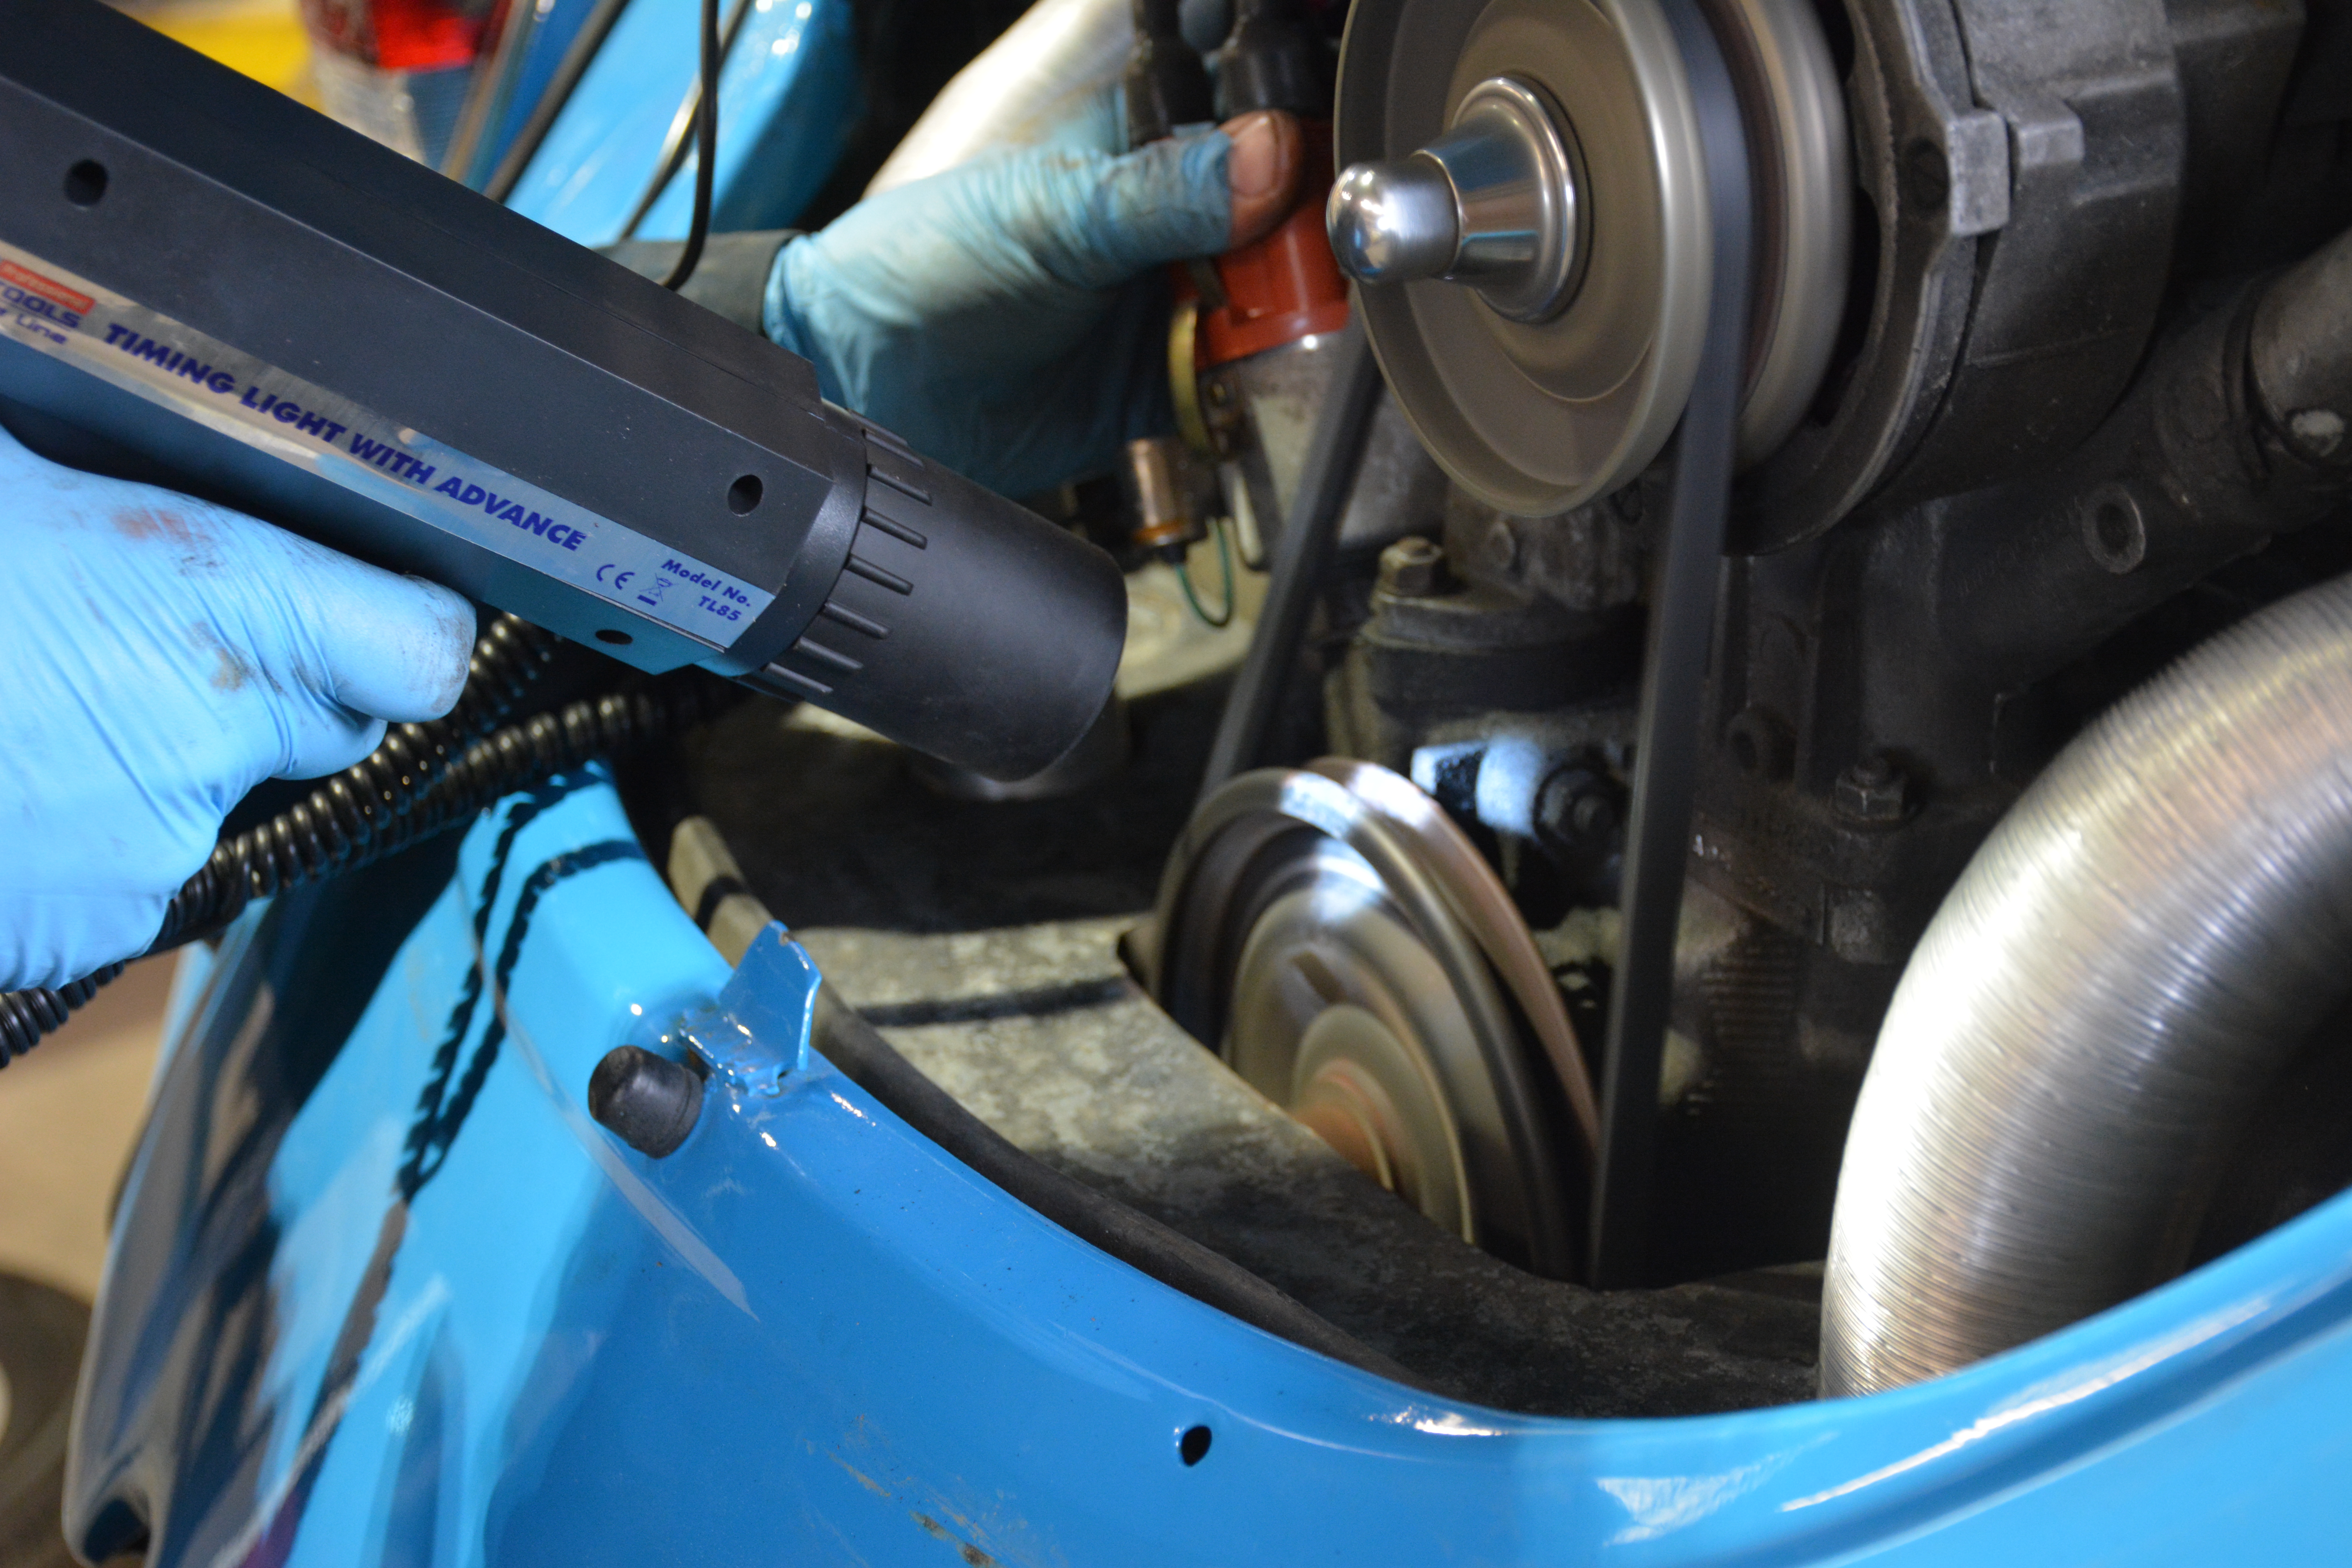
With everything checked and torqued up, Steve set up the timing by slackening the distributor and twisting it to advance and retard, until he had the perfect balance. At this point, the car was clearly already about 3000% happier in the way that it was running, sounding so much smoother and revving much more strongly.
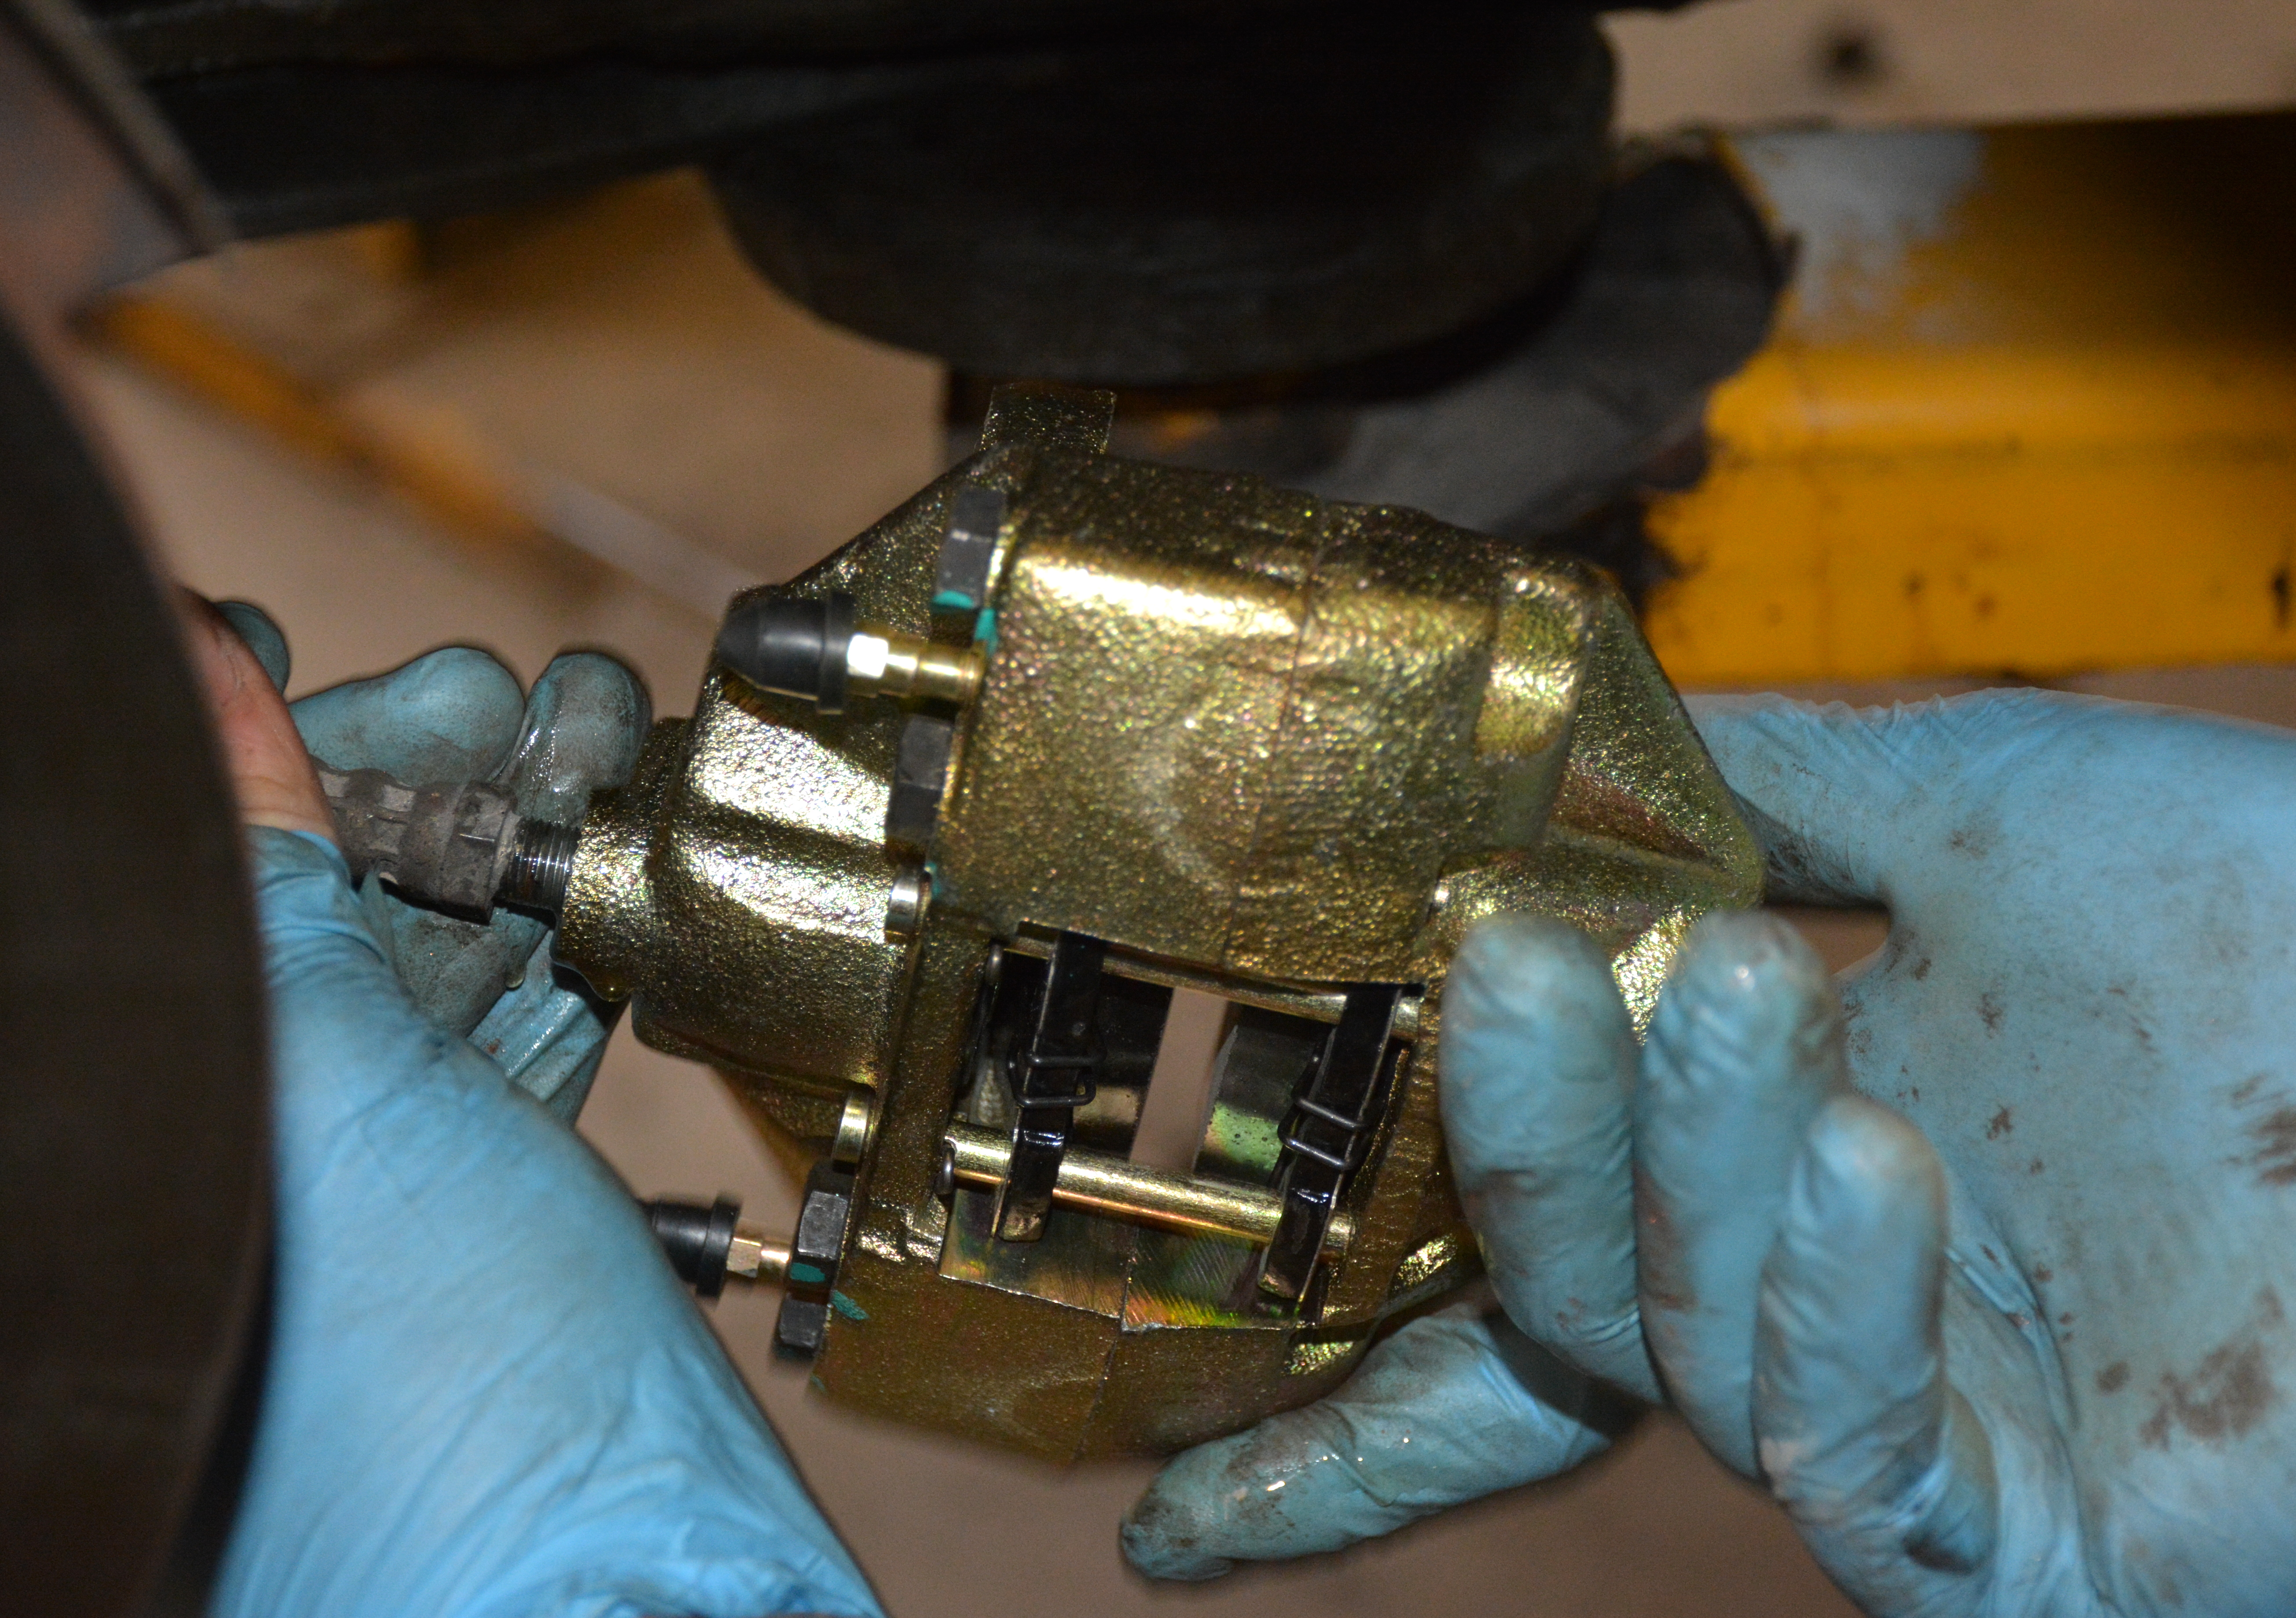
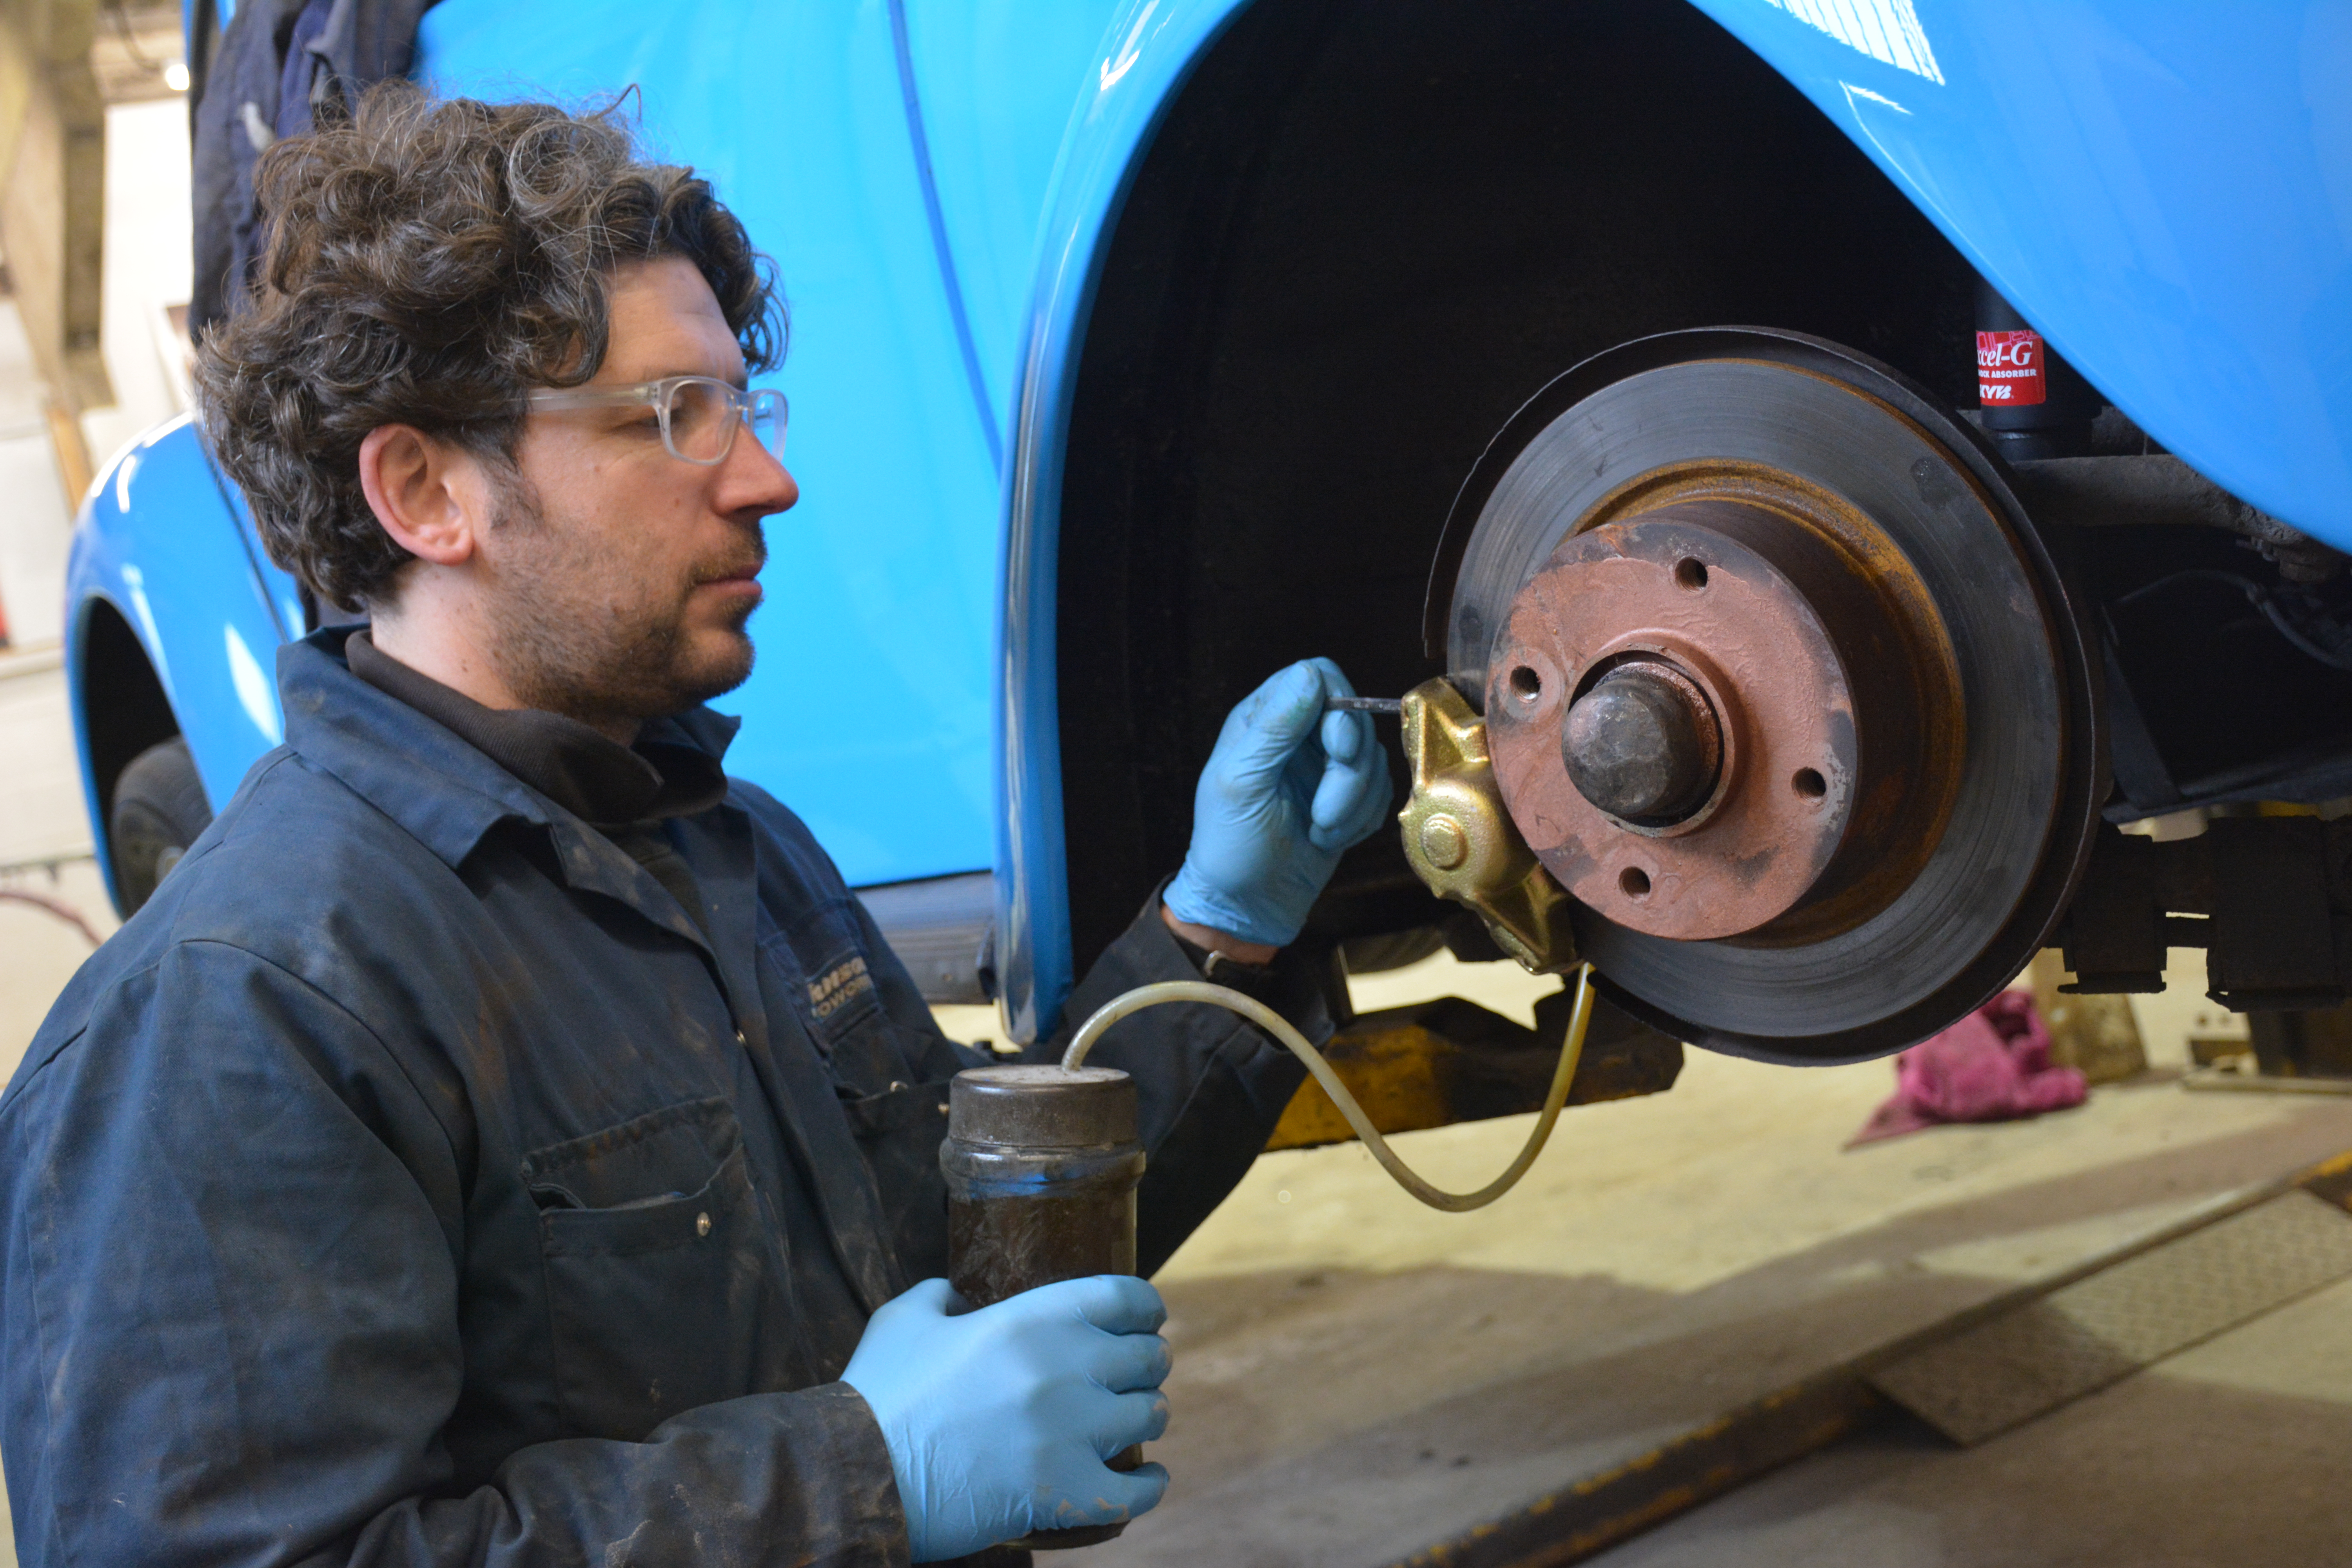
Steve had also spotted that the NSF front caliper was seized solid… so we took the decision to bite the bullet and splash out on a new pair. I never mess about with safety stuff, and it’s always nice to fit new parts!
Obviously, we lost a little brake fluid while changing the lines, so this was topped up carefully, making sure not to spill any fluid in the boot area beneath.
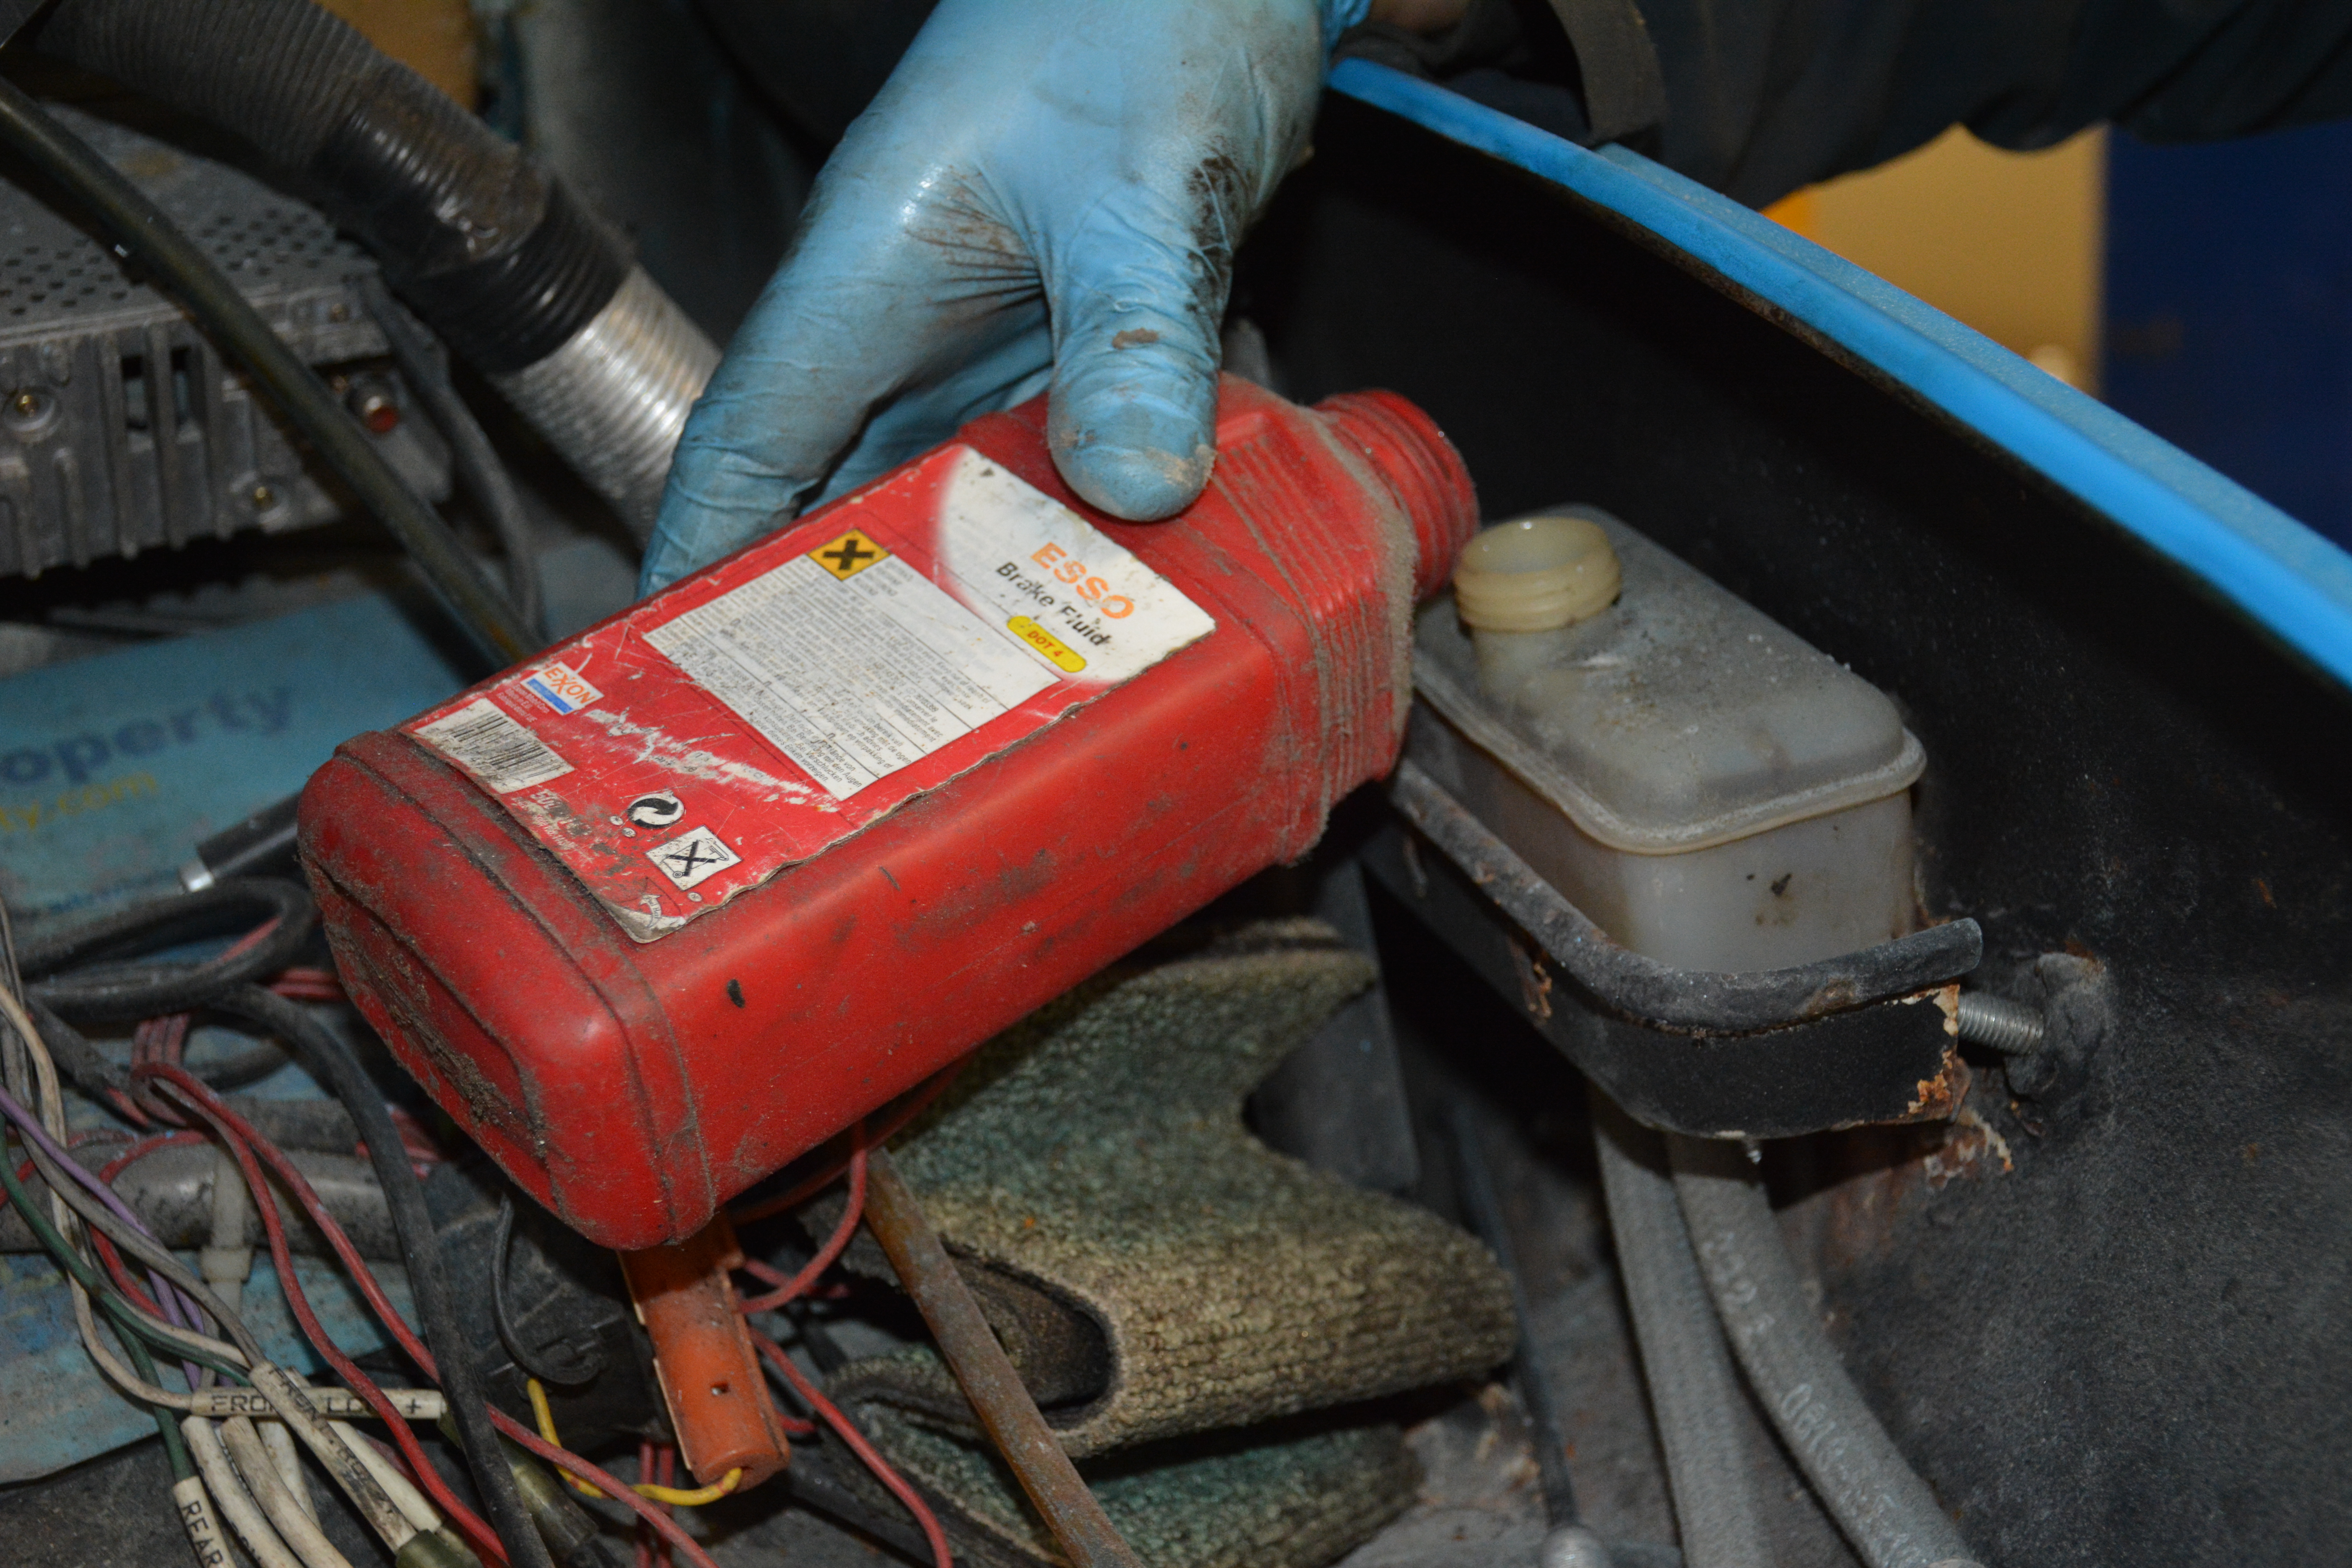
This was followed by a judicious bout of topping up and bleeding through. The Beetle reservoir is pretty tiny, so you’re going to need to top up plenty as the fluid works its way through!
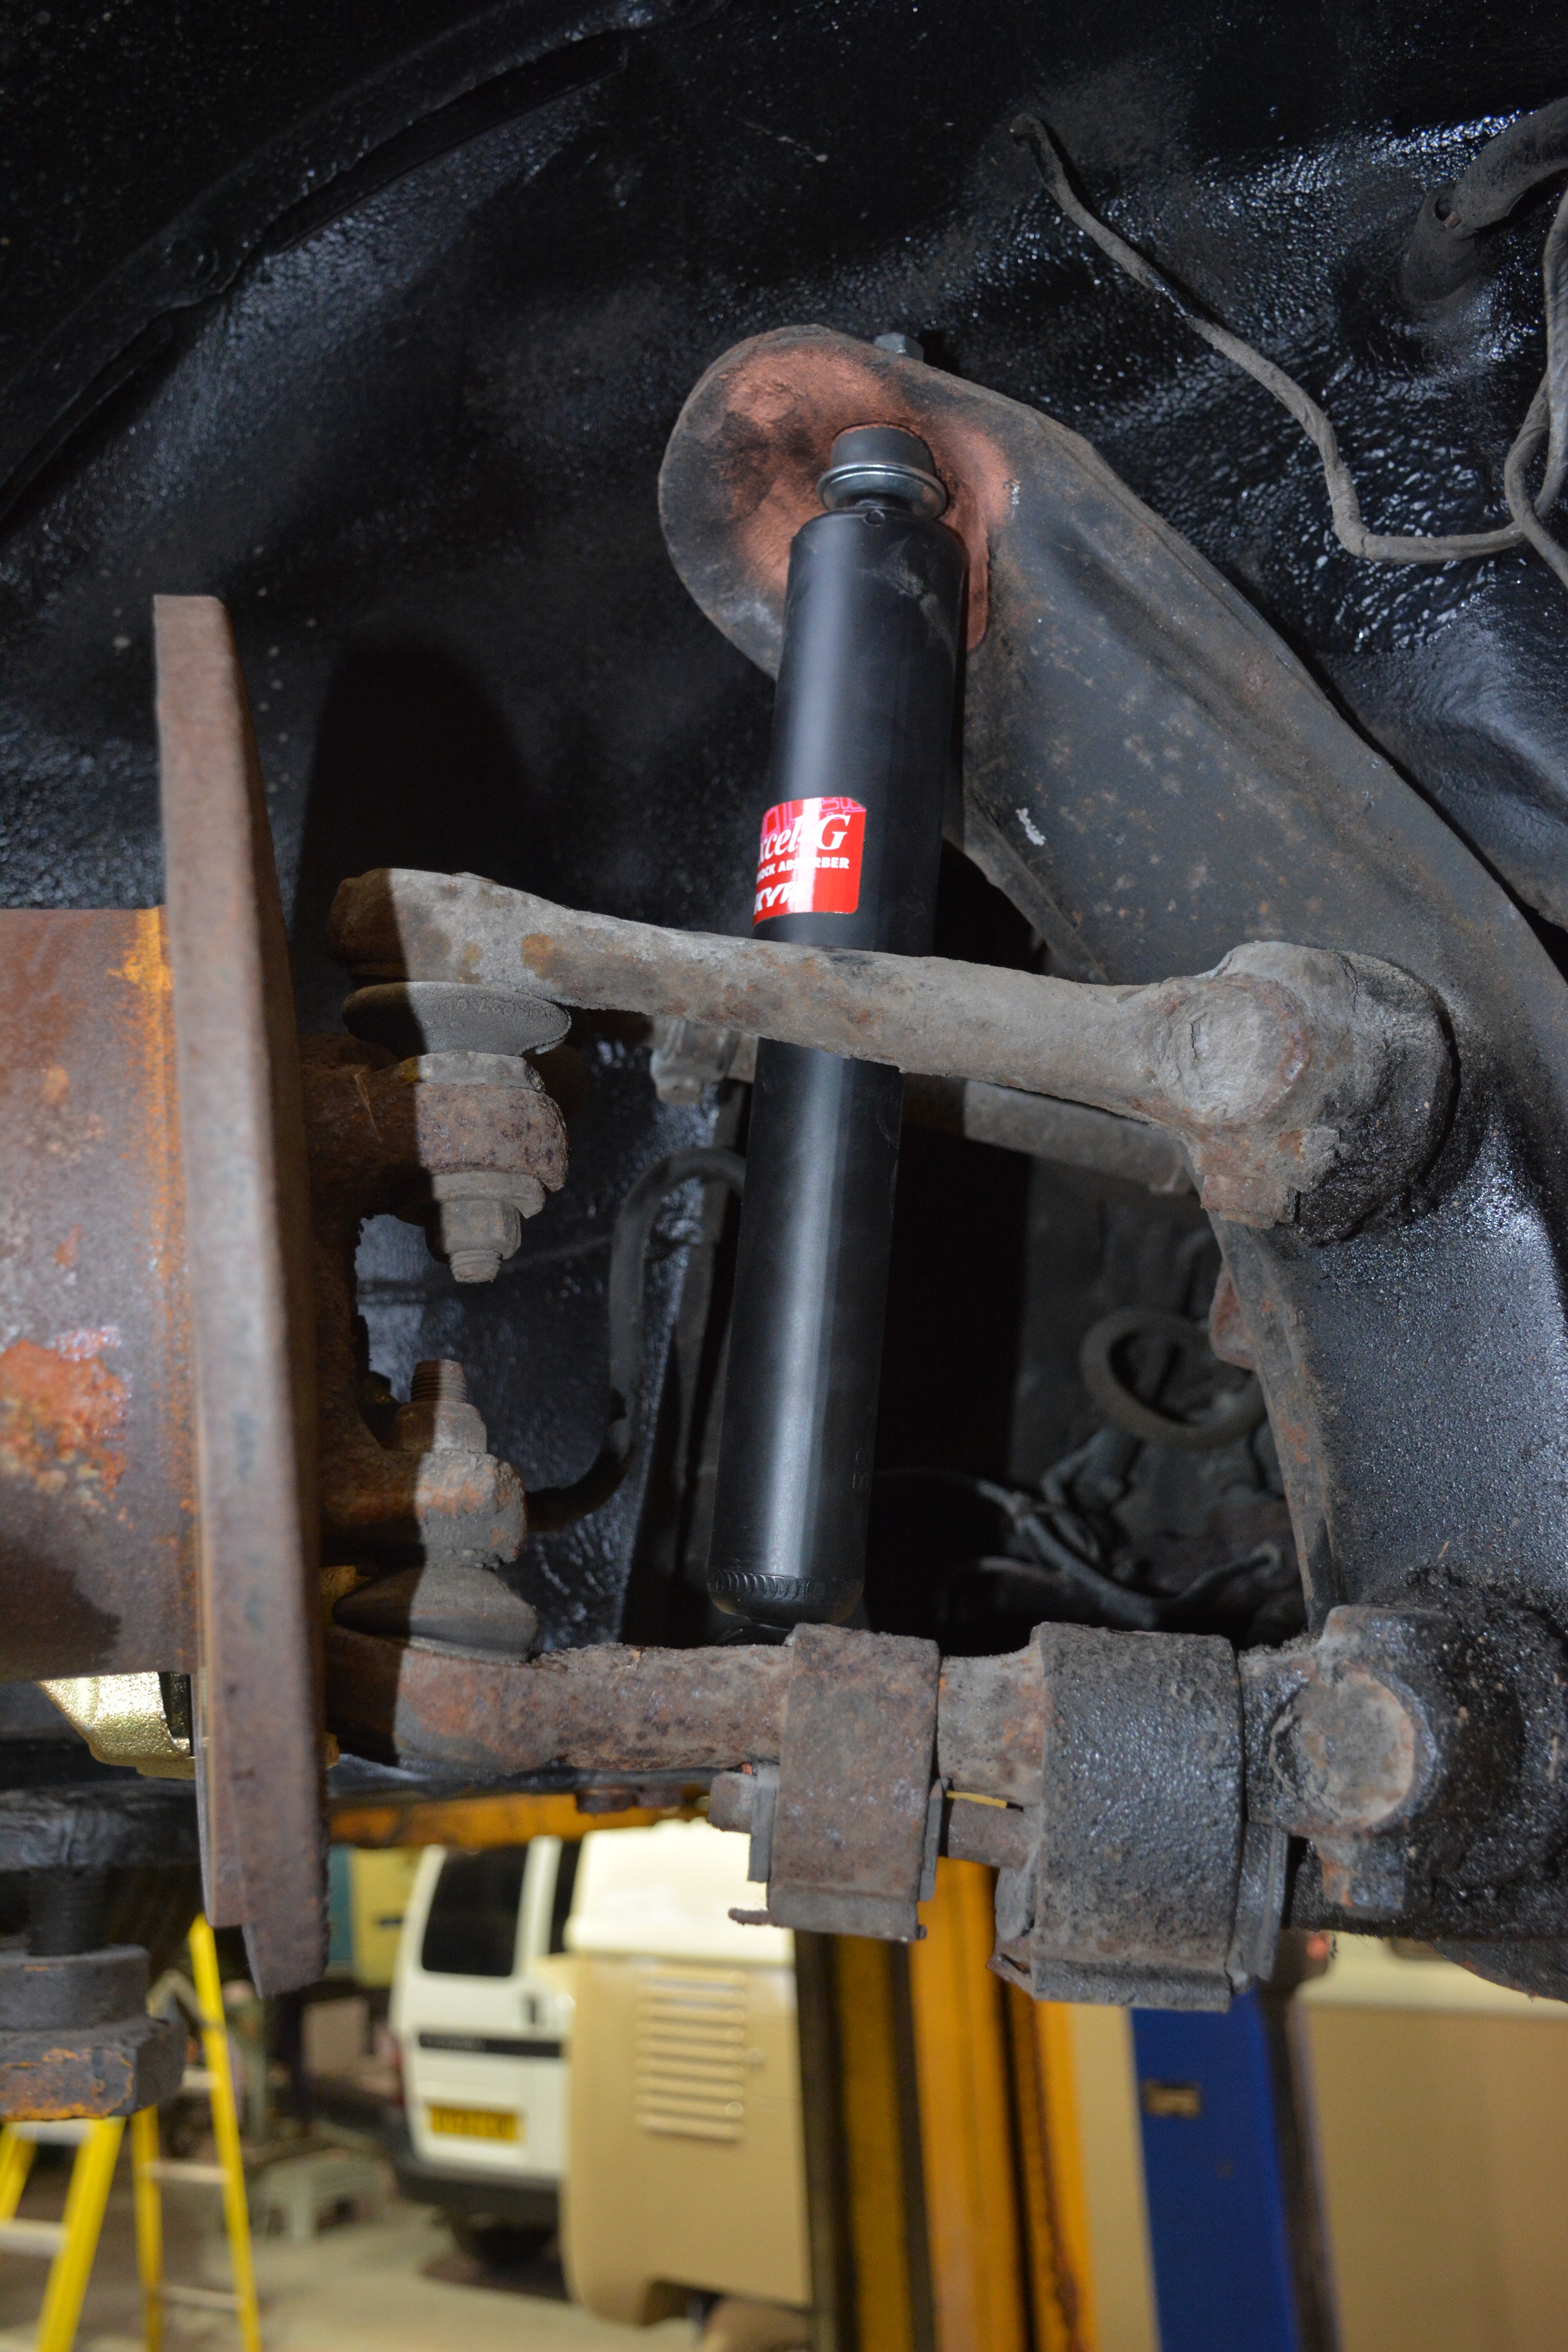
The final job was to change the OEM shocks that had bottomed out in their travel with the lower suspension. The heroes at VW Heritage had these KYB units delivered at a hat’s drop notice for our shoot, and you can see how they offer more travel on a lowered beam, when compared to stock.

I now have a decent amount of suspension travel back on the front end! Happy days!
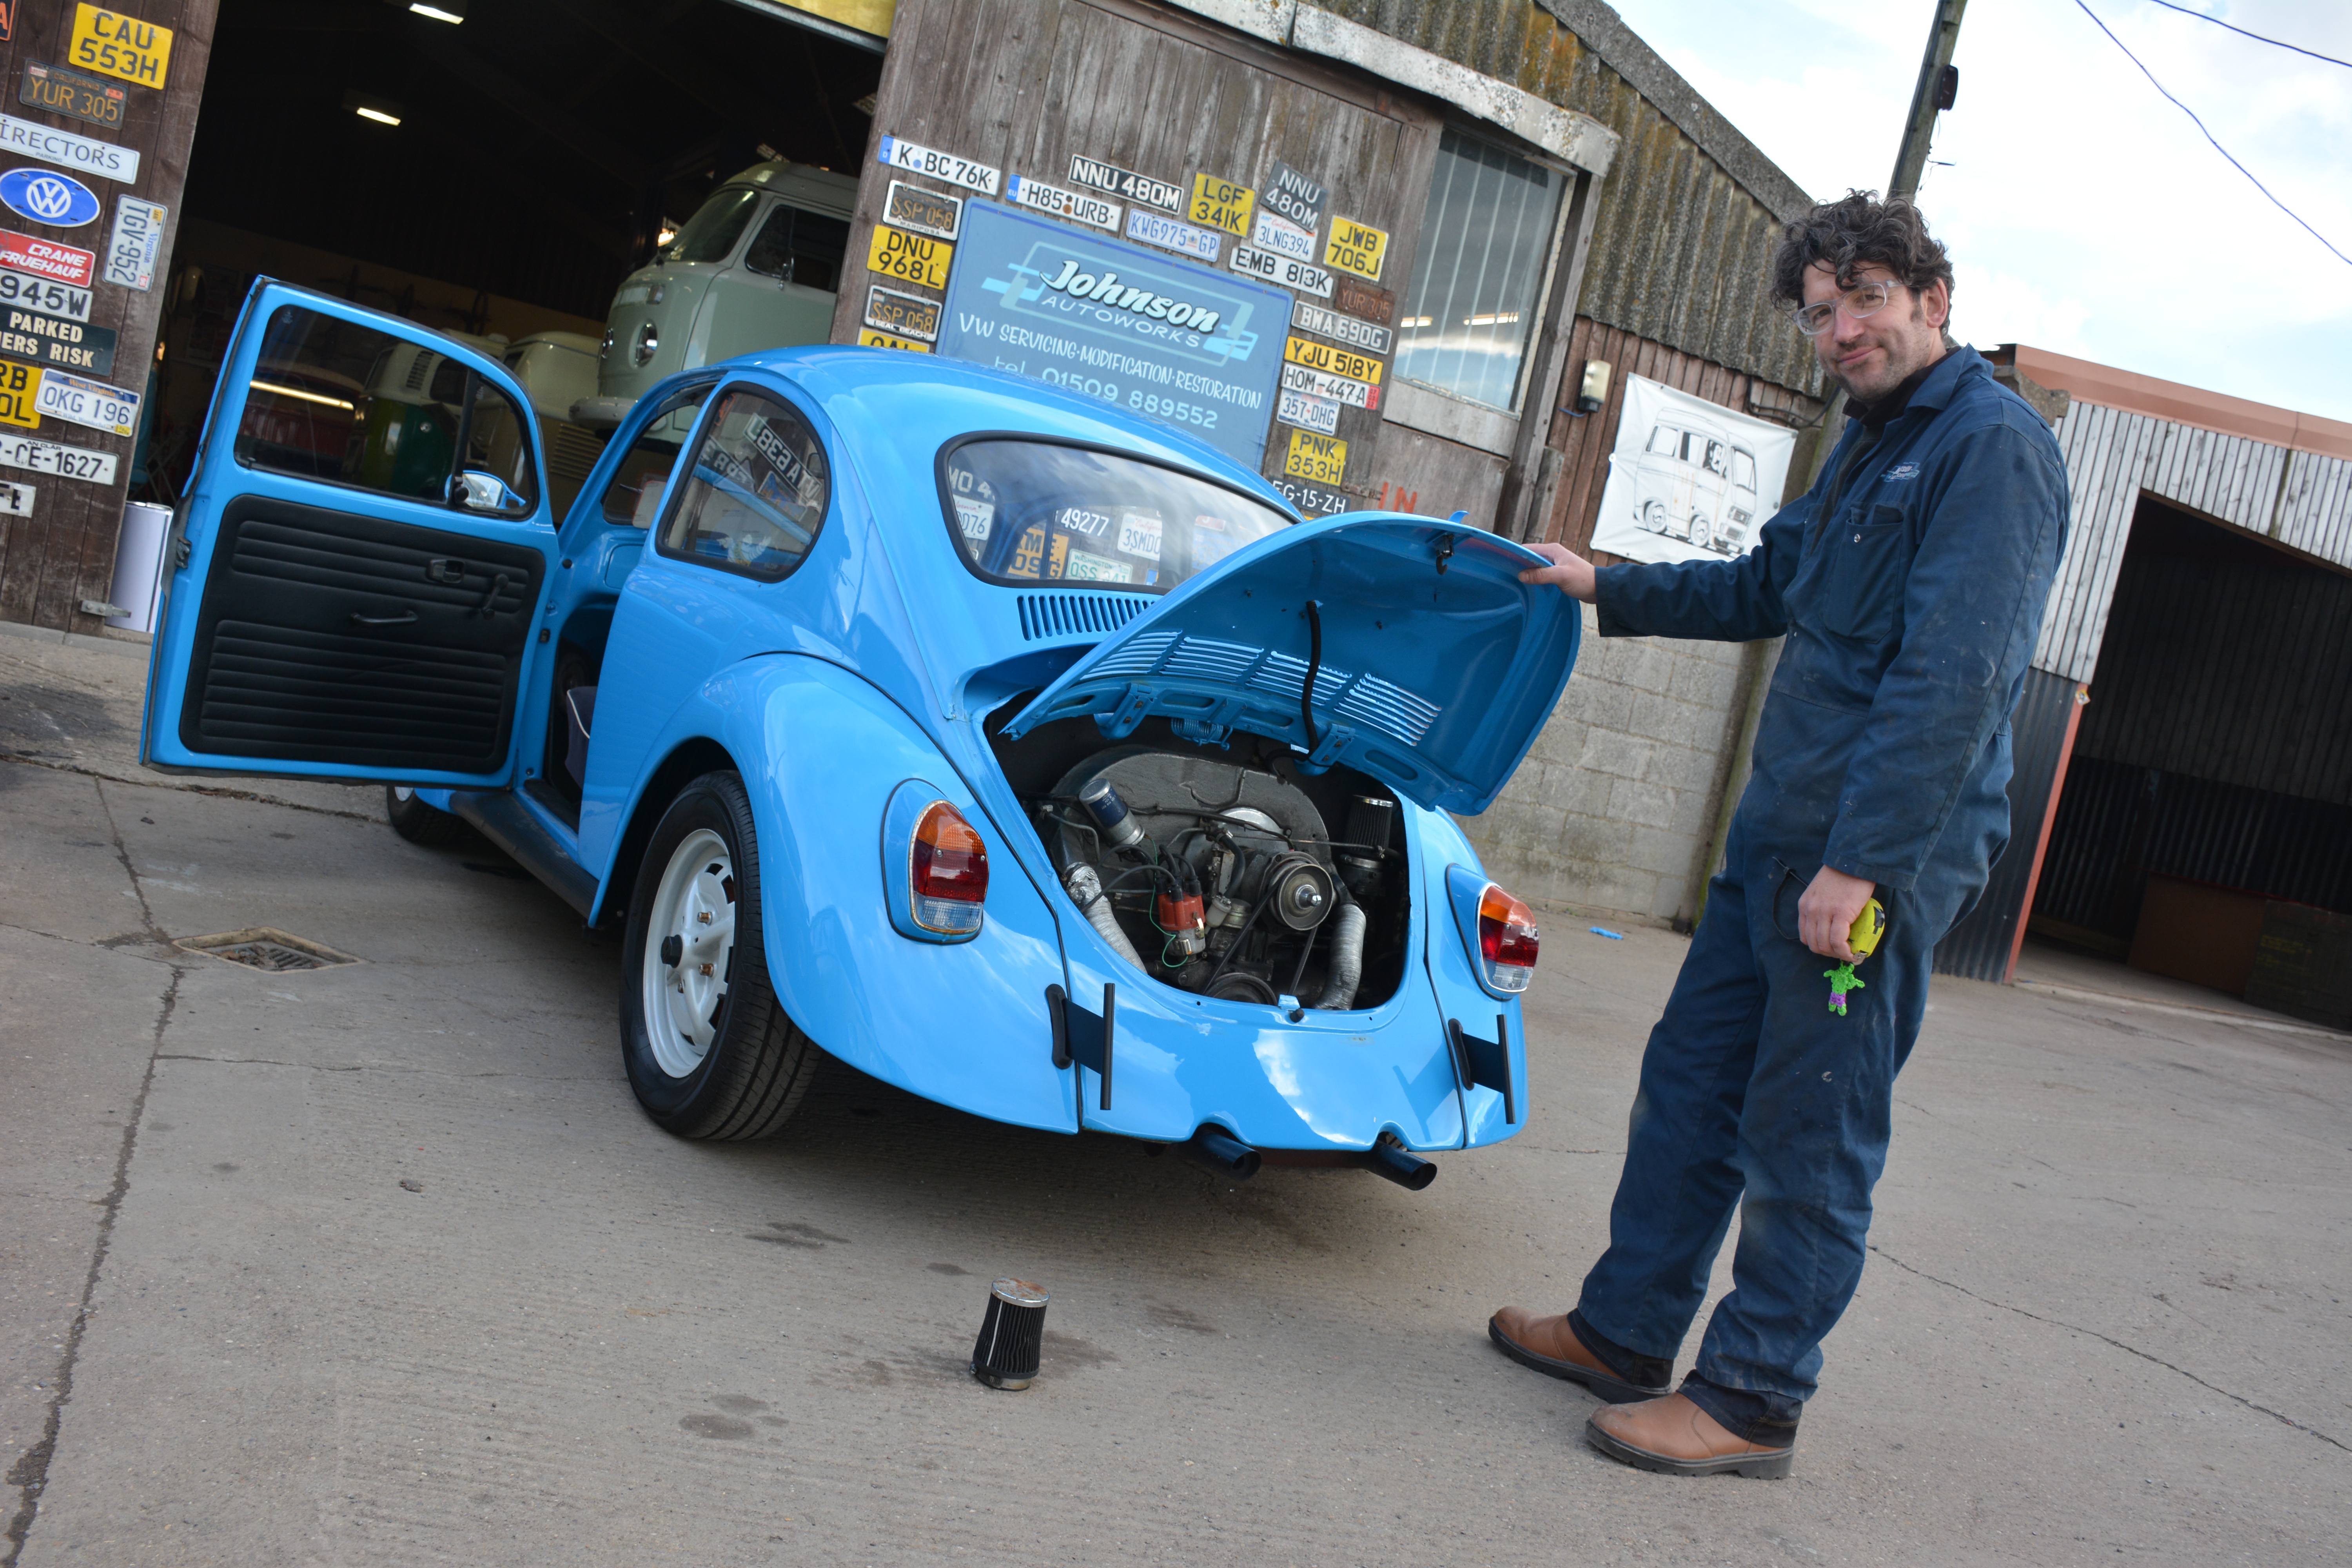
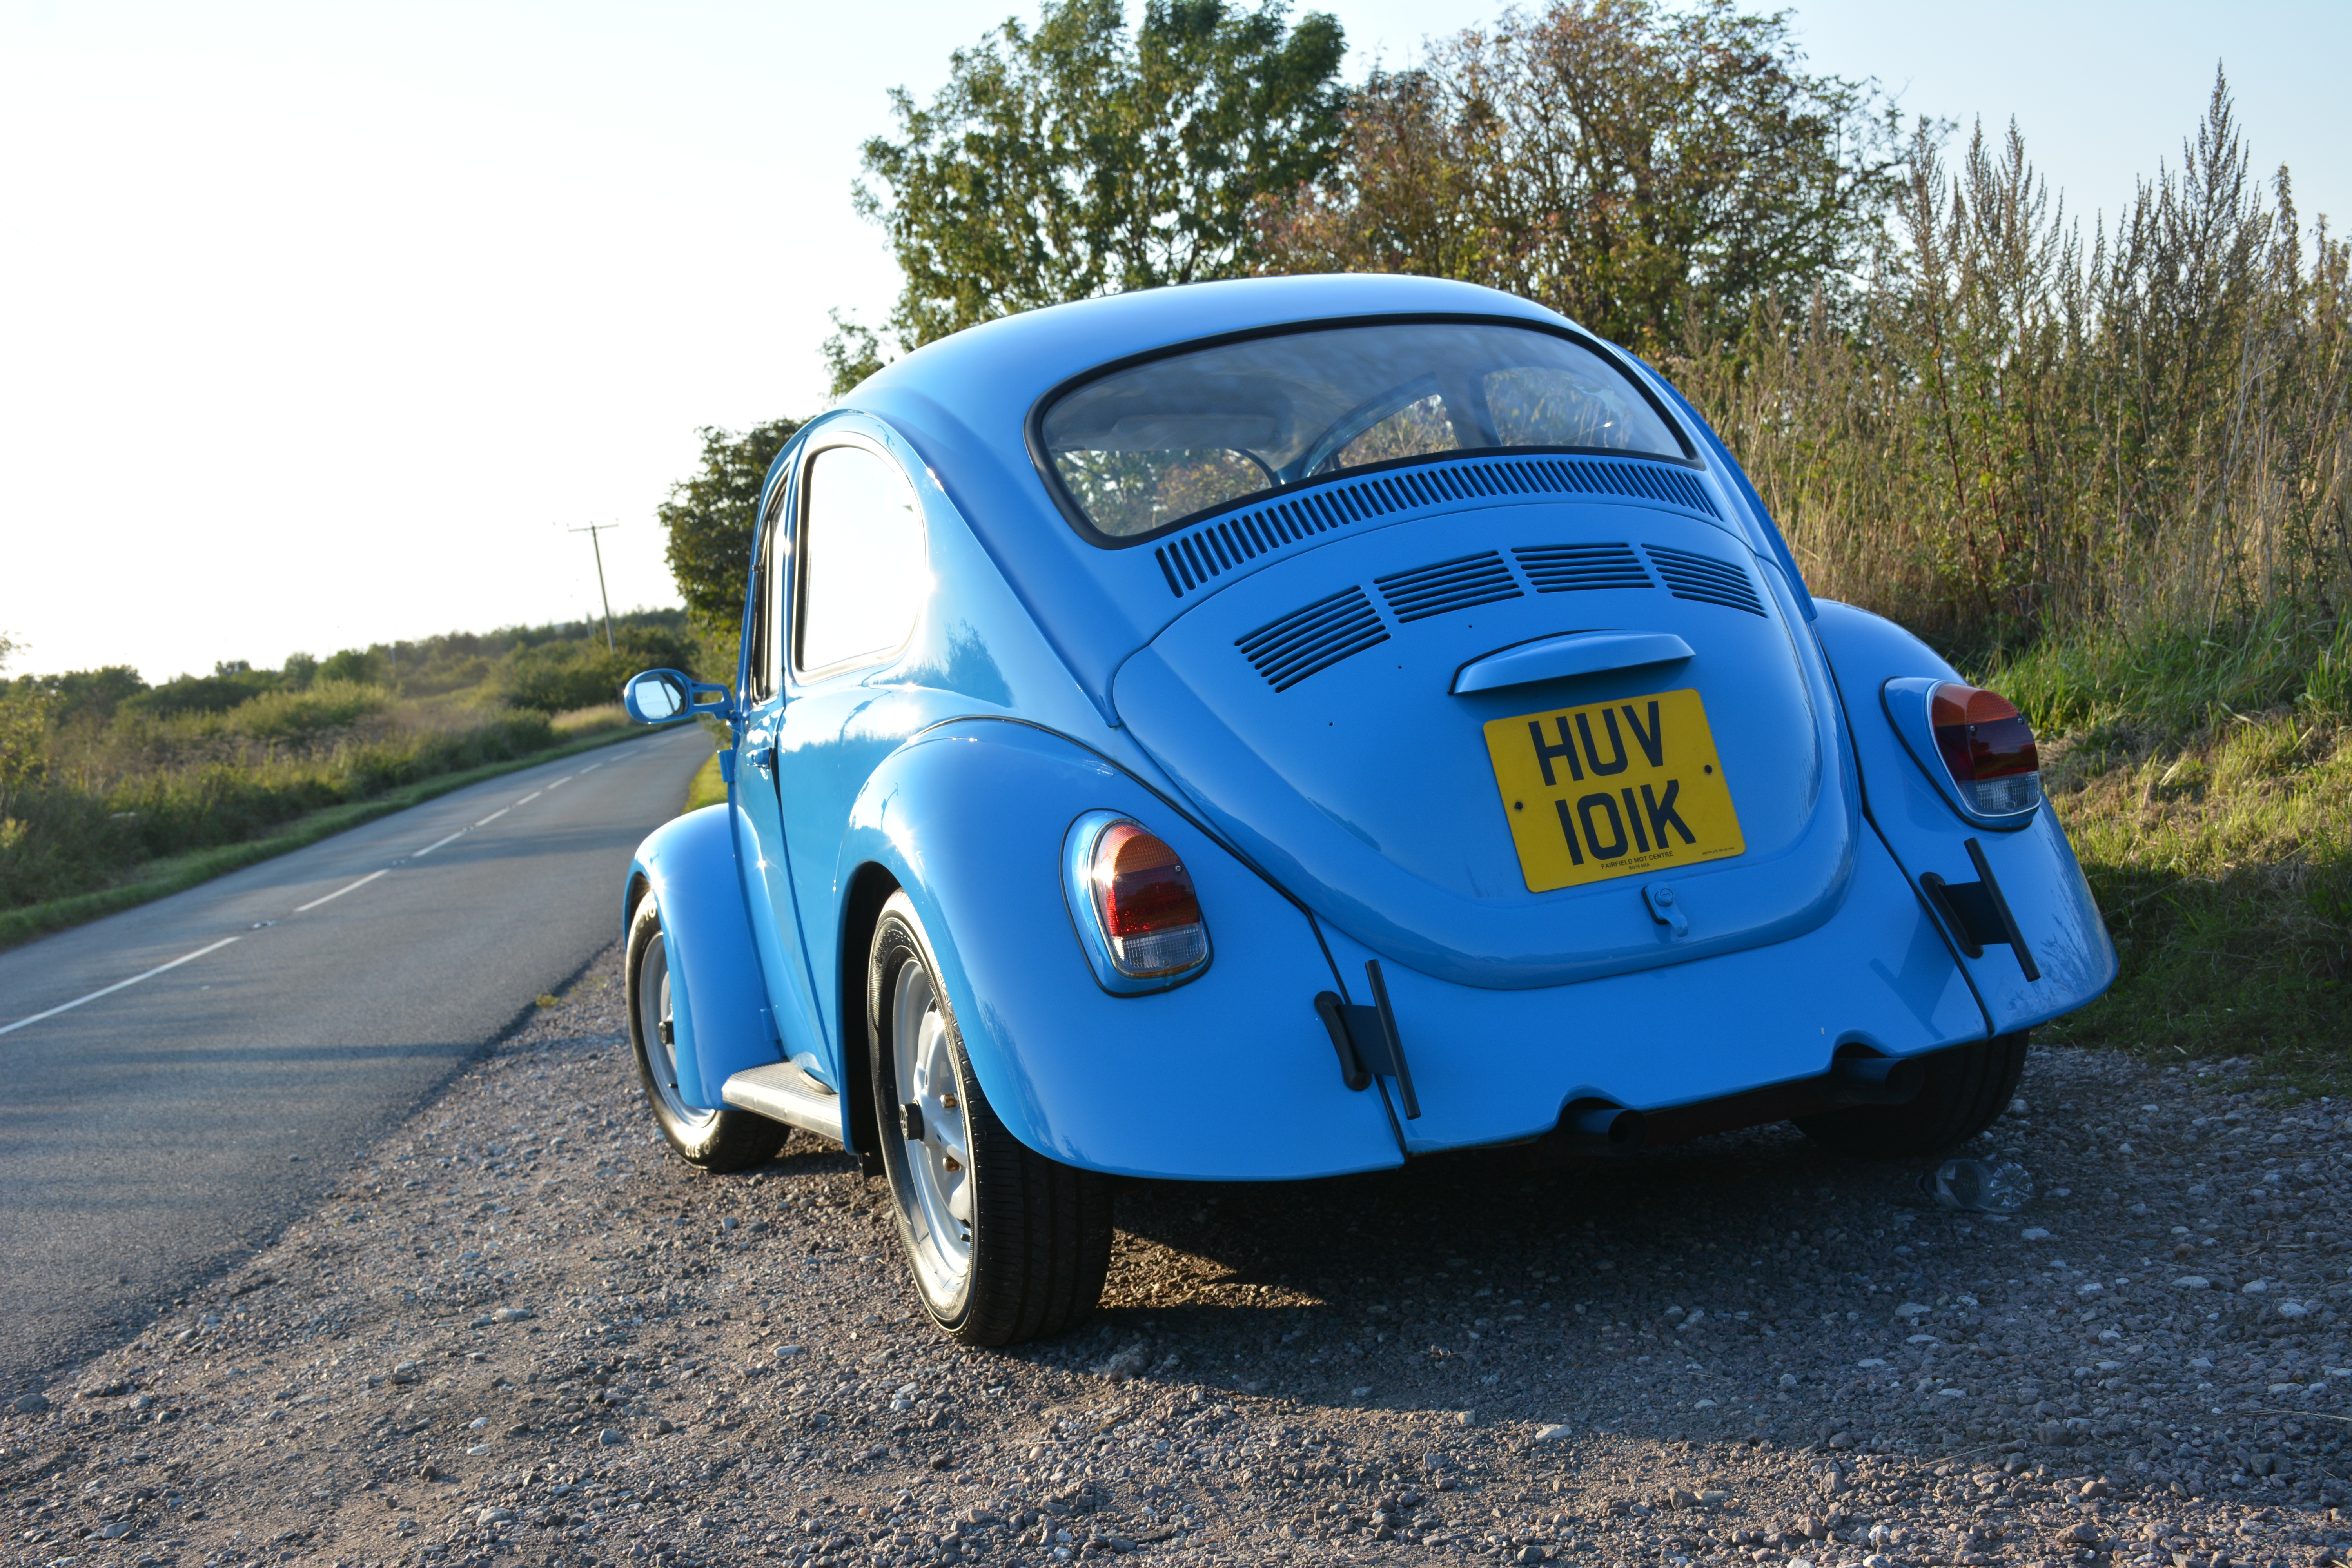
Now ready to hit the road – sounding (and feeling) so much better in every single respect.
The trip to see the Johnson Autoworks team was definitely the best way to start this project off. Not only has Steve transformed the Beetle with his air-cooled whispering skills, but he’s now made the car a real joy to drive long distances. It pulls well, it’s strong through every gear and it sounds in the rudest of health! I’m now finding that I want to drive it every single day. With the new calipers I’ve got great stopping power and thanks to my new VW Heritage shocks, I’m riding in style and comfort. Right, I’ve ticked all the sensible boxes now.. let’s start modding!

Beetle, classic, Collection, Discovery, featured, Johnson Autoworks, project, retro, Service, tuning, Turbo Pickers, TV, VW
Related posts