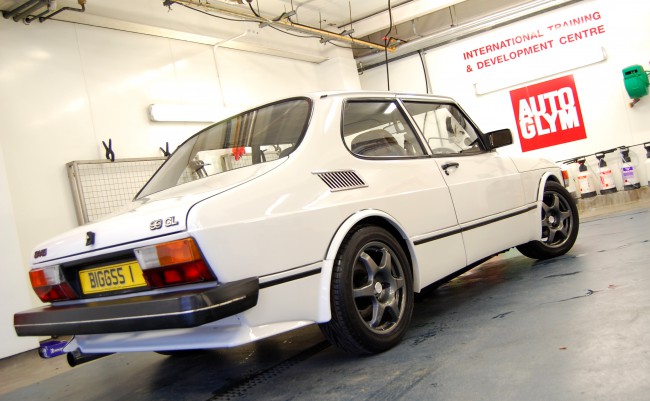
Storage; something that many of us have to sort for our lesser-used classics. But how do you go about re-commissioning a car that’s been under a cover or left in a corner for longer than you’d like? Having abandoned my beloved Saab 99 in a draughty barn for over two years, I finally got round to getting it back on the road. Looking more like a scrapyard find than the 86,000 mile cherished classic that it really is, the first job was to get it really clean. Time to call in the experts, then..
For many of us, the classic and retro car experience is not like ‘normal’ car ownership, for people with ‘normal’ cars. For those poor souls, a car is simply a means of conveyance. A method of transport to work that’s more convenient than the bus. To them, a car is a white good. A fridge on wheels. A washing machine with a stereo. To be used in all conditions and for all duties. To my mind, and I know I’m not alone out there; classic cars are to be cherished, collected and hoarded. Each one has an appeal all of its own – and, as you can never have too much of a good thing, the more you can collect, the merrier. The only downside to this desire to obtain and hoard as many cars as humanly possible, is that, occasionally, certain cars will get stuck at the back of a barn, or languish under a sheet while more recent acquisitions hog the limelight. My ’82 99 GL was a great example of this phenomenon. Knowing I wasn’t going to use it for a while, I gave it a good clean and a polish and tucked it away in a mate’s open-sided barn for a ‘month or two’. Two-and-a-half years later it was still there…
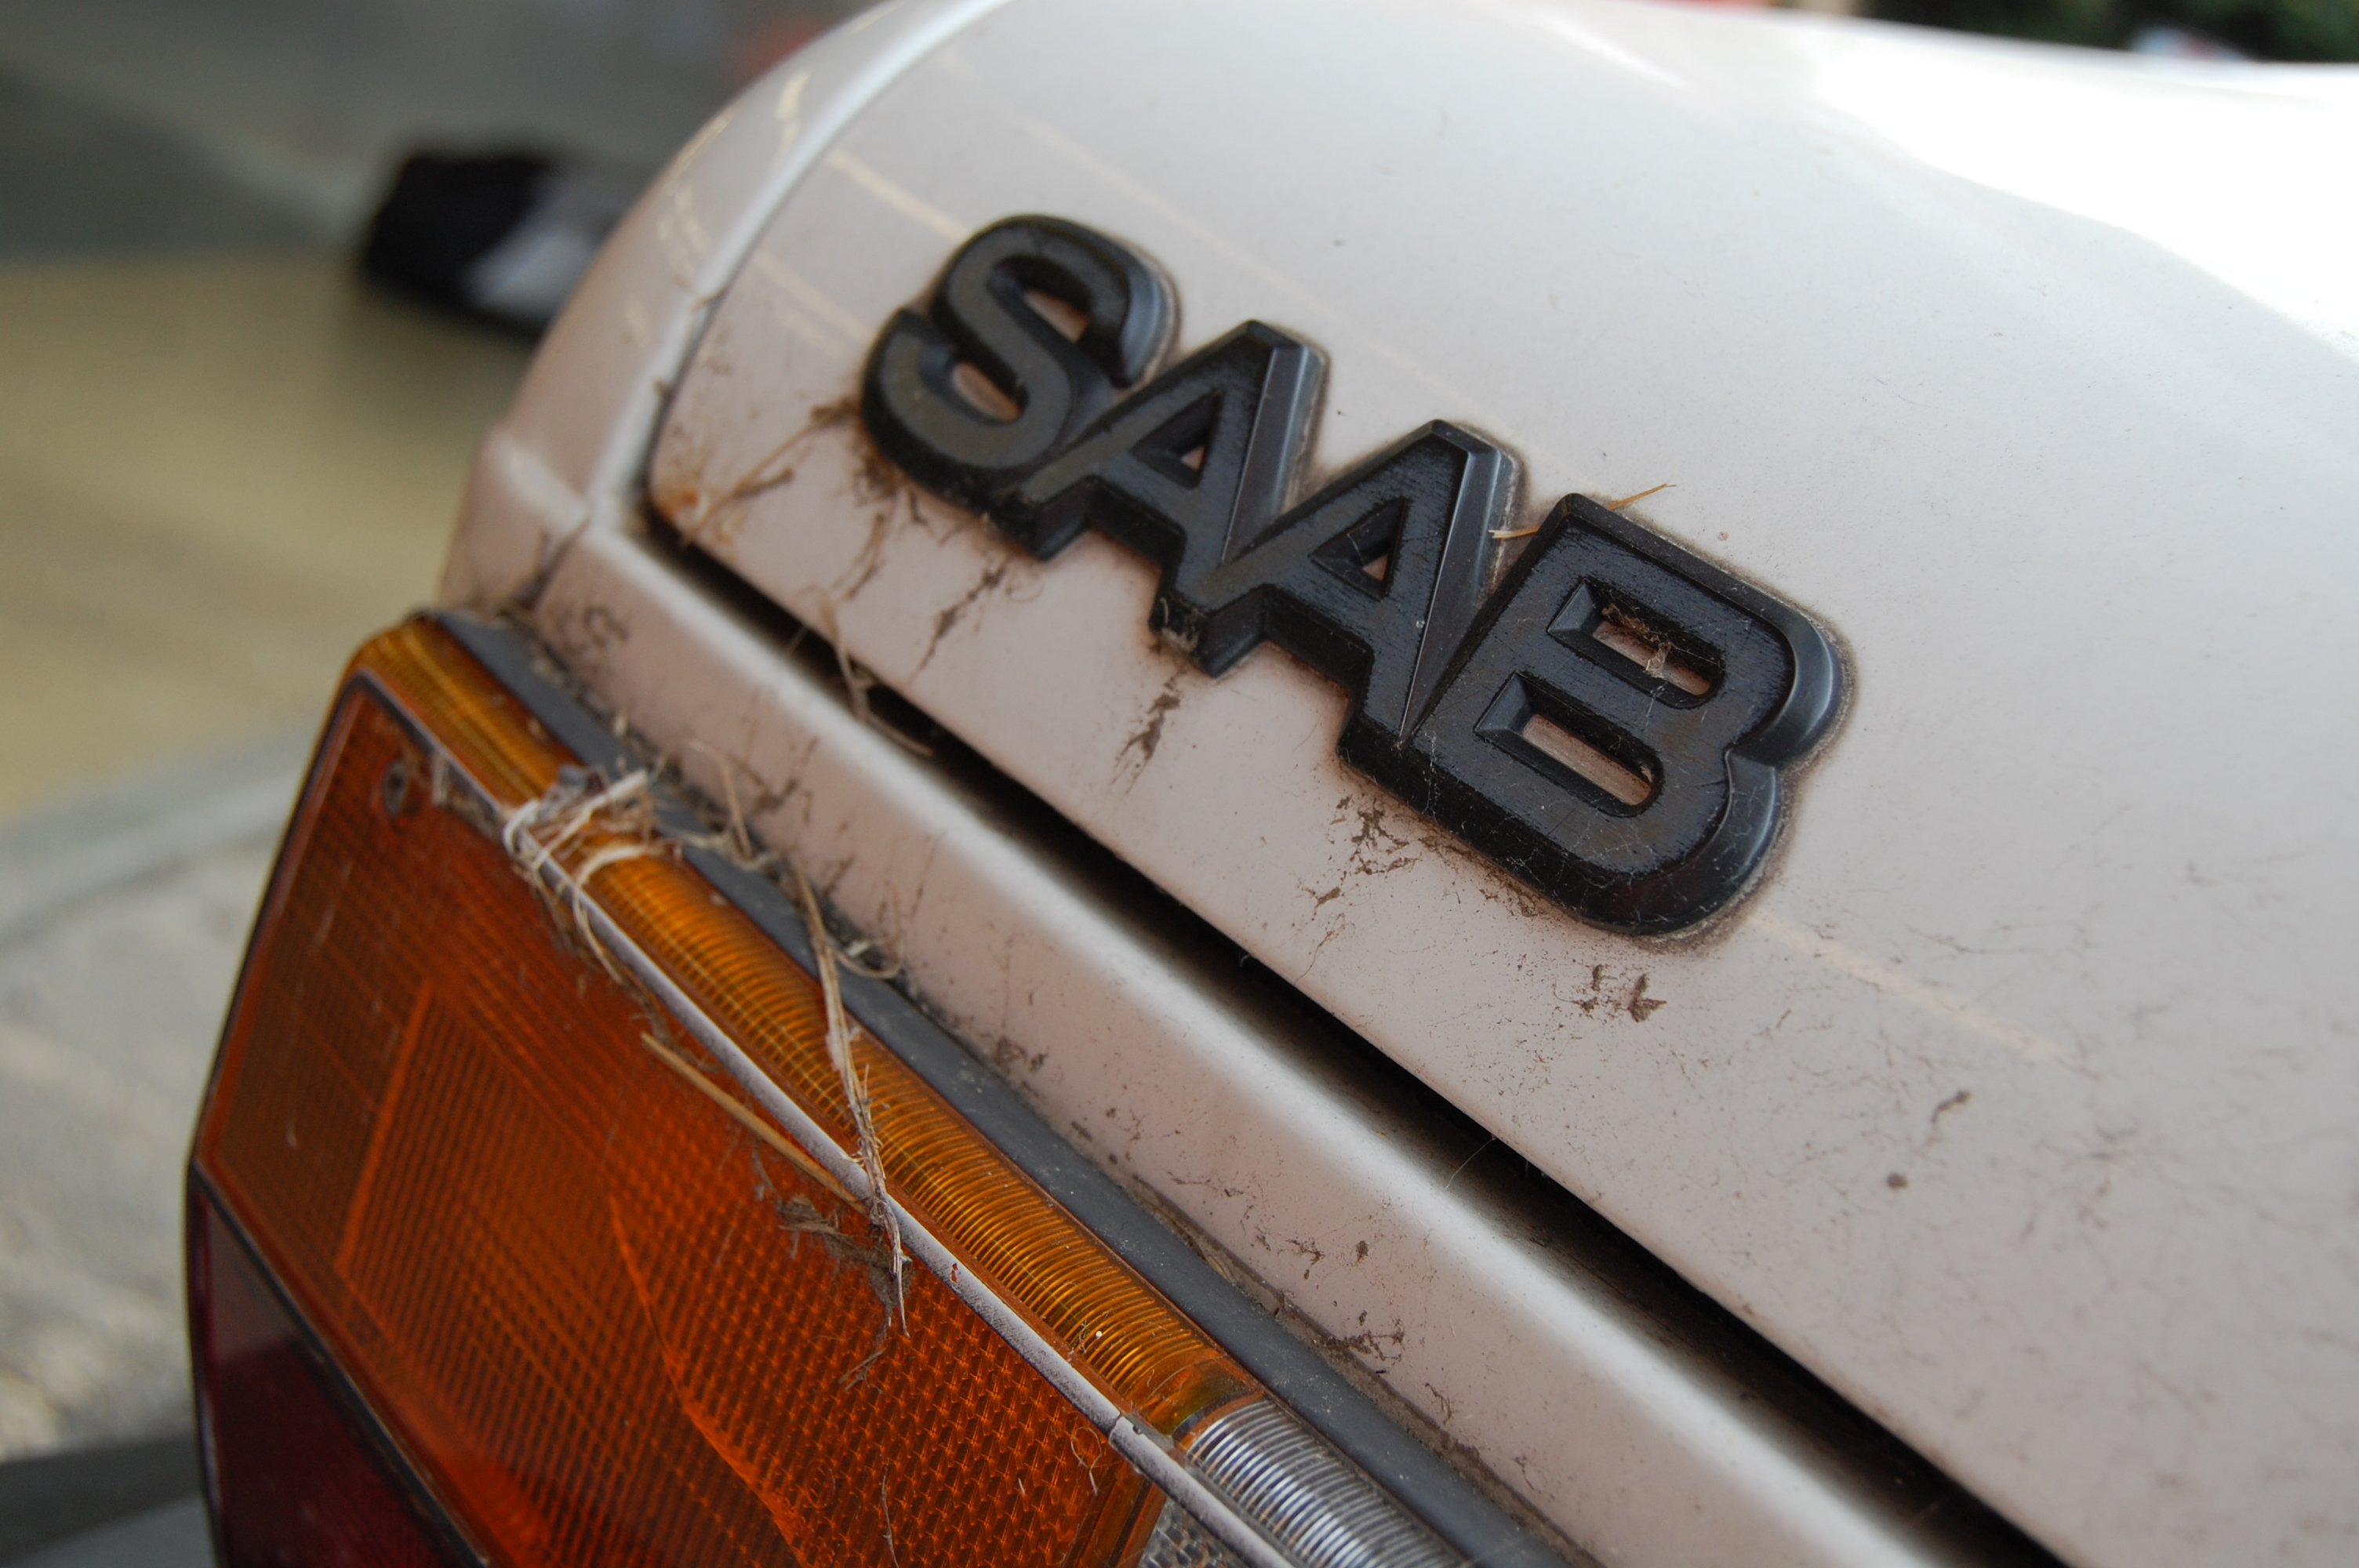
Although it started with a reassuring eagerness, bursting into life on the first turn of the motor, it was clear that almost a thousand days of storage had been harsh on the aged Swede. The once clean flanks were now crusty and covered in an assortment of barn muck and mire. The glass was filthy and small rust spots had started to appear on the factory paintwork. The benefit of the open-sided barn was a complete absence of damp however, and my rare foresight in remembering to whack 80 psi in the tyres meant they were all still round, too!

With a few cursory jobs done and a fresh MOT in place, I knew that the bodywork would need a surgical scrub to get it back to its former finery. Although I have been known to dab the occasional coat of polish on myself, an outstanding offer from Royal-warranted polishistas Autoglym sounded like a much better bet to me. As the name that shines everything from Her Royal Highness’ numerous rides, pretty much every BTCC team, several F1 outfits, Jaguar, Aston Martin and just about every other high fallutin’ manufacturer of note, this British institution has had over five decades at the top of its game. It’s impressive UK factory also houses a ‘Valeting Academy’, where the great and good of the global detailing world come to be versed in the black art of applying skilfully crafted potions, lotions and waxes in ways that make concours judges beam with delight. It’s a very serious business.
Presenting Technician Martin with my filthy 99 didn’t seem to phase him much. Like many of Autoglym’s staff, he’s been there since he was knee-high to a grasshopper and over his many years of service has seen far worse examples. Keen to try and replicate the kind of result that can be achieved at home on the driveway, Martin eschewed the impressive array of trade concoctions at his disposal in favour of the iconic white bottles that mere mortals like you and I can easily acquire from our local accessory store. (or indeed, here)

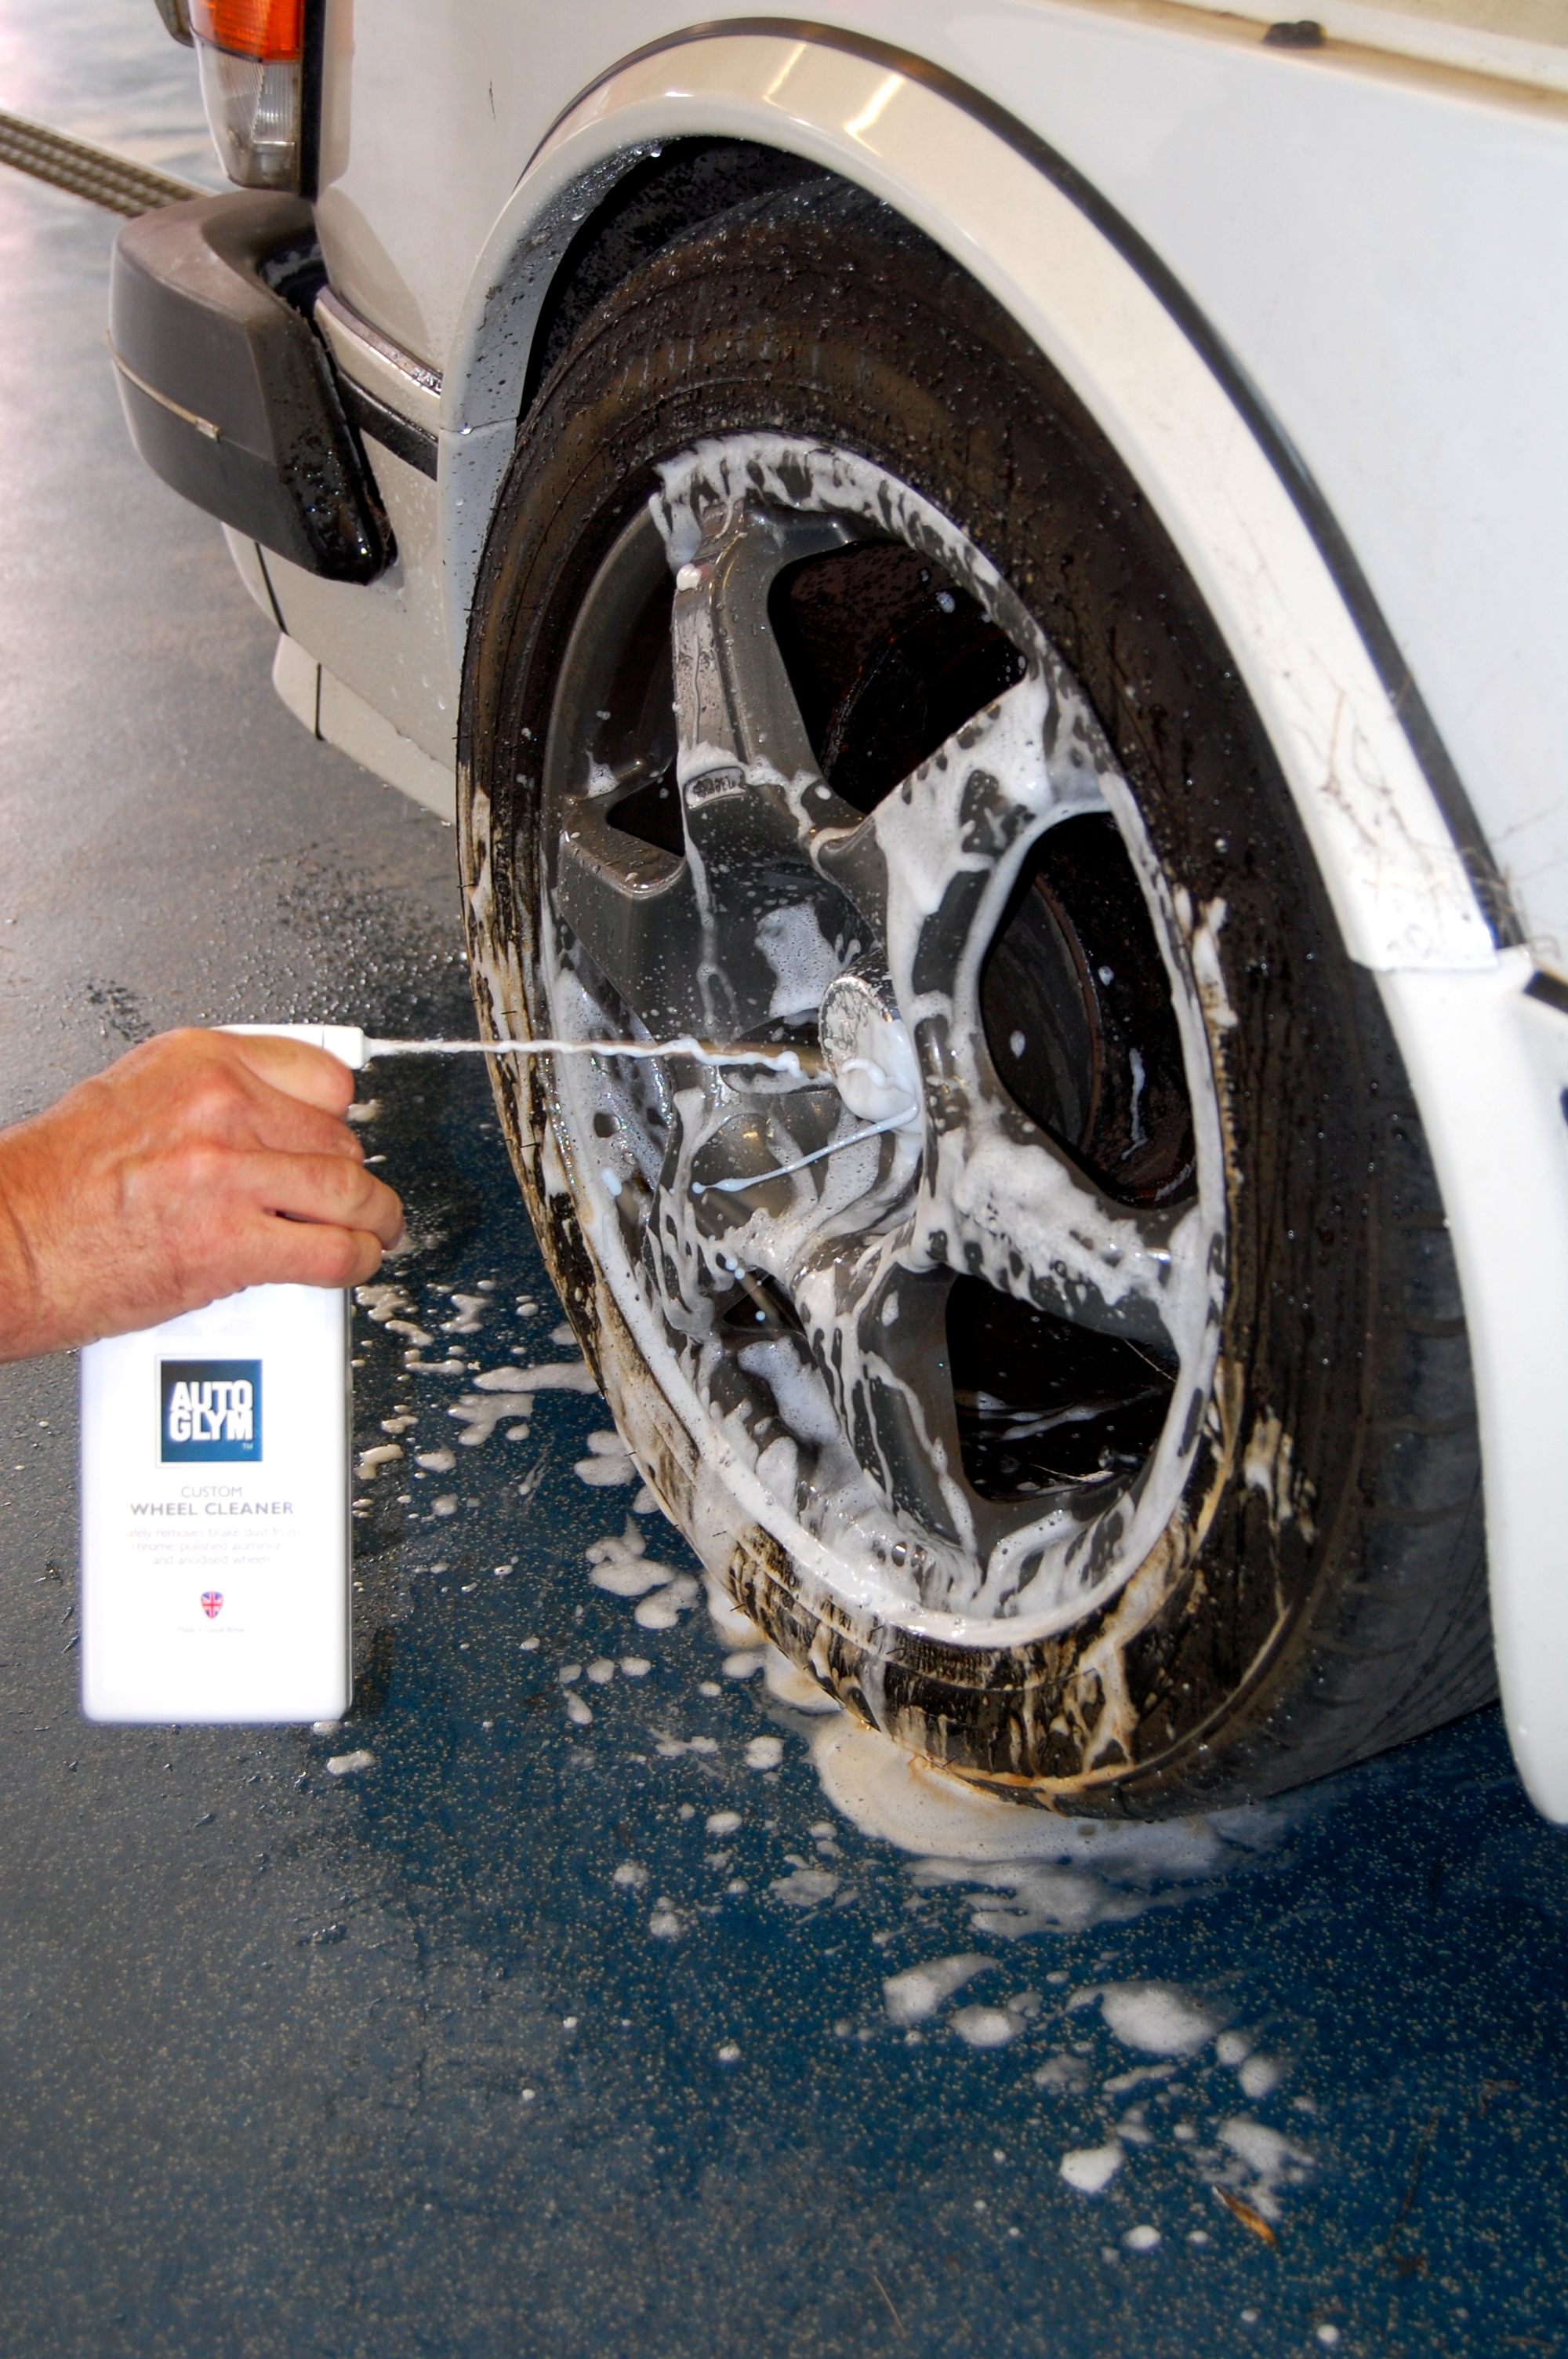
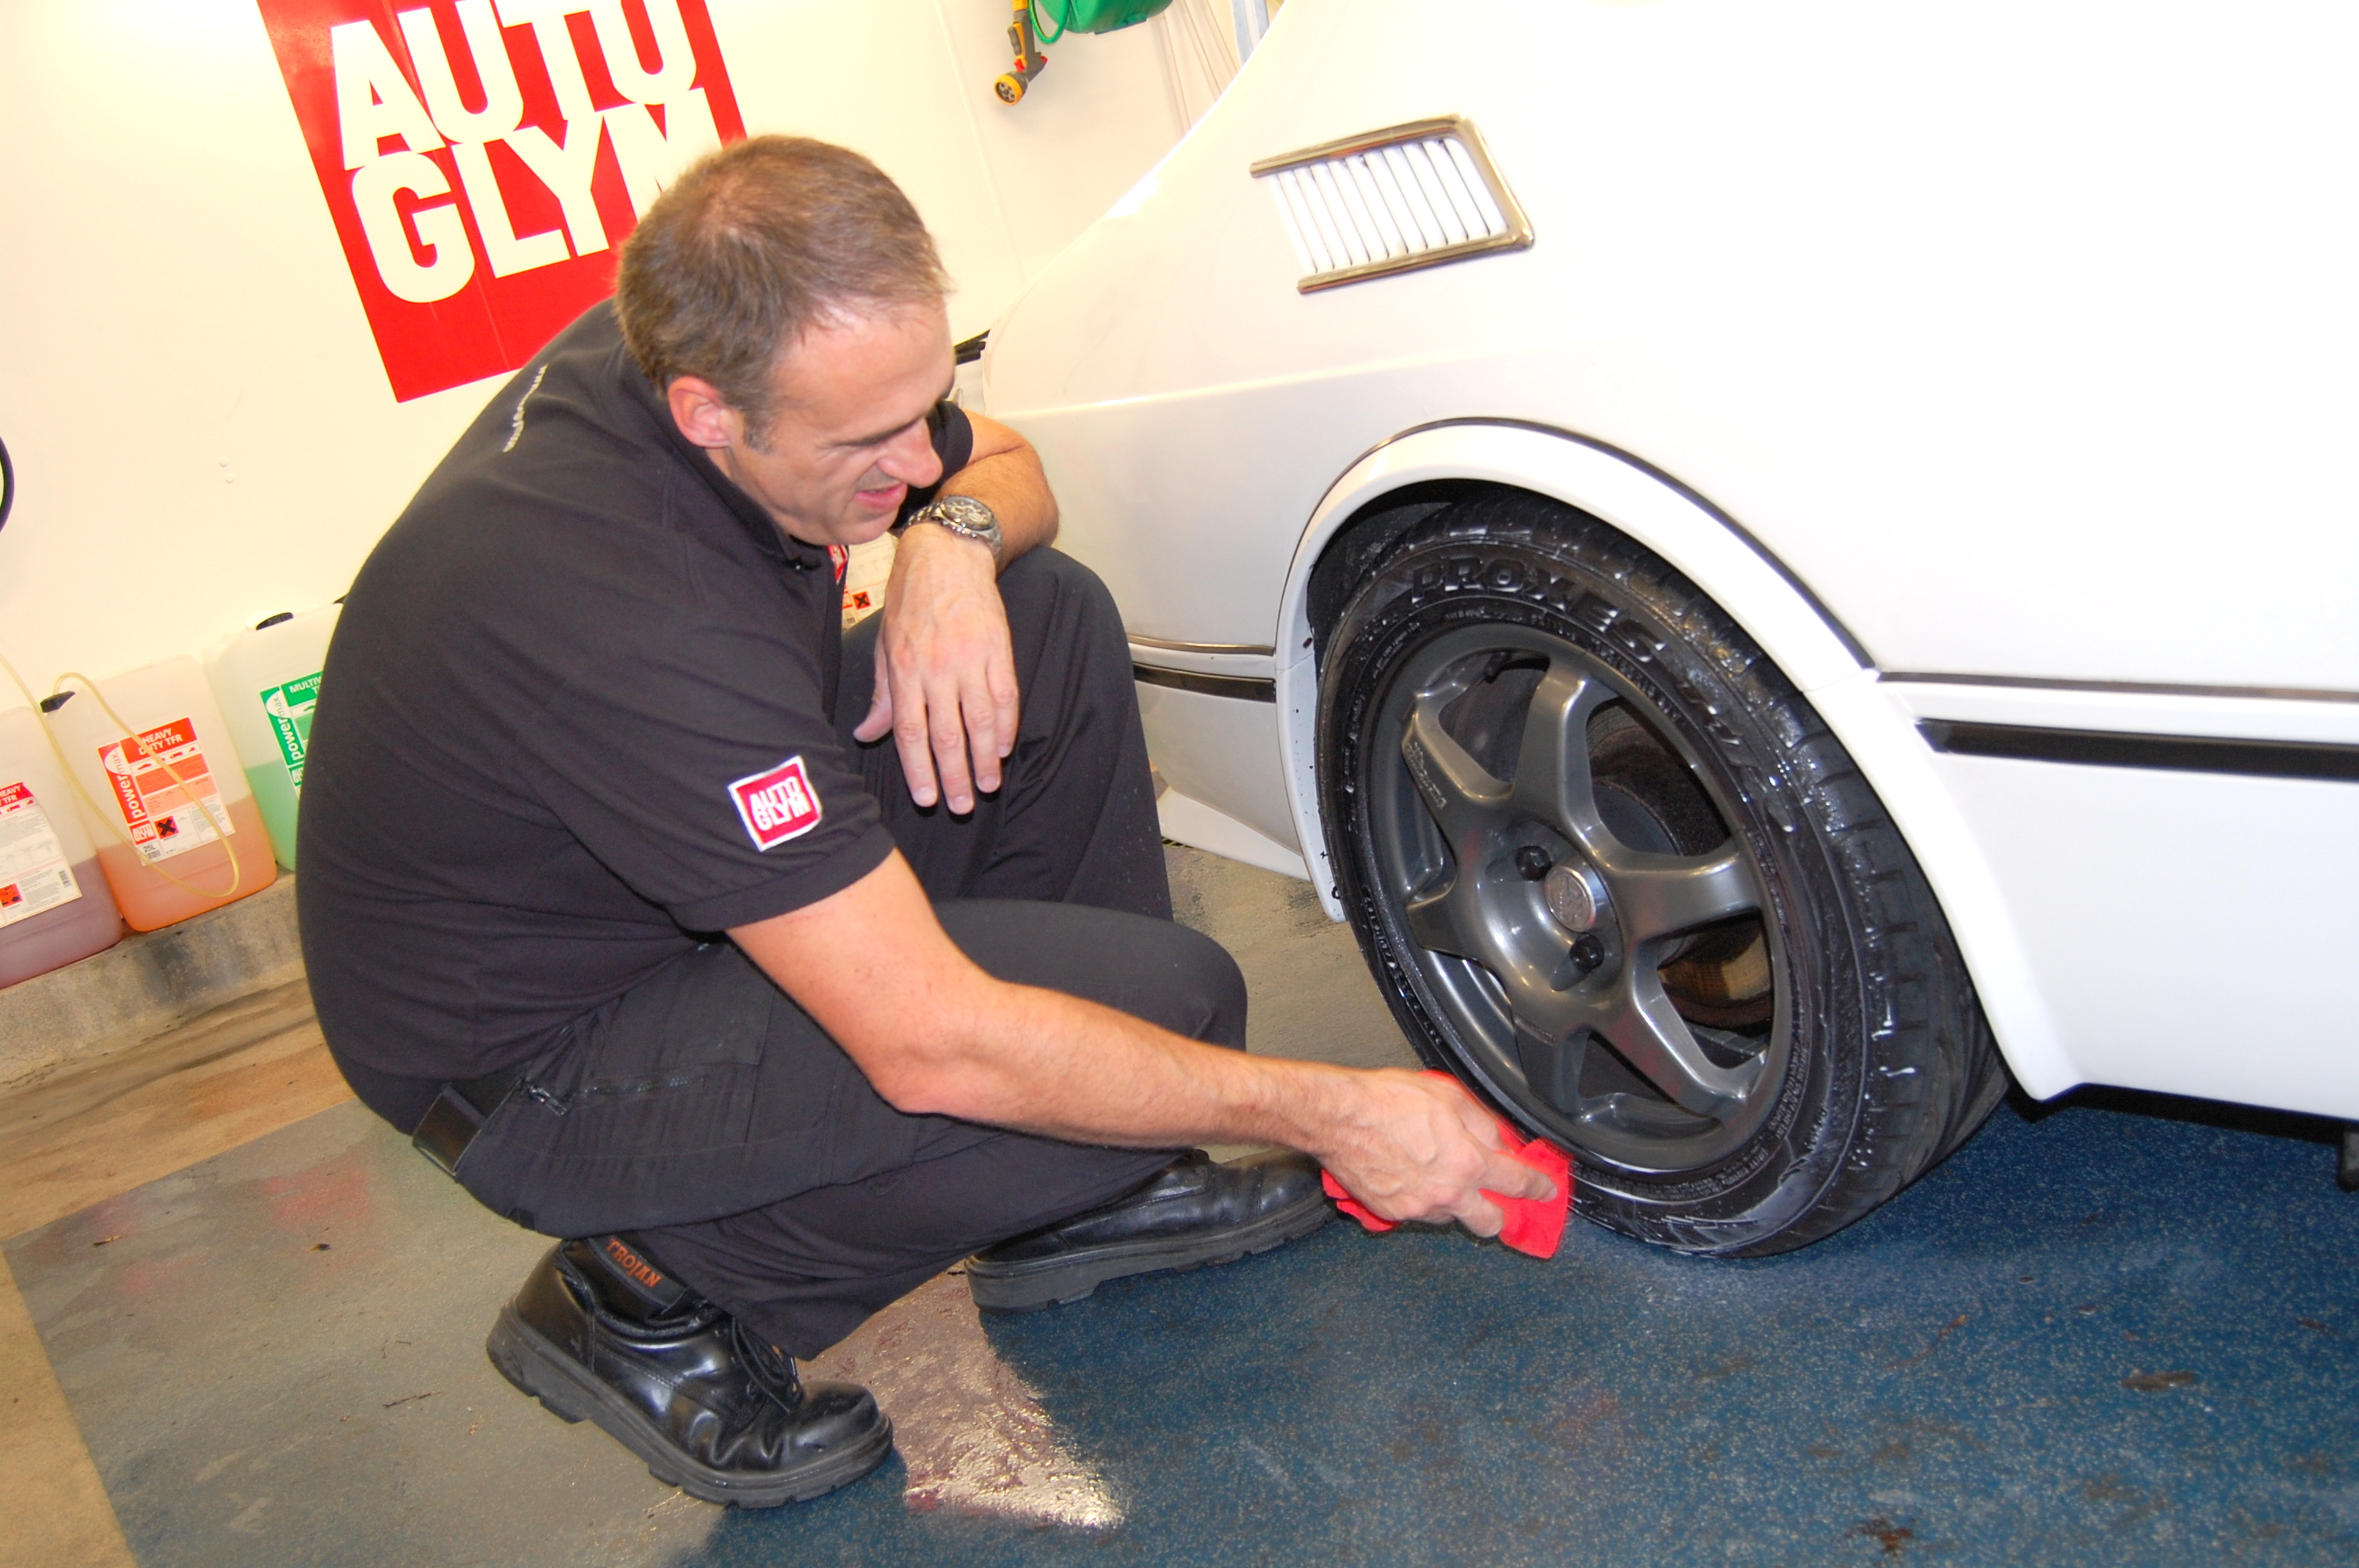
Beginning by brushing out the amassed detritus from every door, boot and bonnet shut, Martin, then set to with a selection of degreasers and cleaners on areas like the door hinges and under the bonnet. Engine and Machine Cleaner was used under the bonnet, with Motorcycle Degreaser proving a worthy foil for the grotty door shuts. Although the 99 is a simple beast electronically, he also took great care to bag off any areas like the dizzy or fuseboard that might take umbrage to the copious quantity of water that was about to follow. The wheels were cleaned with Custom Wheel Cleaner, with is also suitable for any of you polished and chrome types out there, being non-acidic. I was astounded at the amount of old tyre sheen that came off too.. That’s all the brown gunk around the rims. – the sign of cheap tyre sheen apparently…
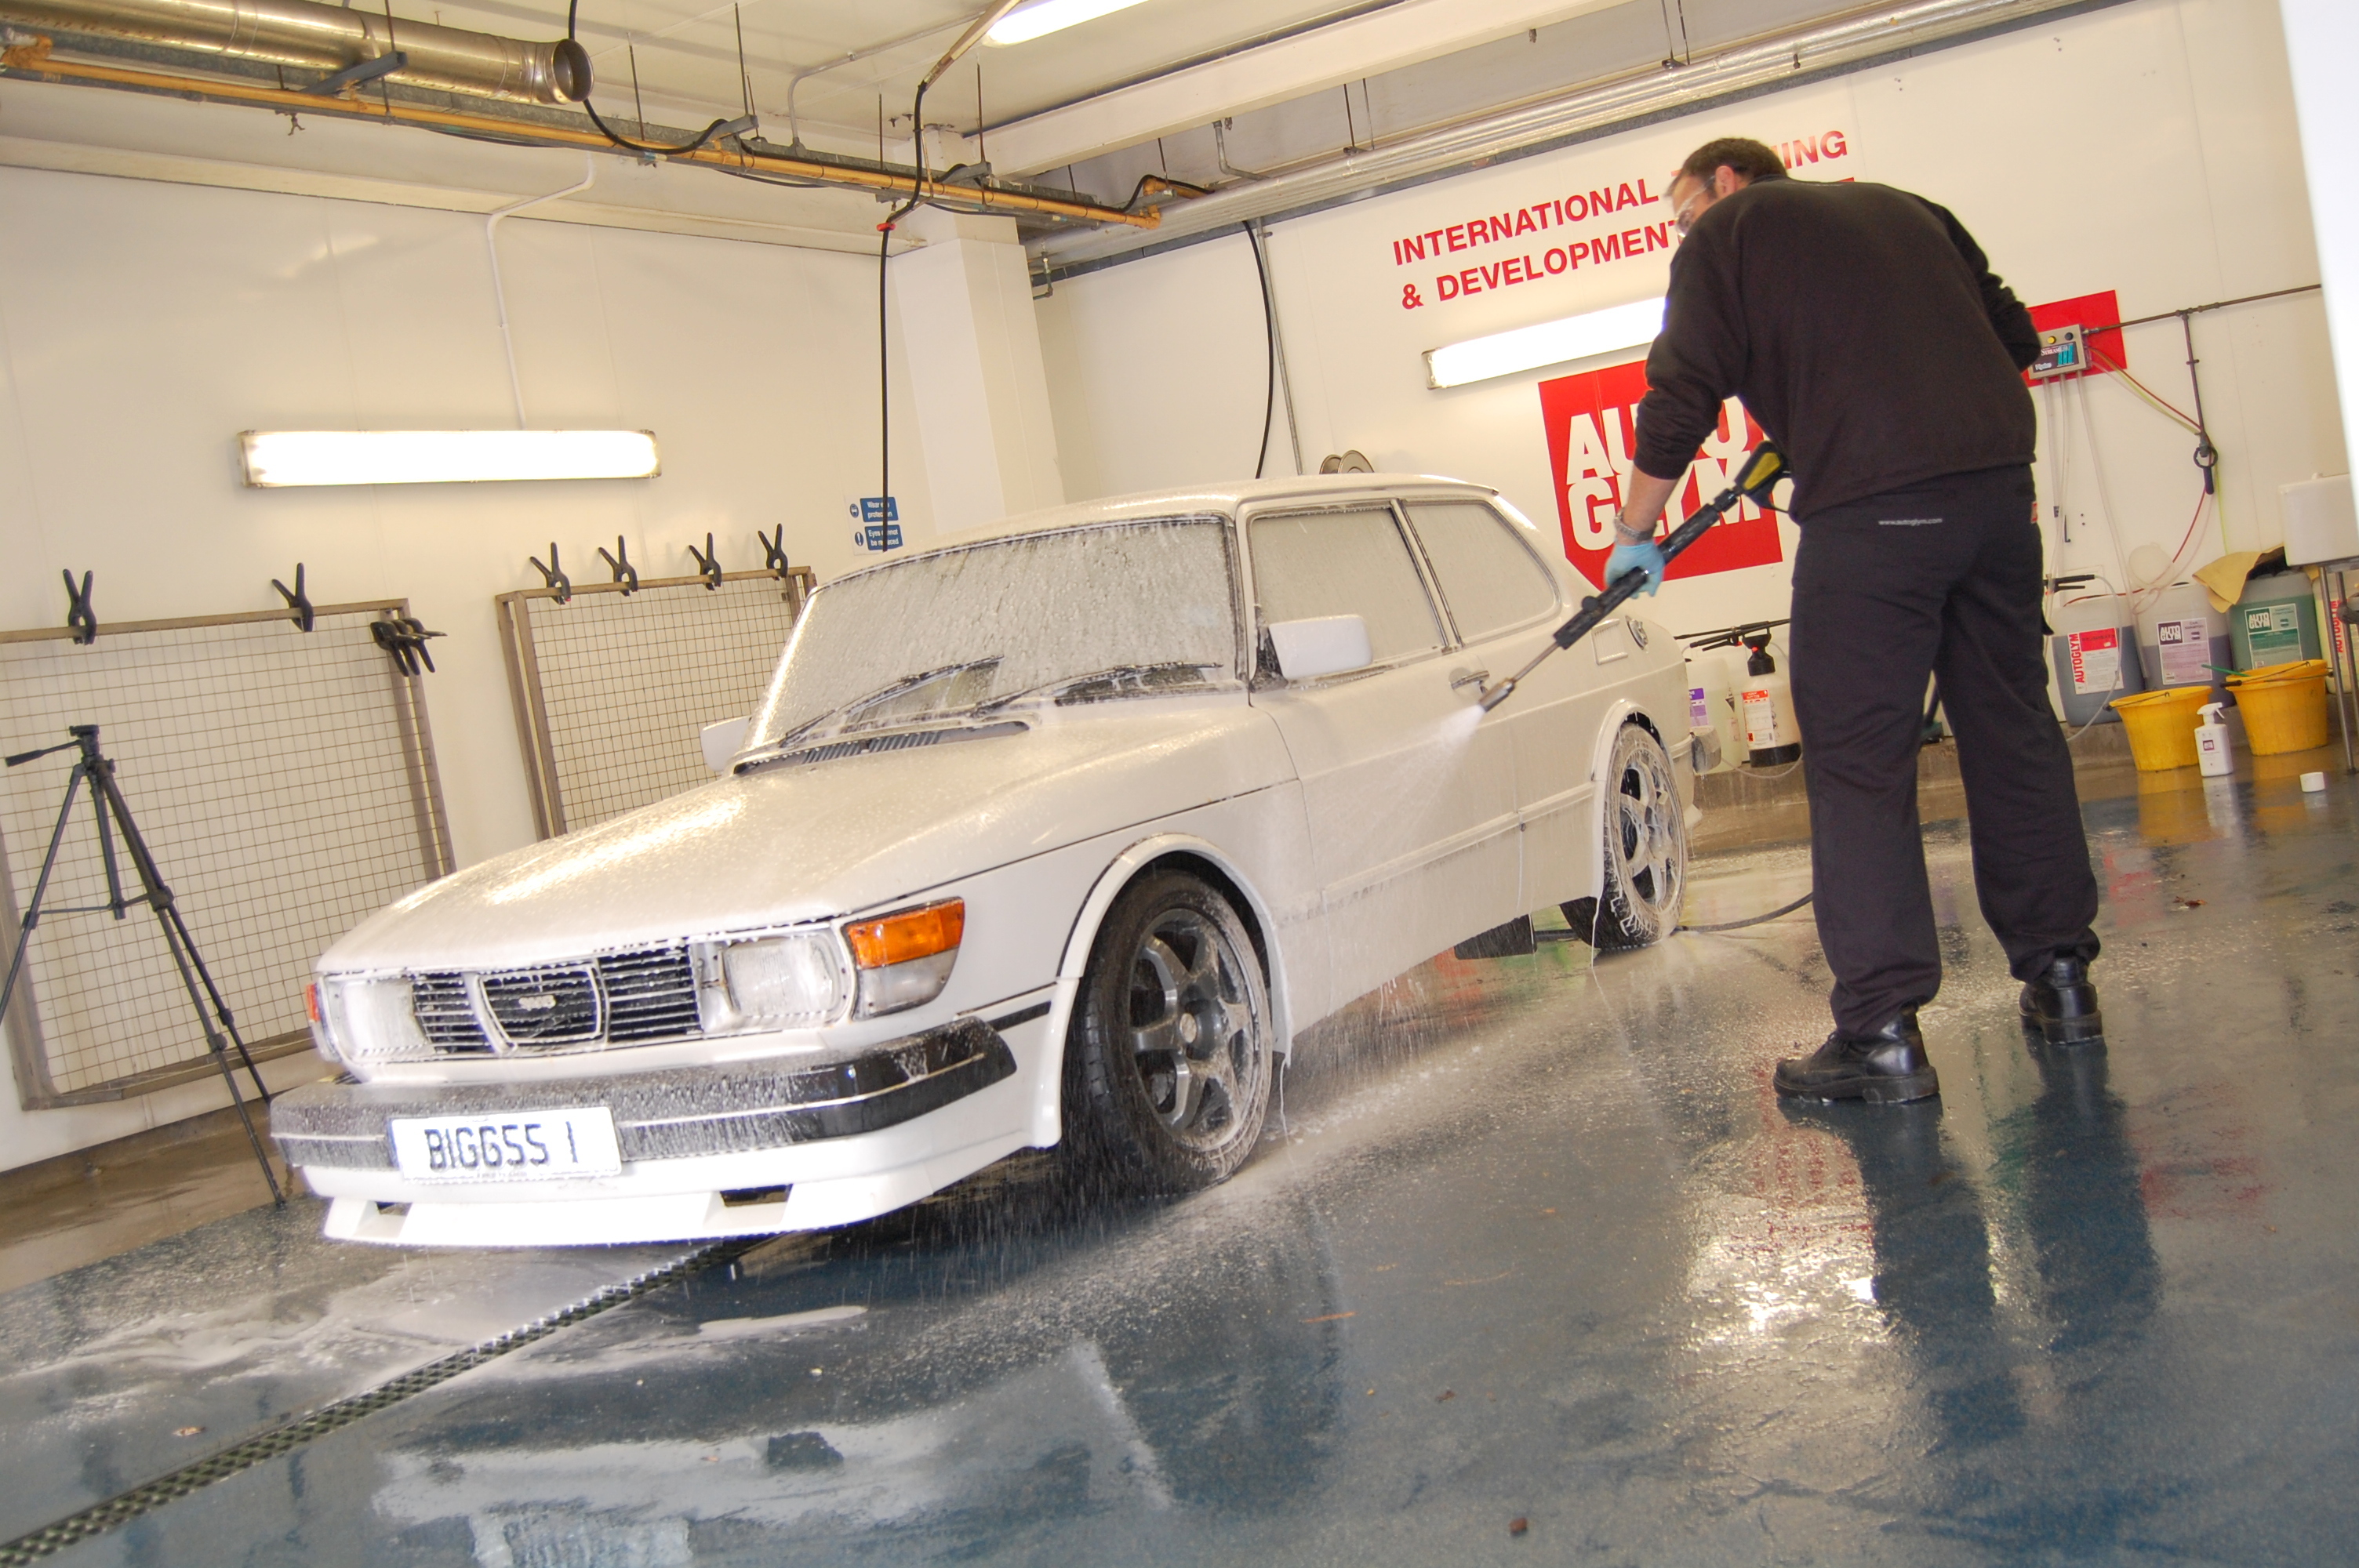
The jetwash was then broken out for some impressive swordsmanship along the shuts, jambs and carefully around the engine bay, before the car itself was ‘Snowfoamed’ with High Foam Traffic Film Remover. This was the one time we did allow Martin to dip into his box of ‘trade tricks’, simply to get a great shot, if we’re honest! The foam helps to pull any remaining dirt off the car, prior to a careful hand-wash with the perennial range favourite that is Bodywork Shampoo and Conditioner. After a thorough scrubbing, the 99 was ready for its next two stages.
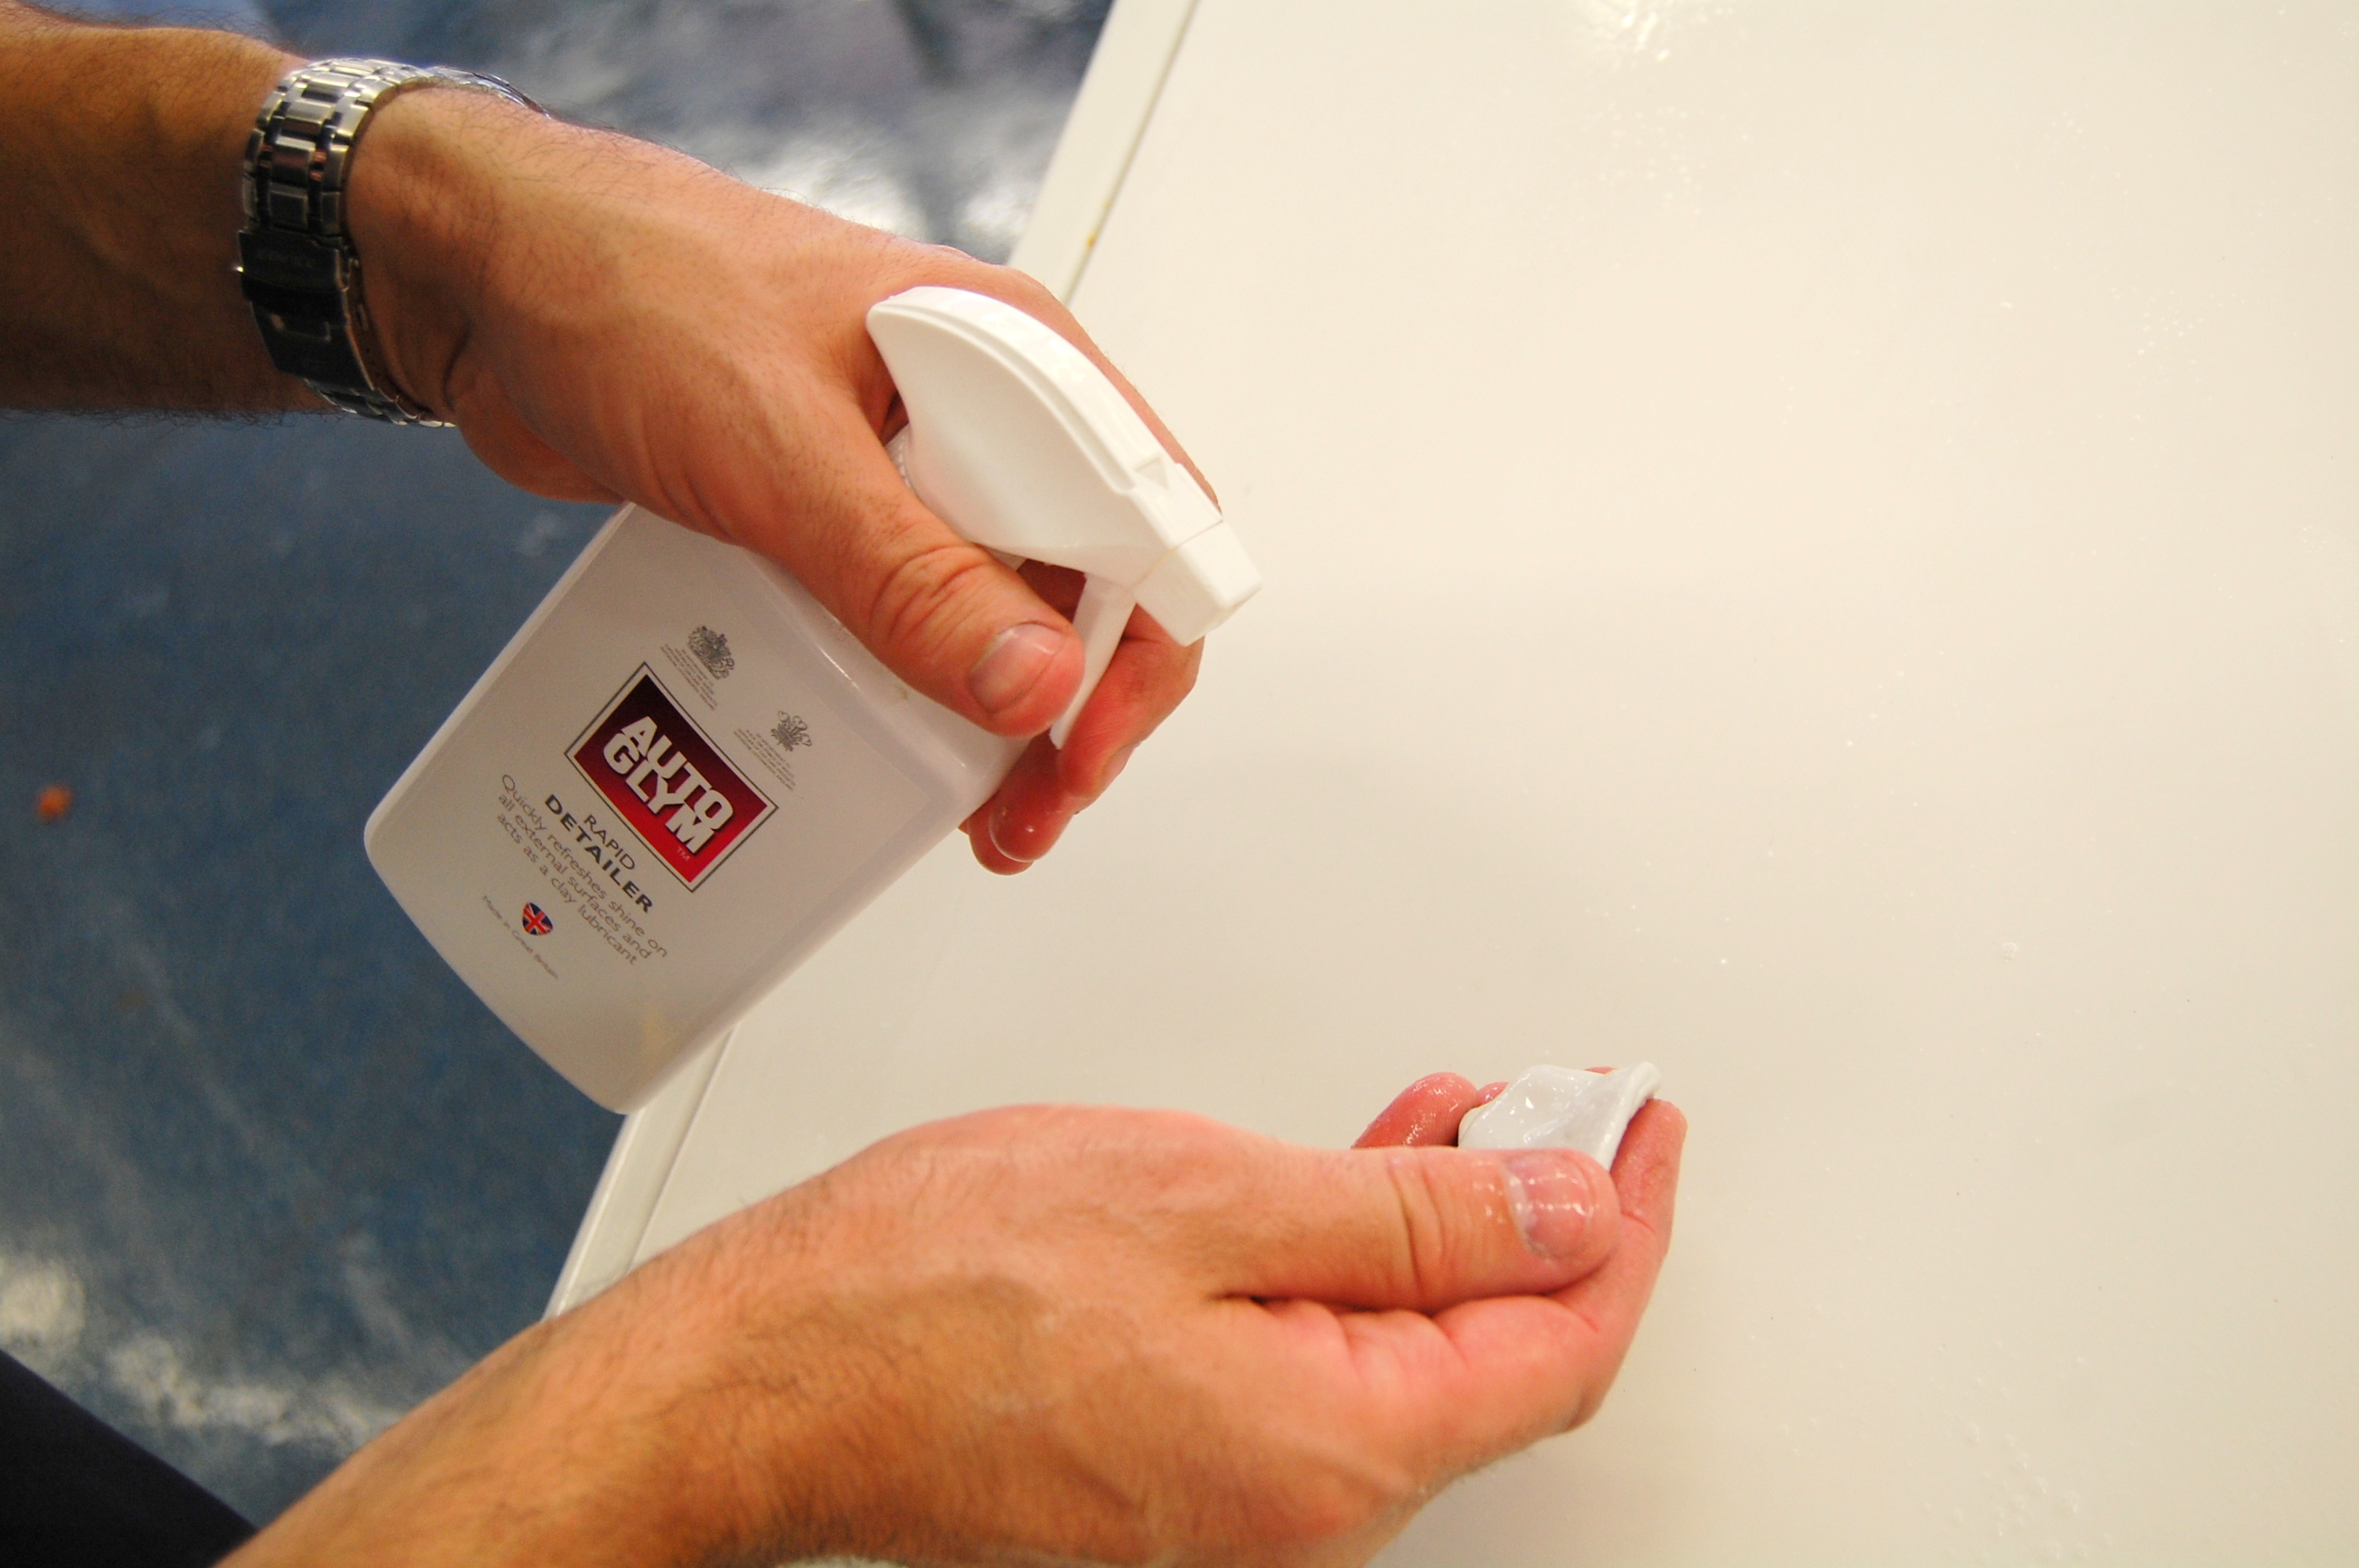
Although the car now looked very clean, a light fingertip drag across its flanks revealed that it really wasn’t. Years of contaminants needed to be removed before any polish could go on. The first step to bodily perfection comes in the form of the Surface Detailing Clay Kit, which includes a soft clay bar which glides across the paint on a layer of Quick Detailer, lifting off tree sap, dirt and particles as it goes. High Definition Cleanser is then applied all over to remove any previously applied waxes, polishes and sealants, before a sparing dab here and there of Intensive Tar Remover. Well, you can probably guess what that did..
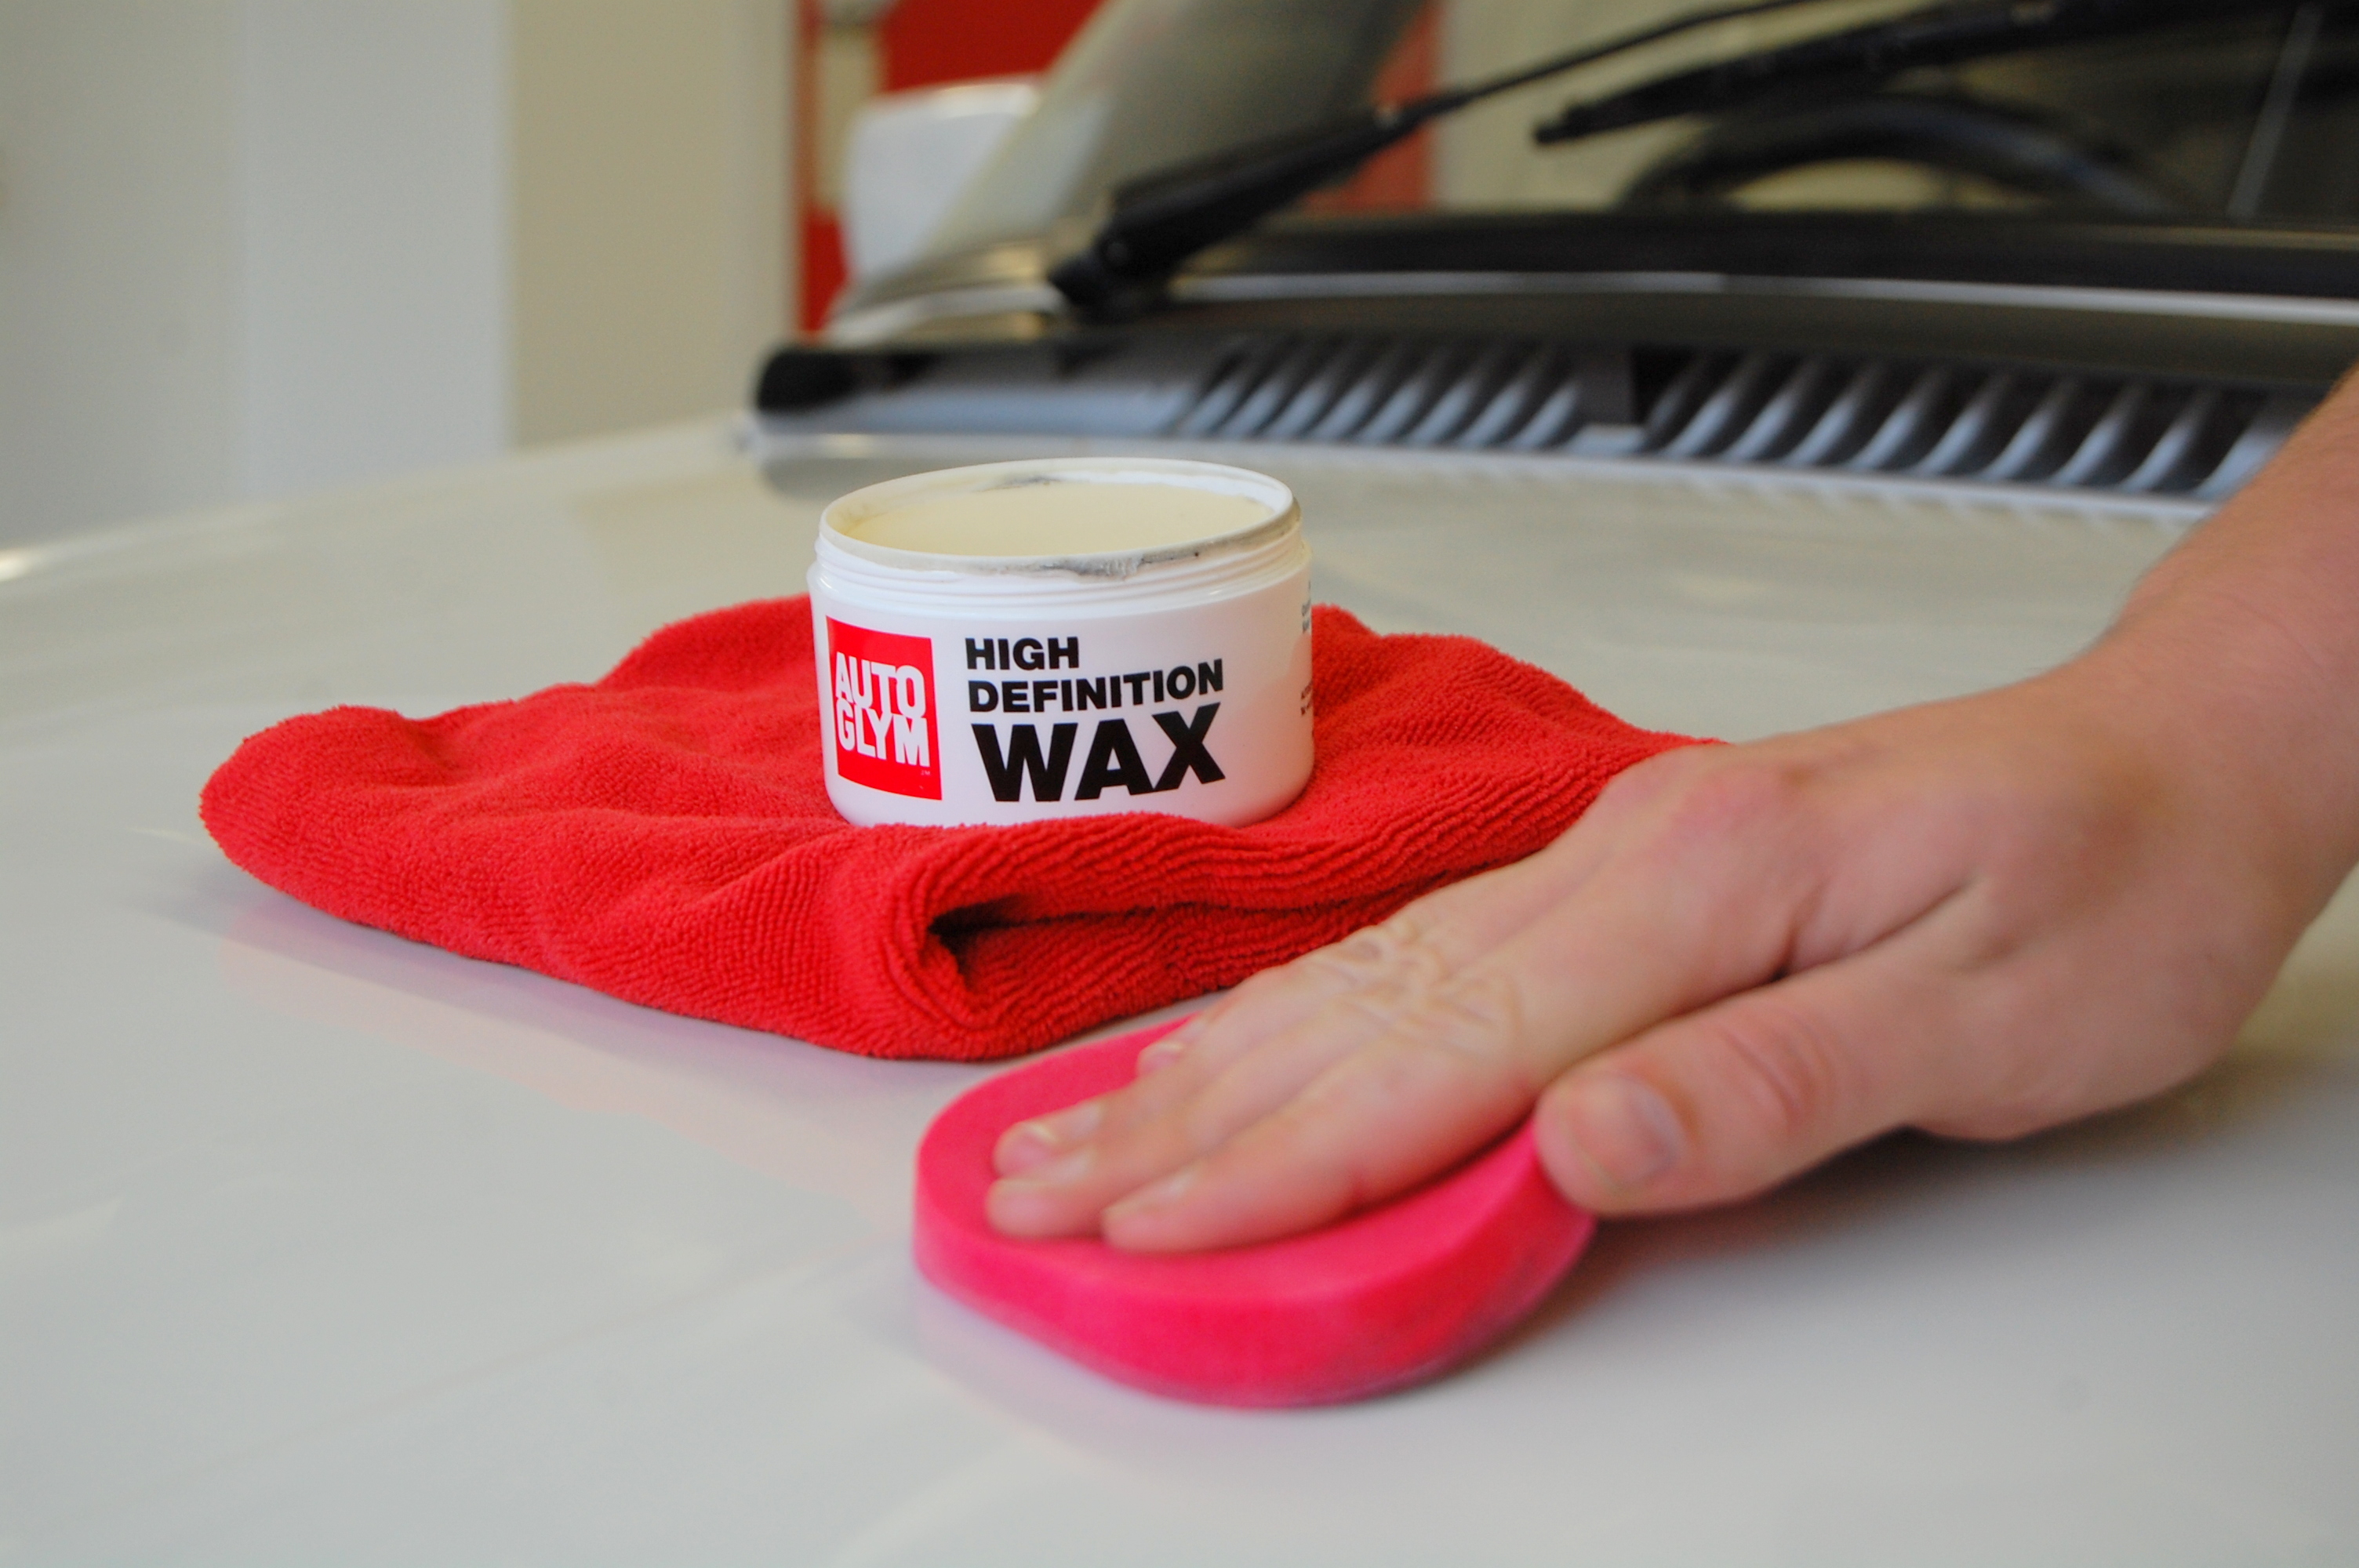
With paintwork that was then microscopically clean, a coat of Super Resin Polish was applied all over and left, while other areas like the rubbers and trims were treated with Bumper and Trim Gel and the glass was shone with Car Glass Polish. An interesting tip I learned here was to leave the body polish on whilst all these other potions were applied. That way, should you get a little over exuberant and apply a bit of bumper gel on your bodywork, it sits on the polish and wipes off more easily! Clever, huh?
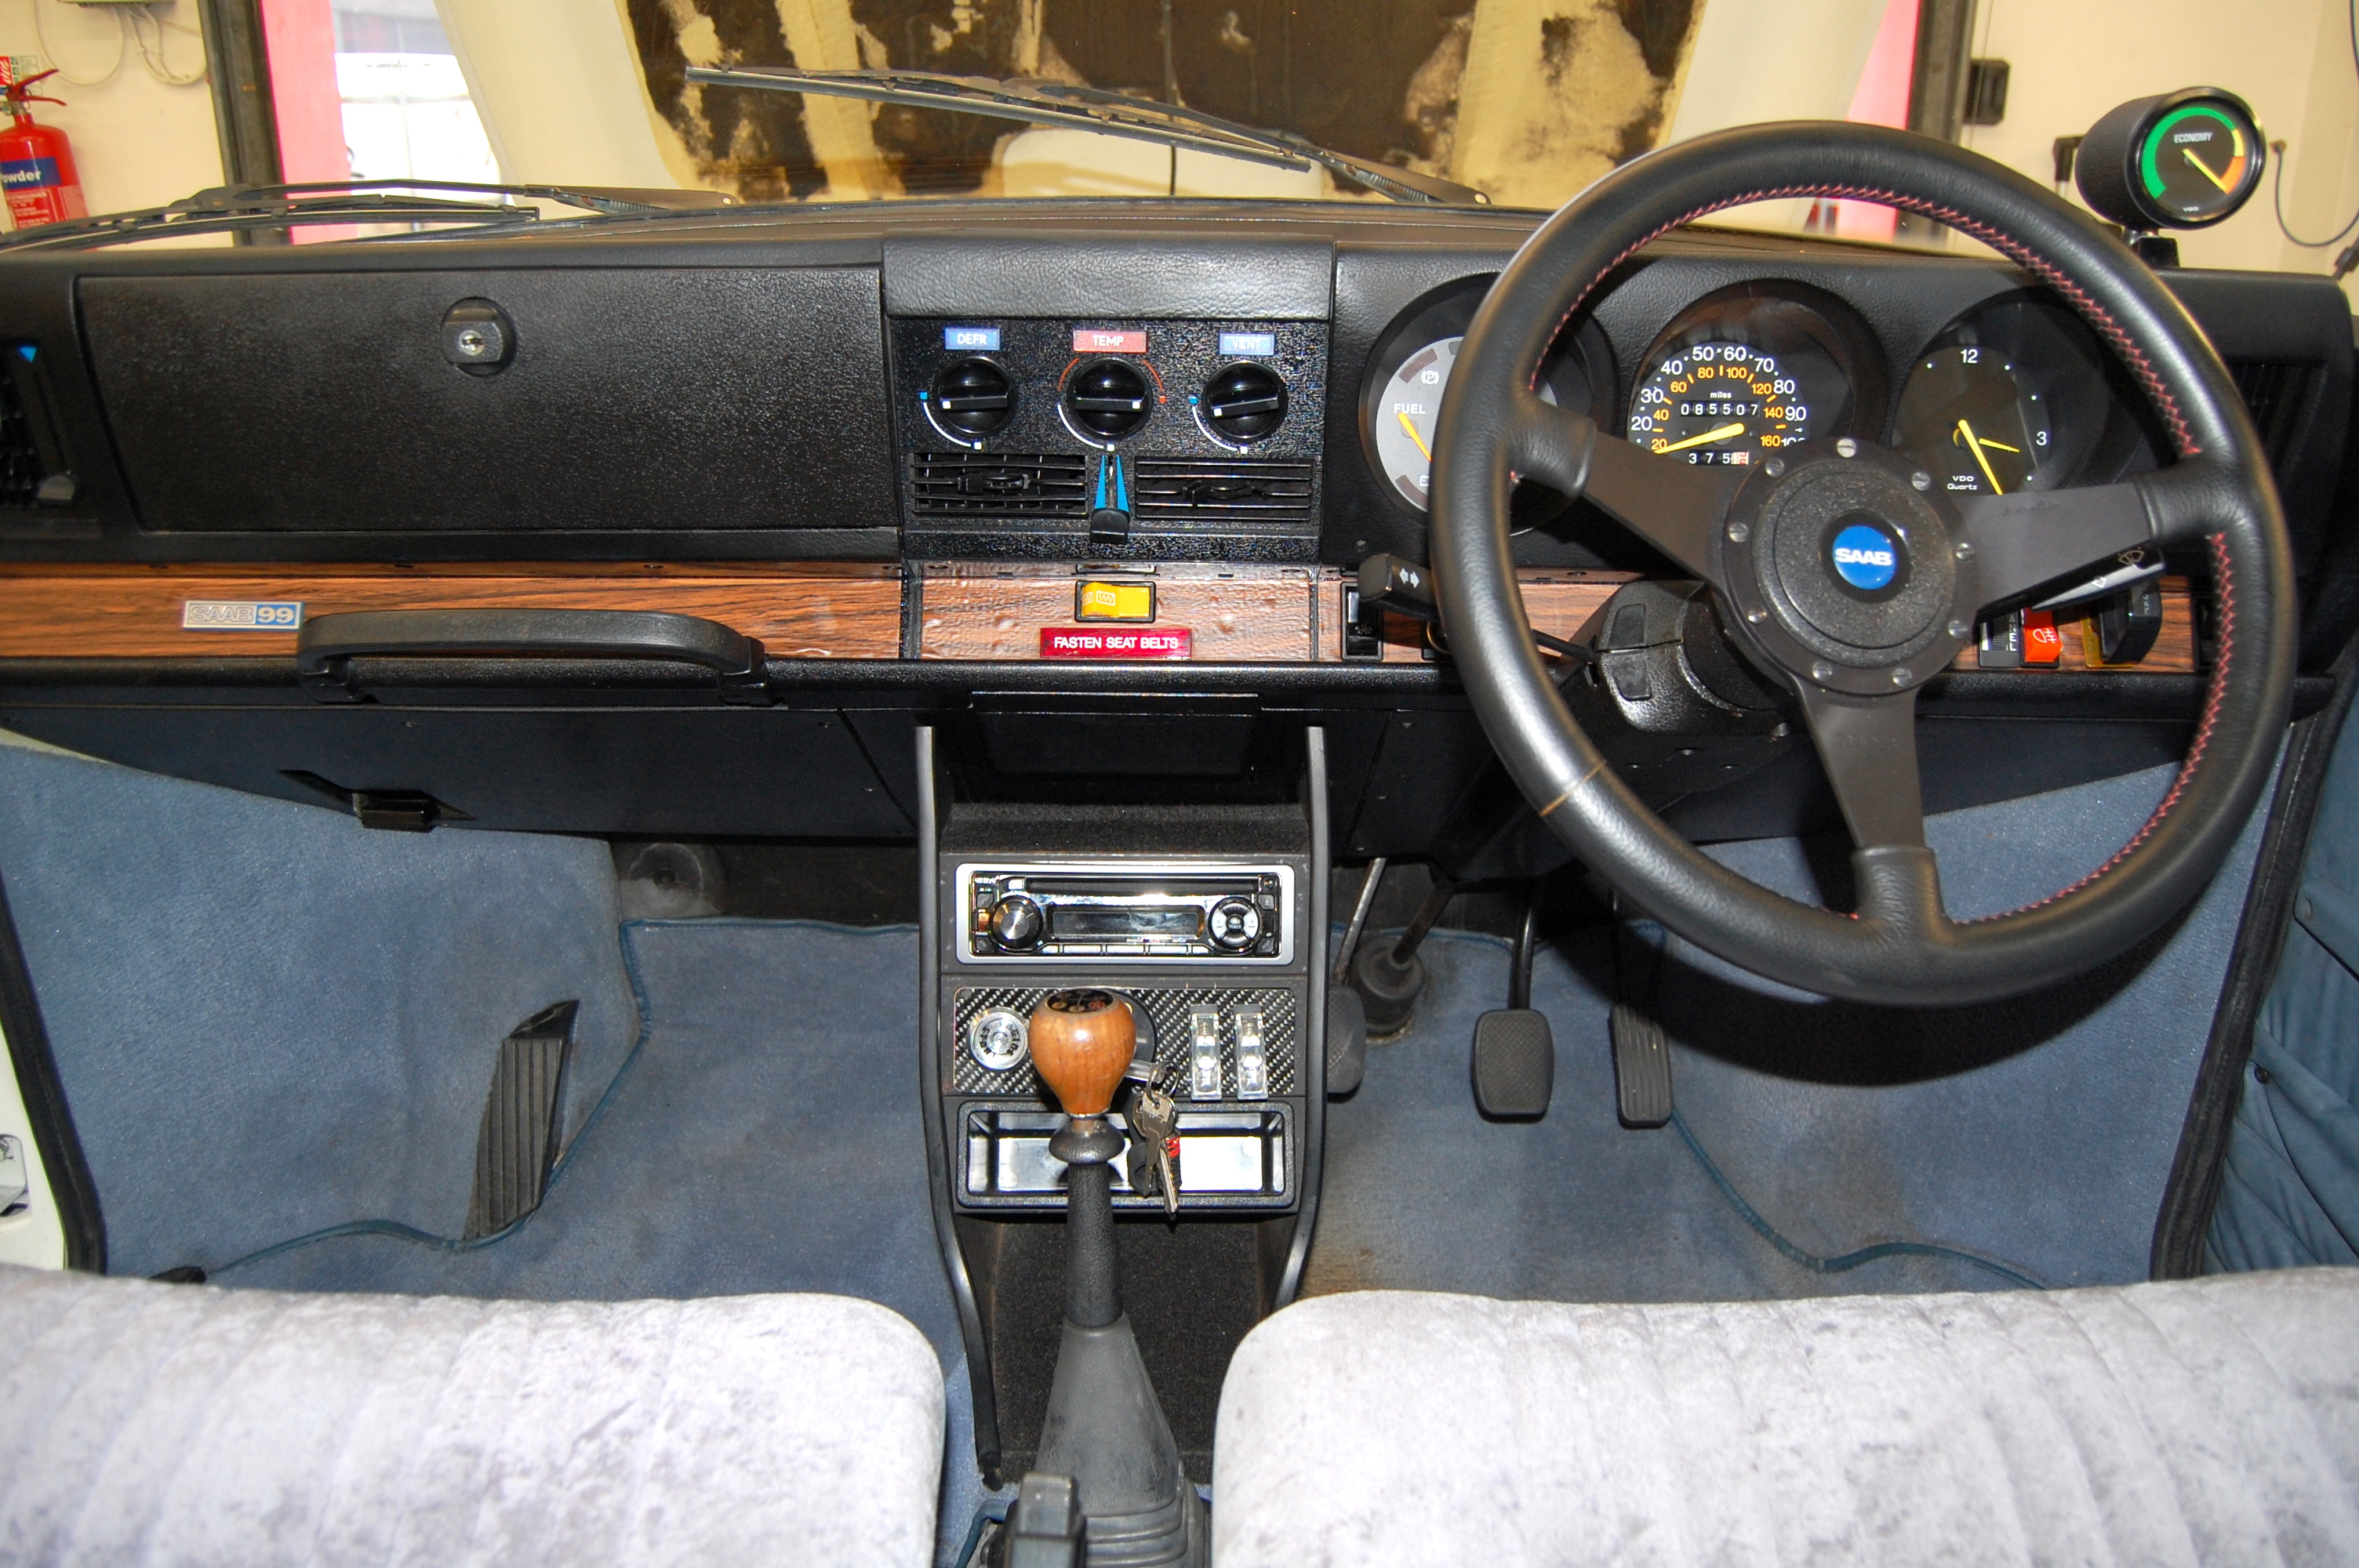
With the Super Resin Polish removed, a further coat of High Definition Wax was applied, and once again left, as the interior was given a good going over. Interior Shampoo was used to scrub all surfaces – and with superb results.
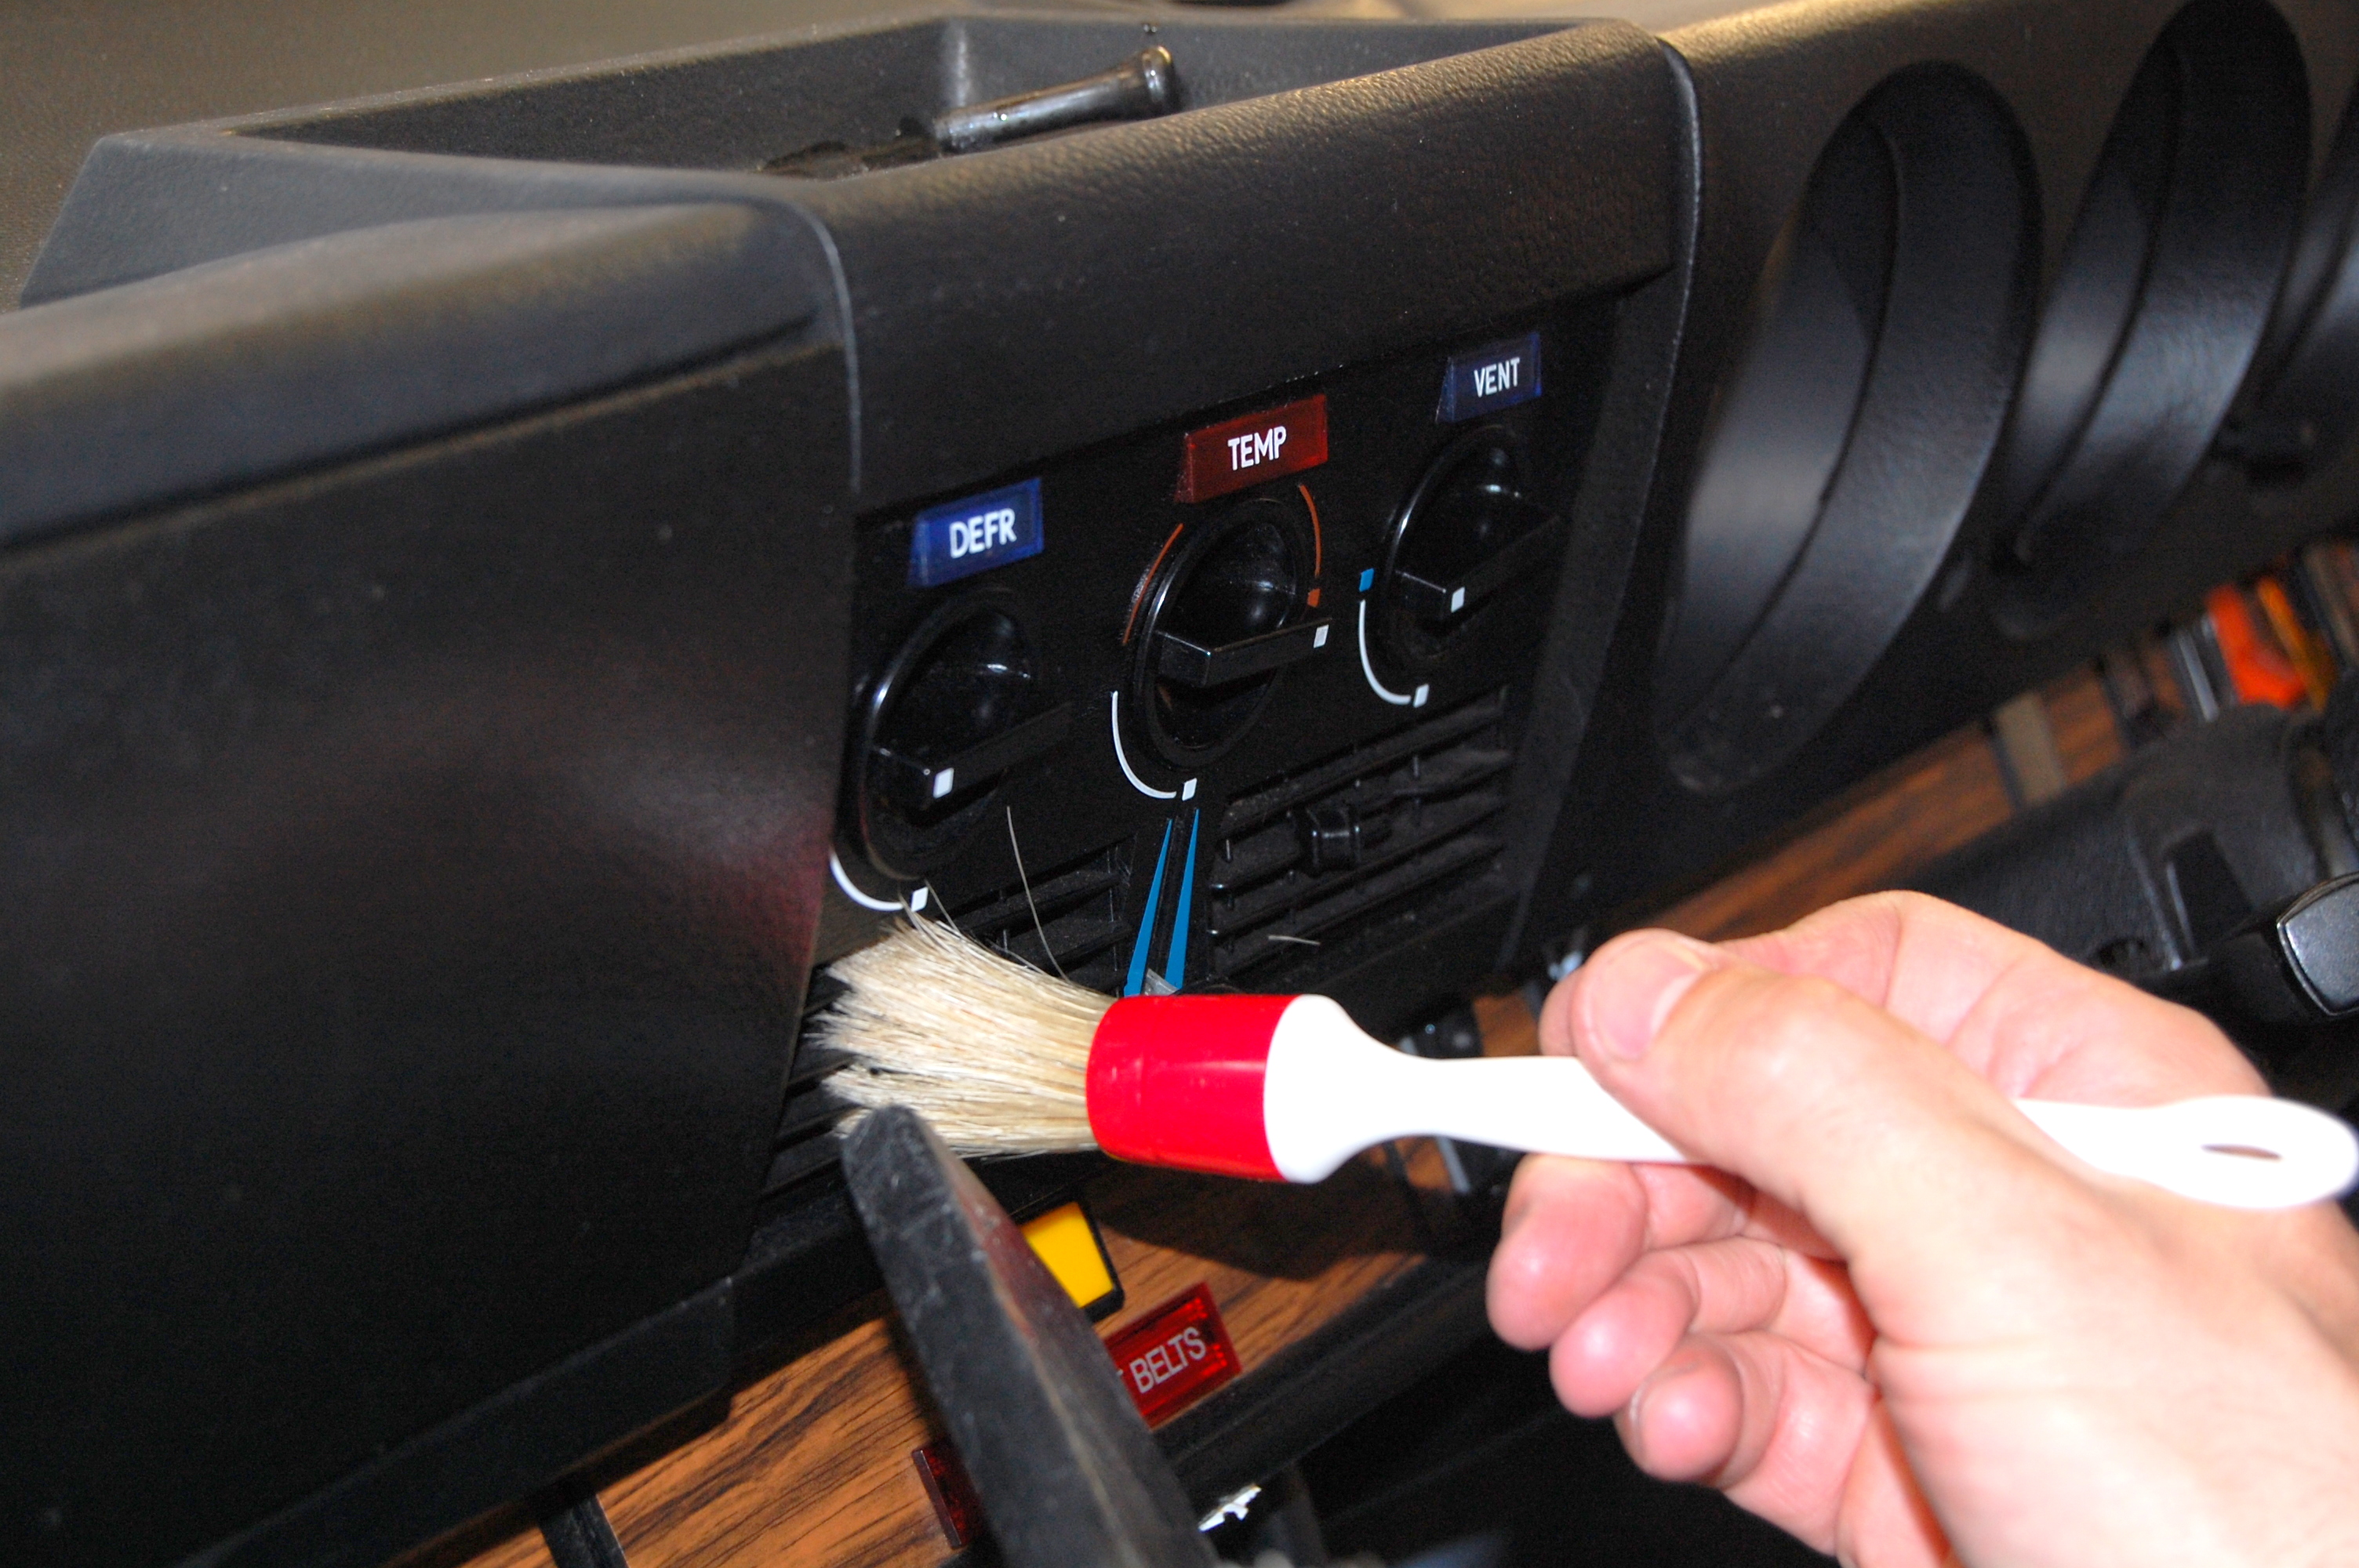
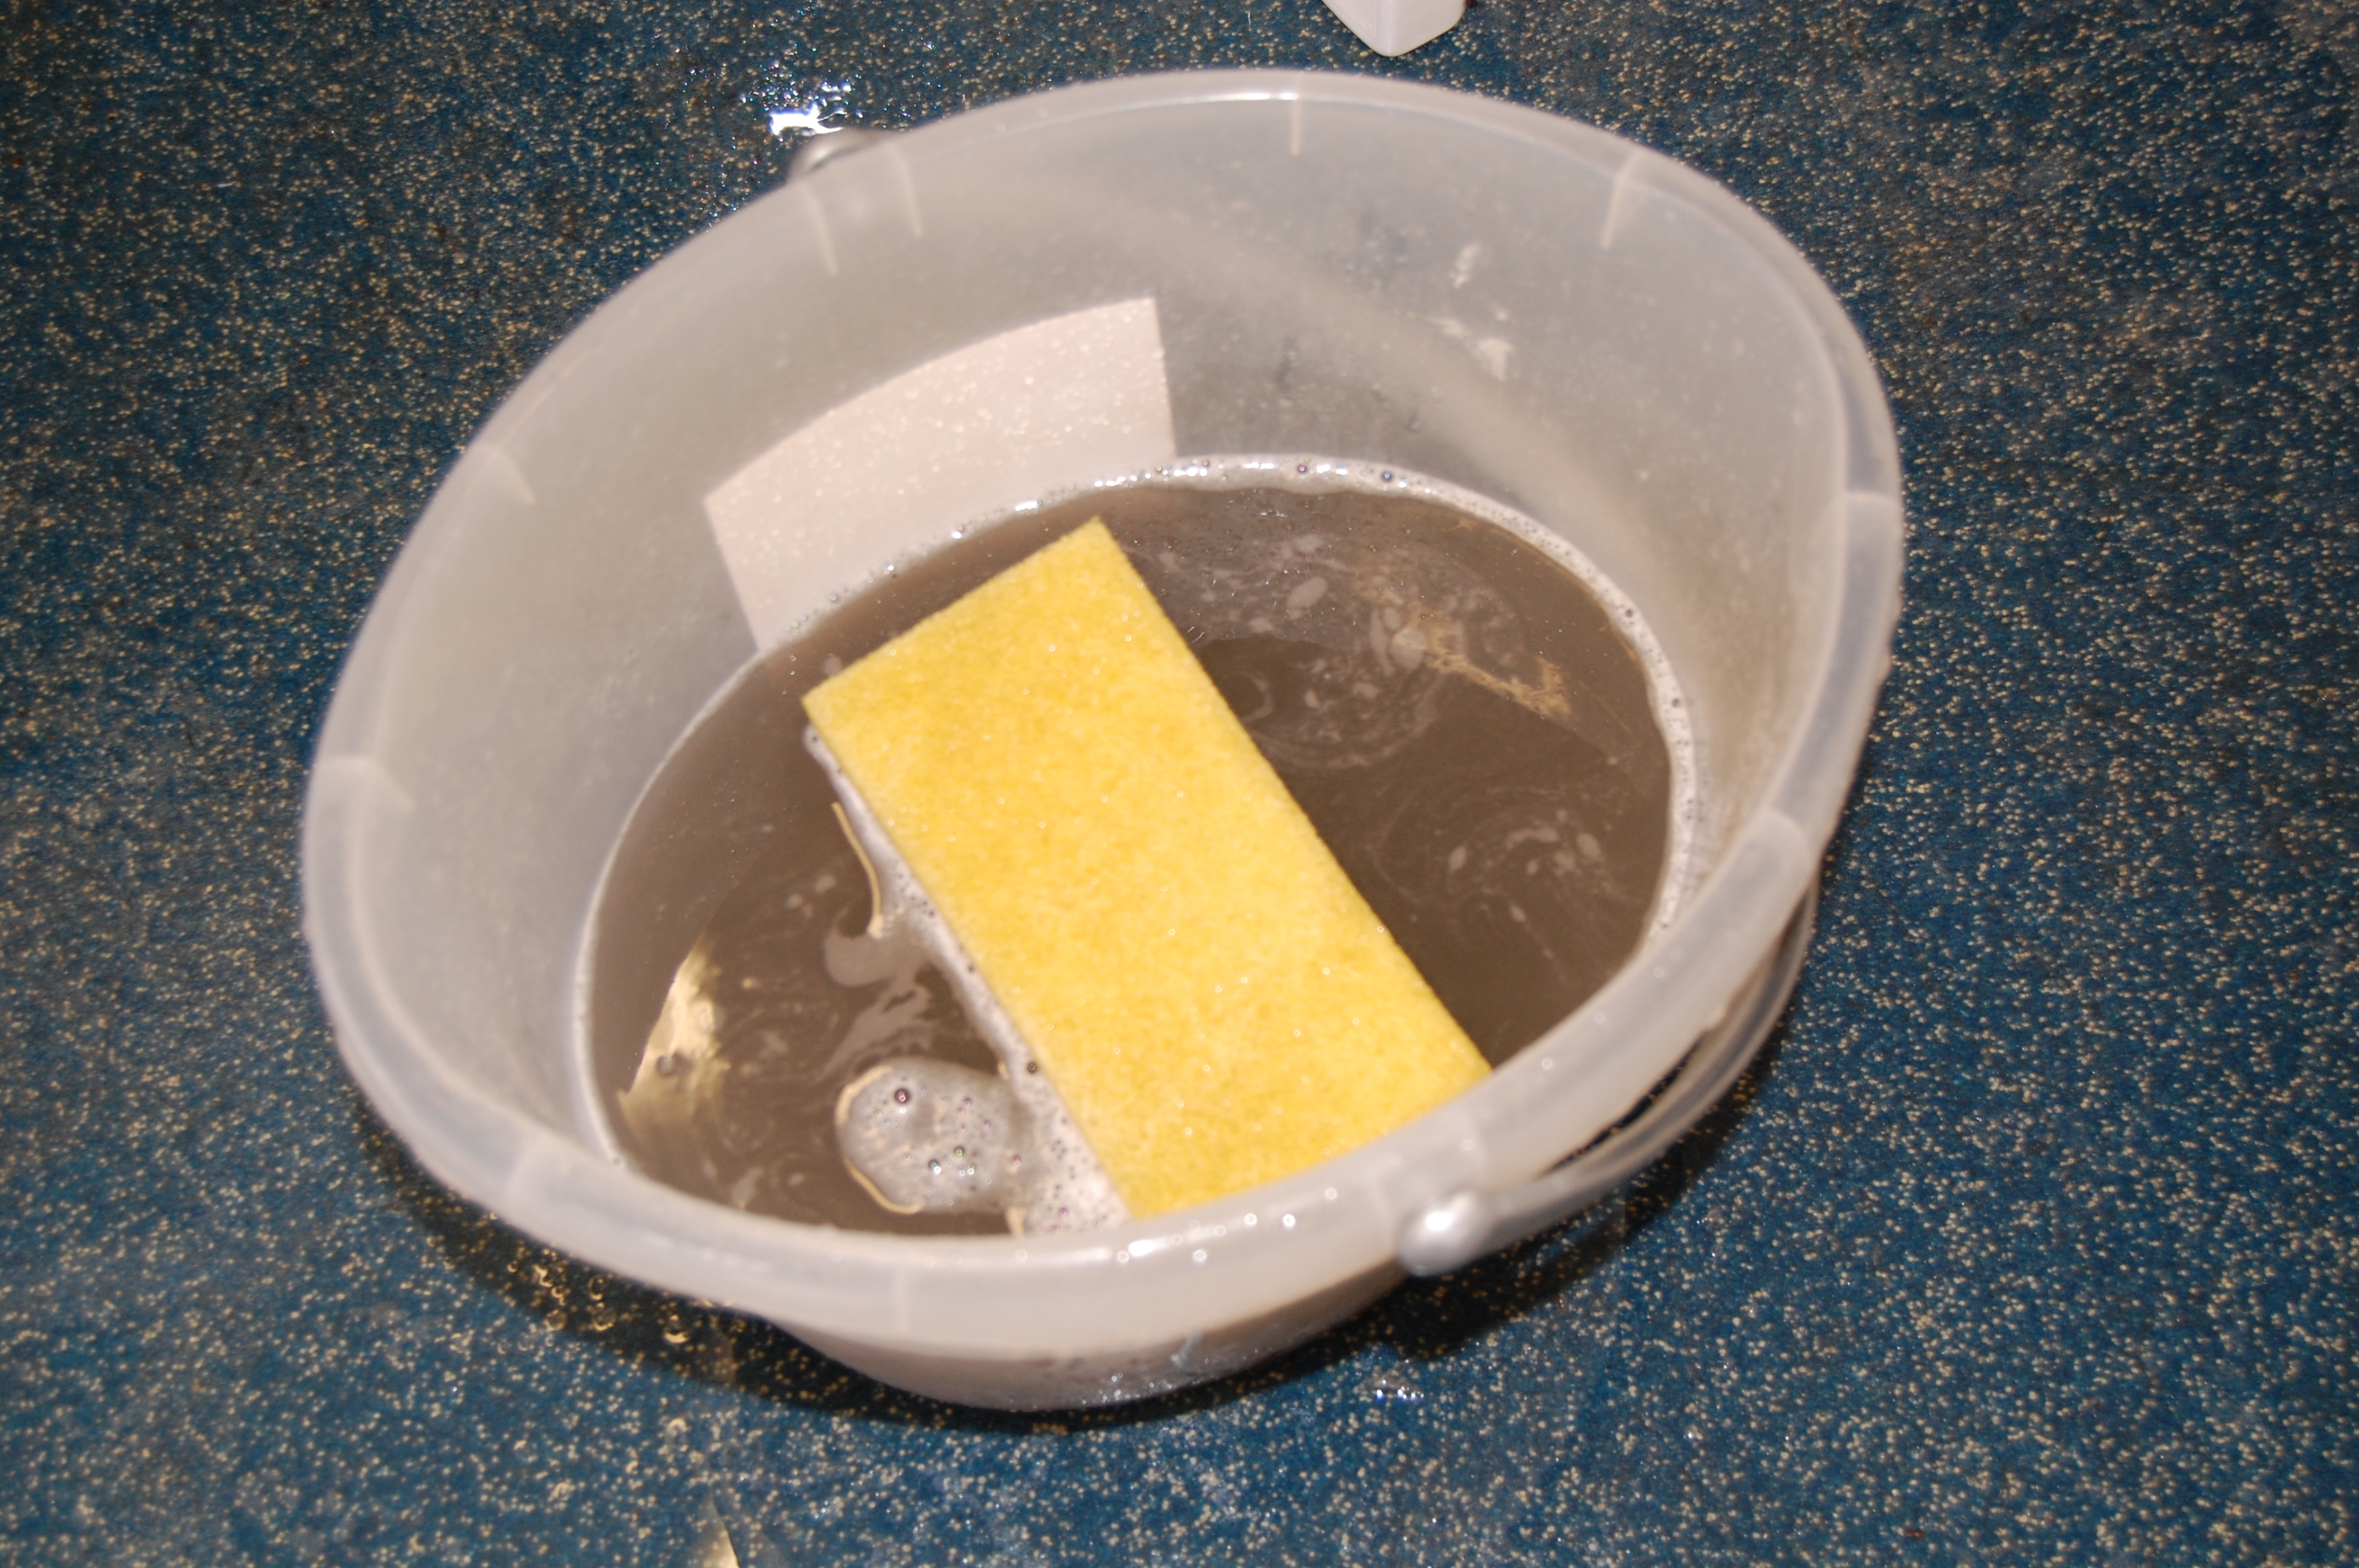
Even after a few lights wipes, the water bucket revealed a satisfyingly black hue and the carpets and seats appeared about five shades lighter!
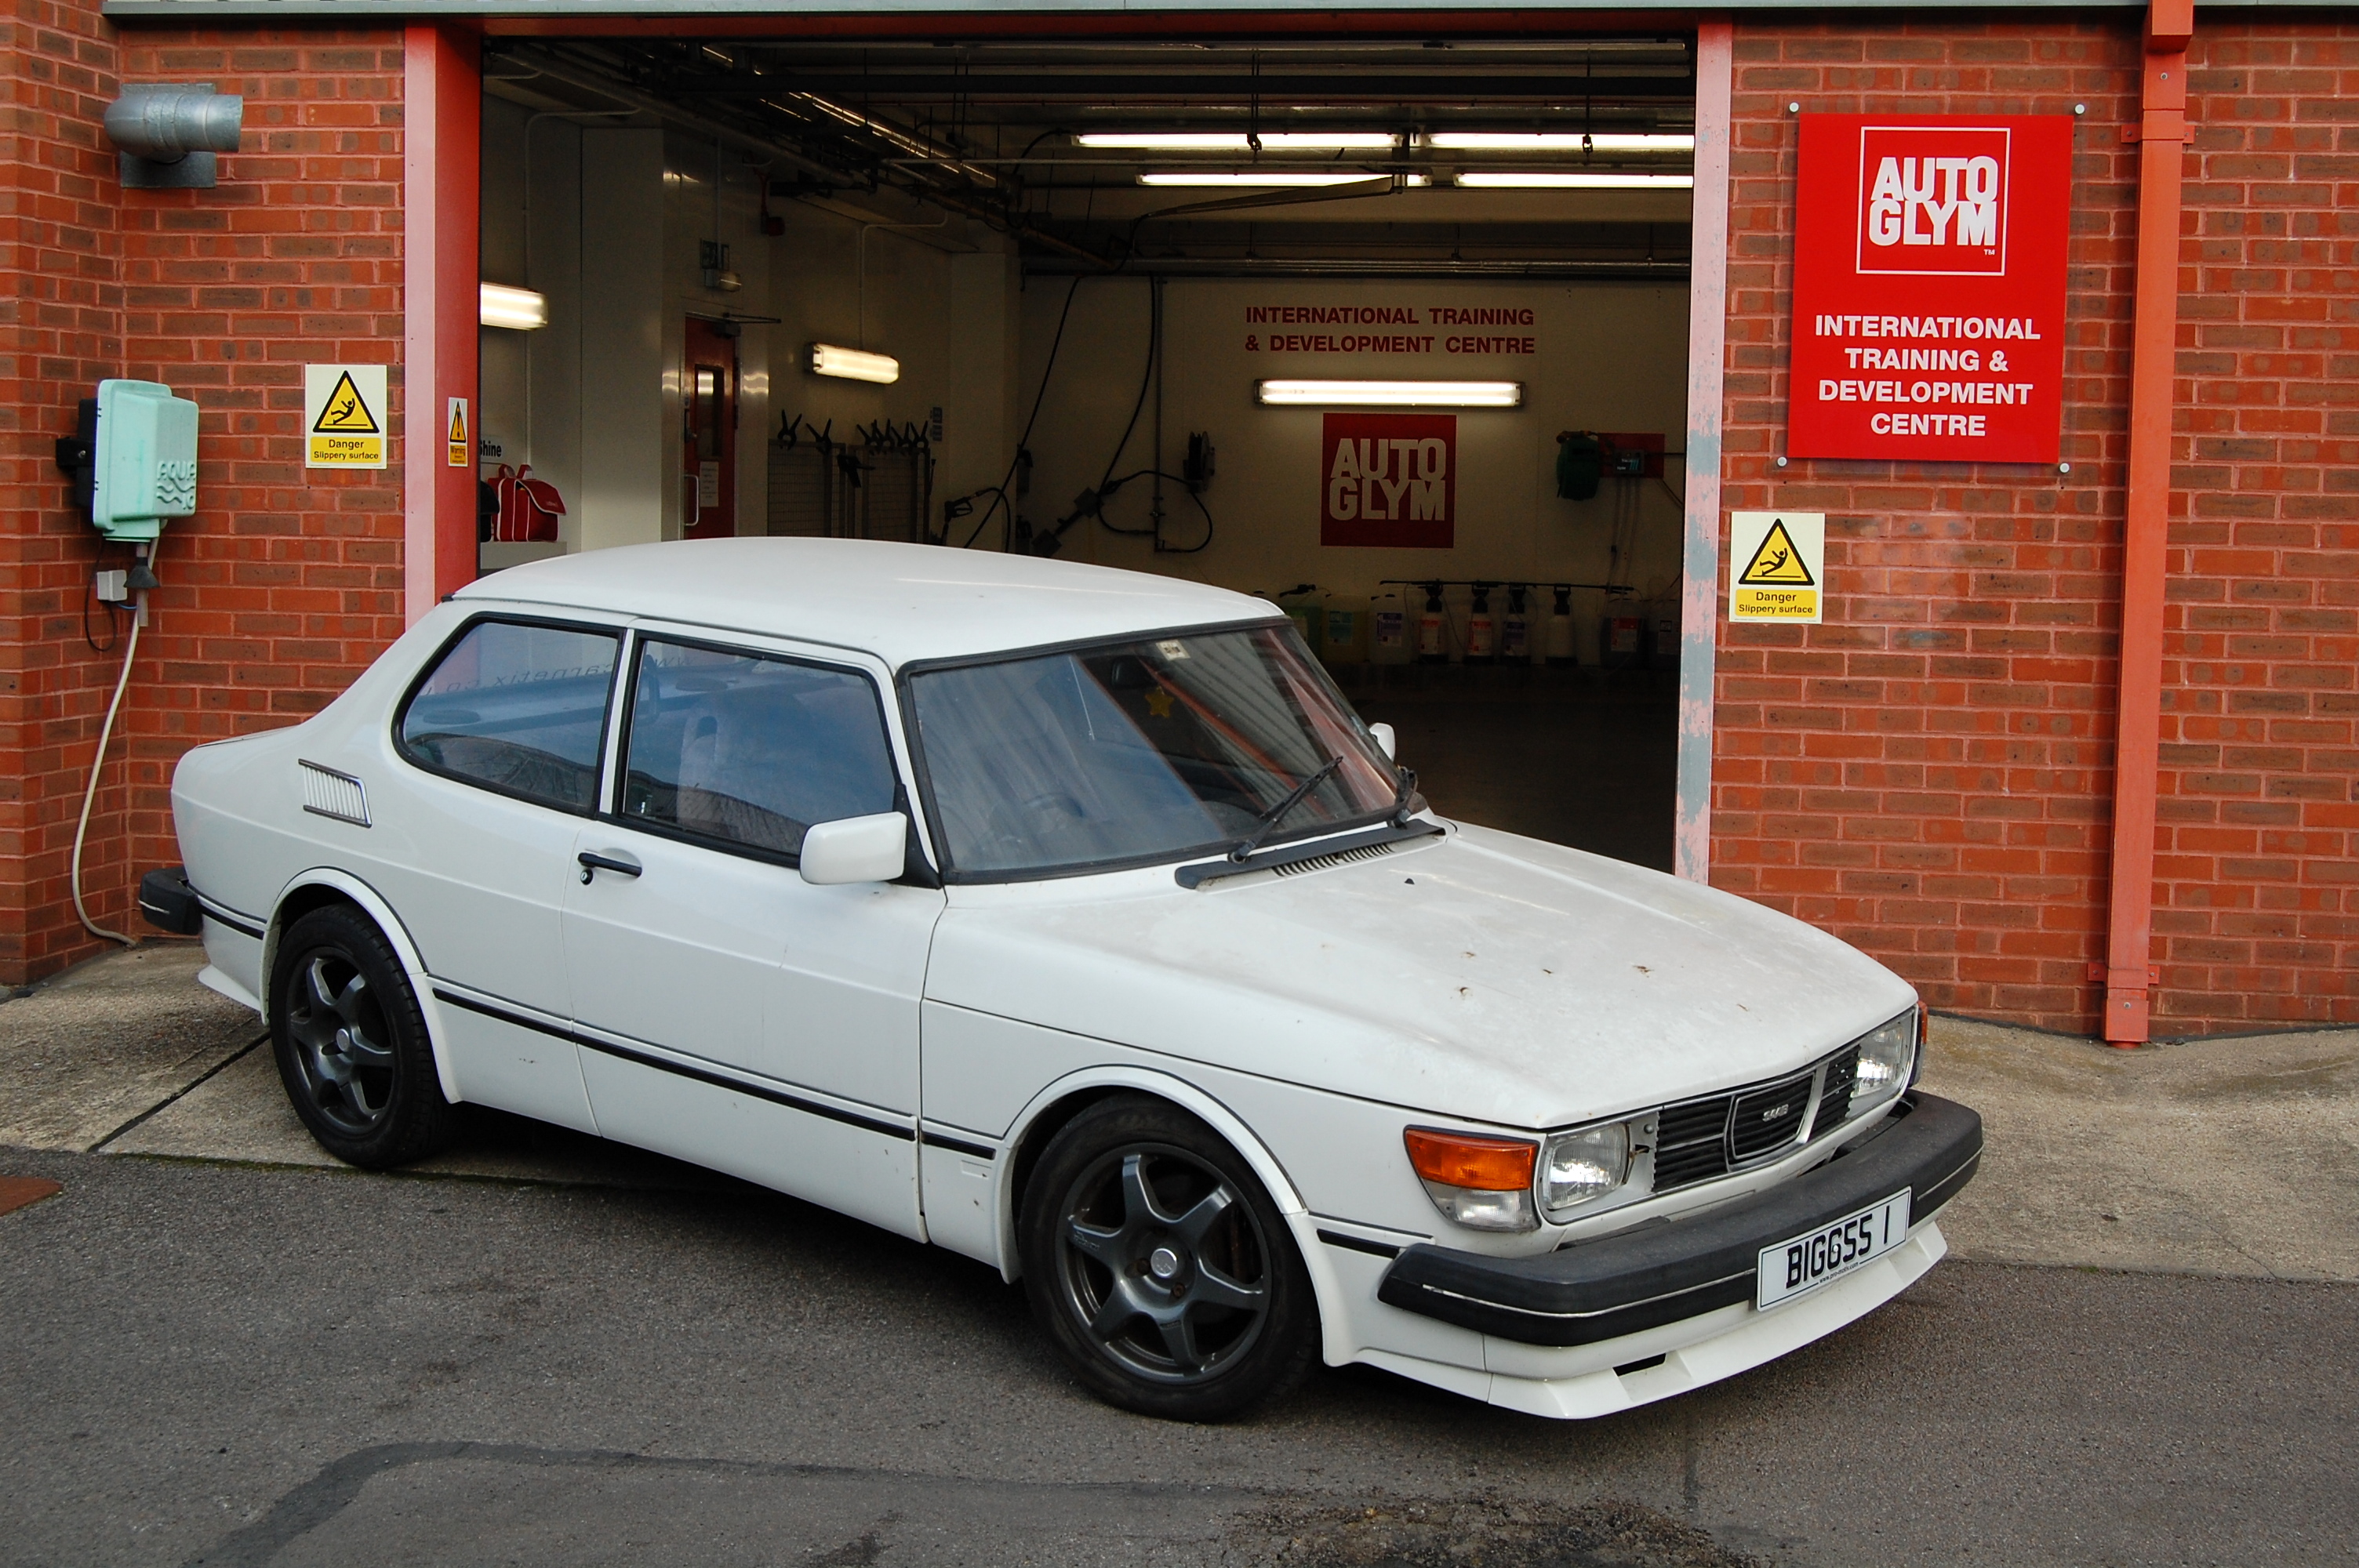
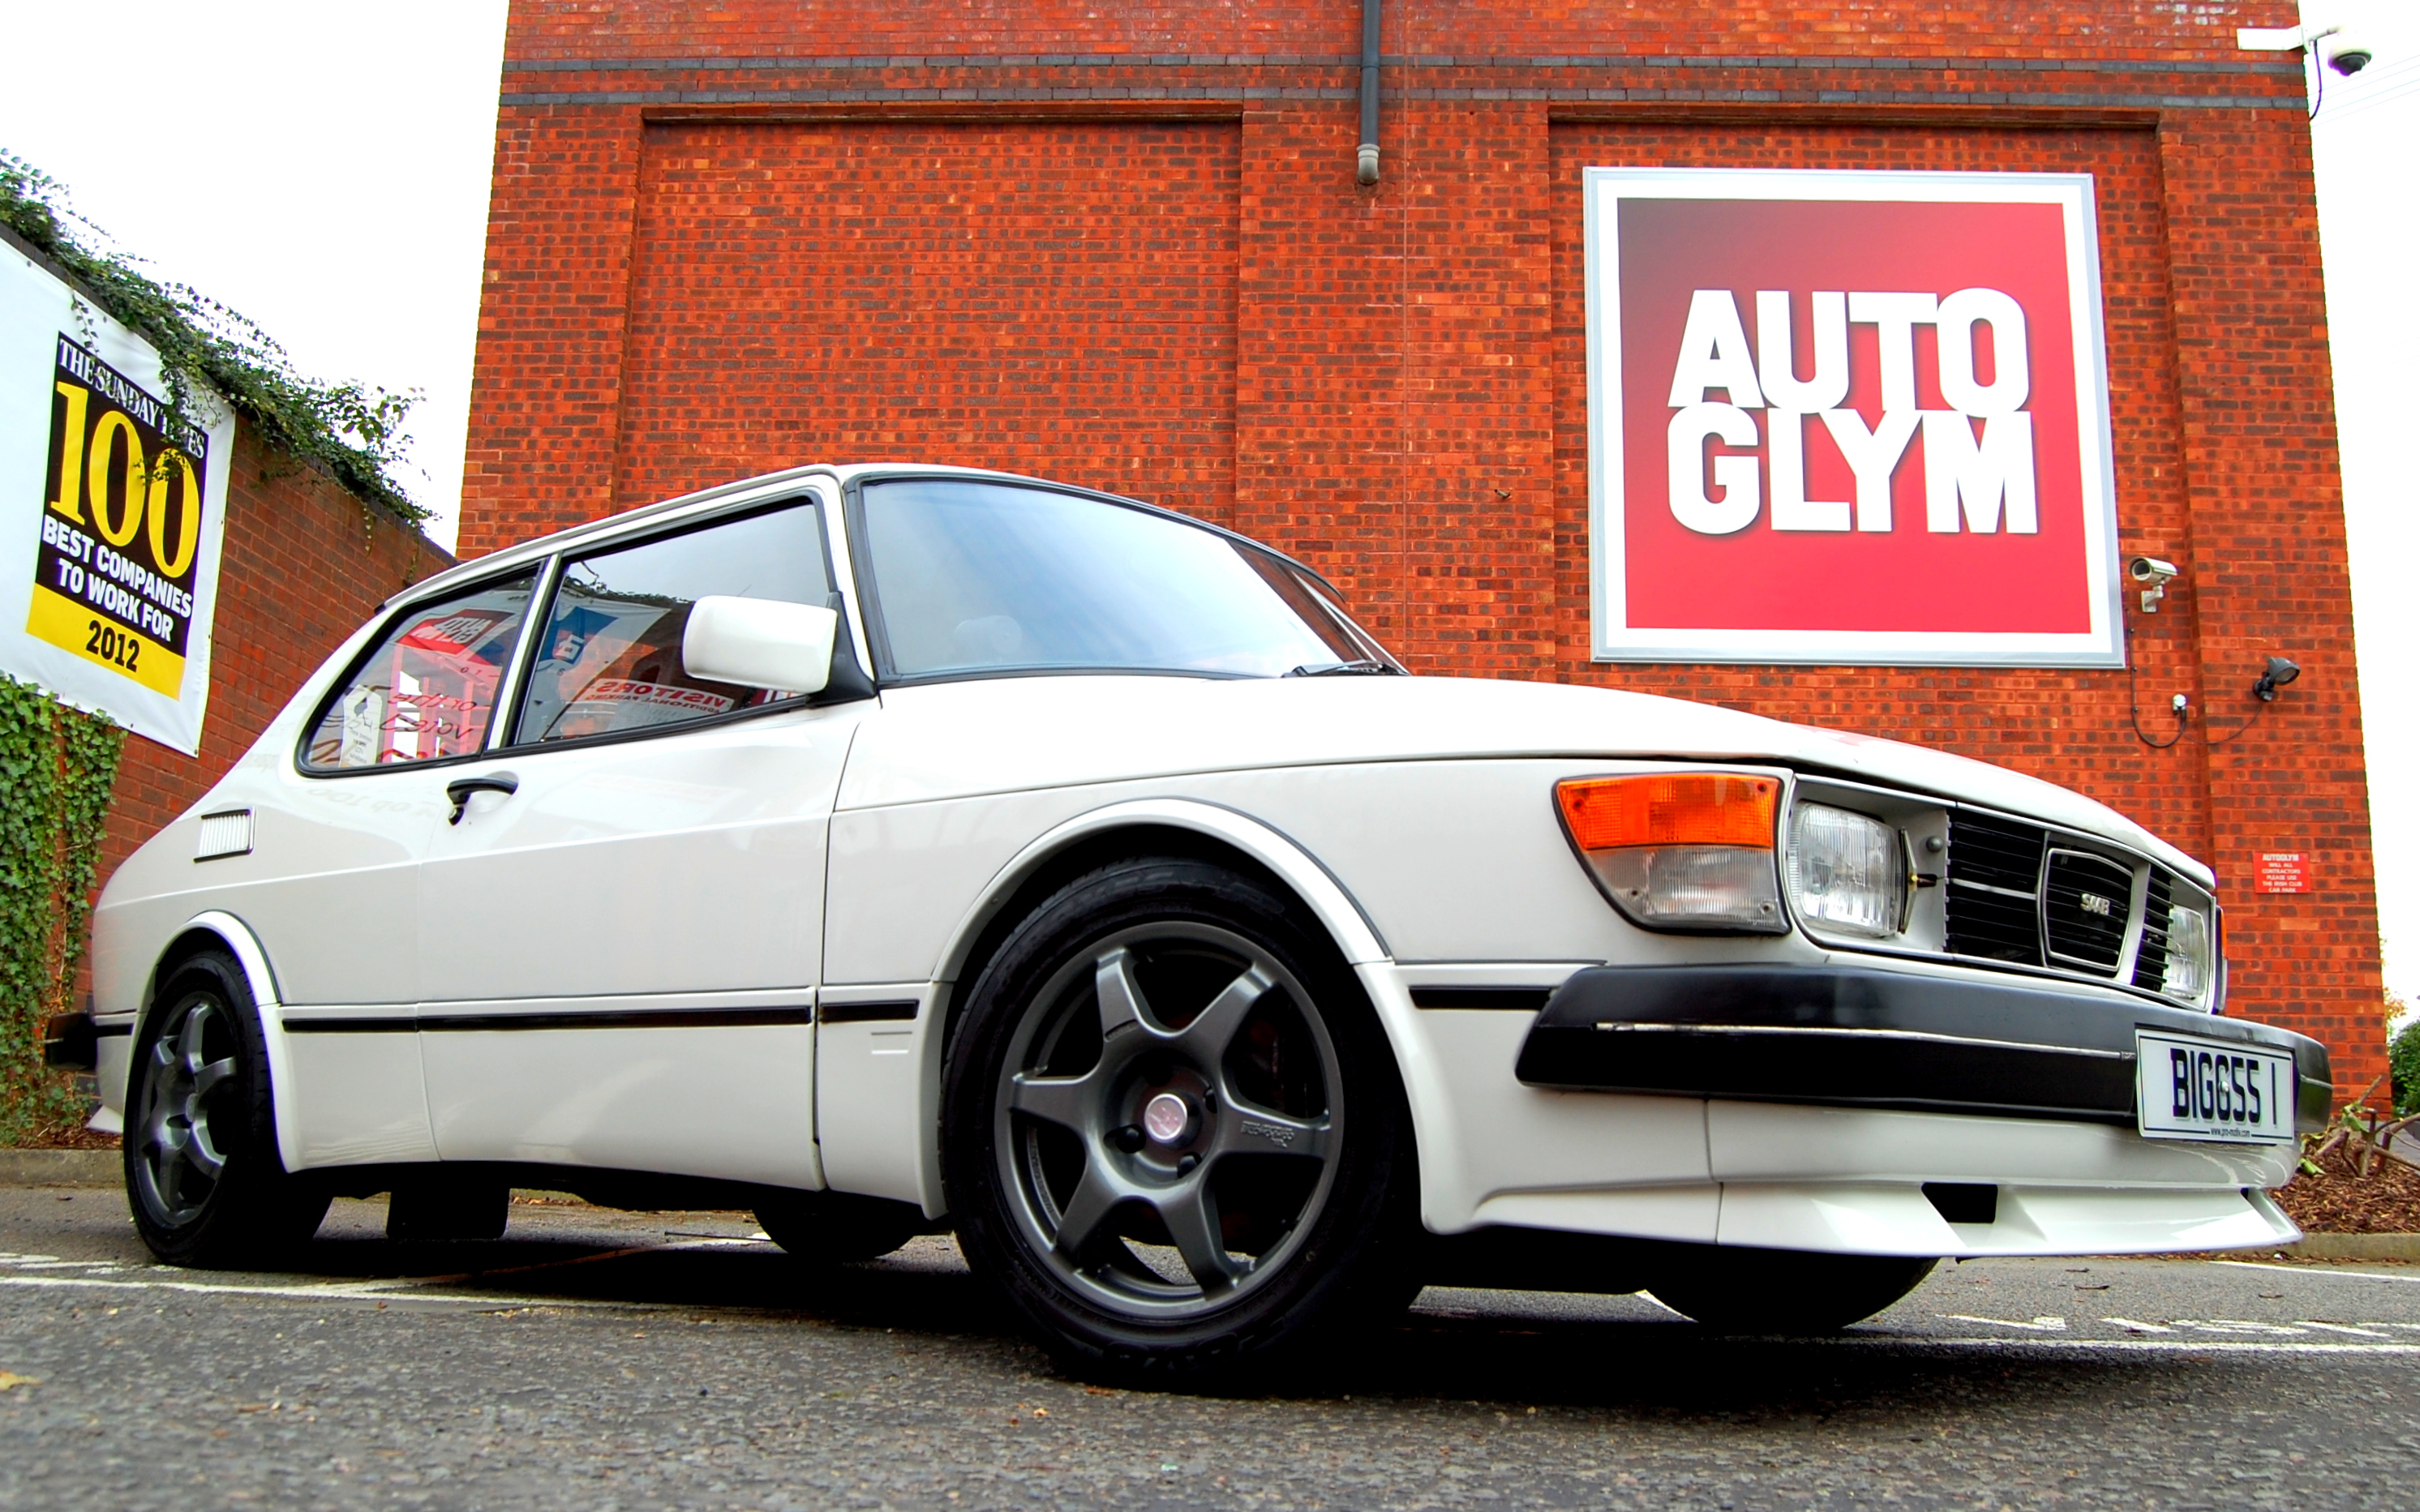
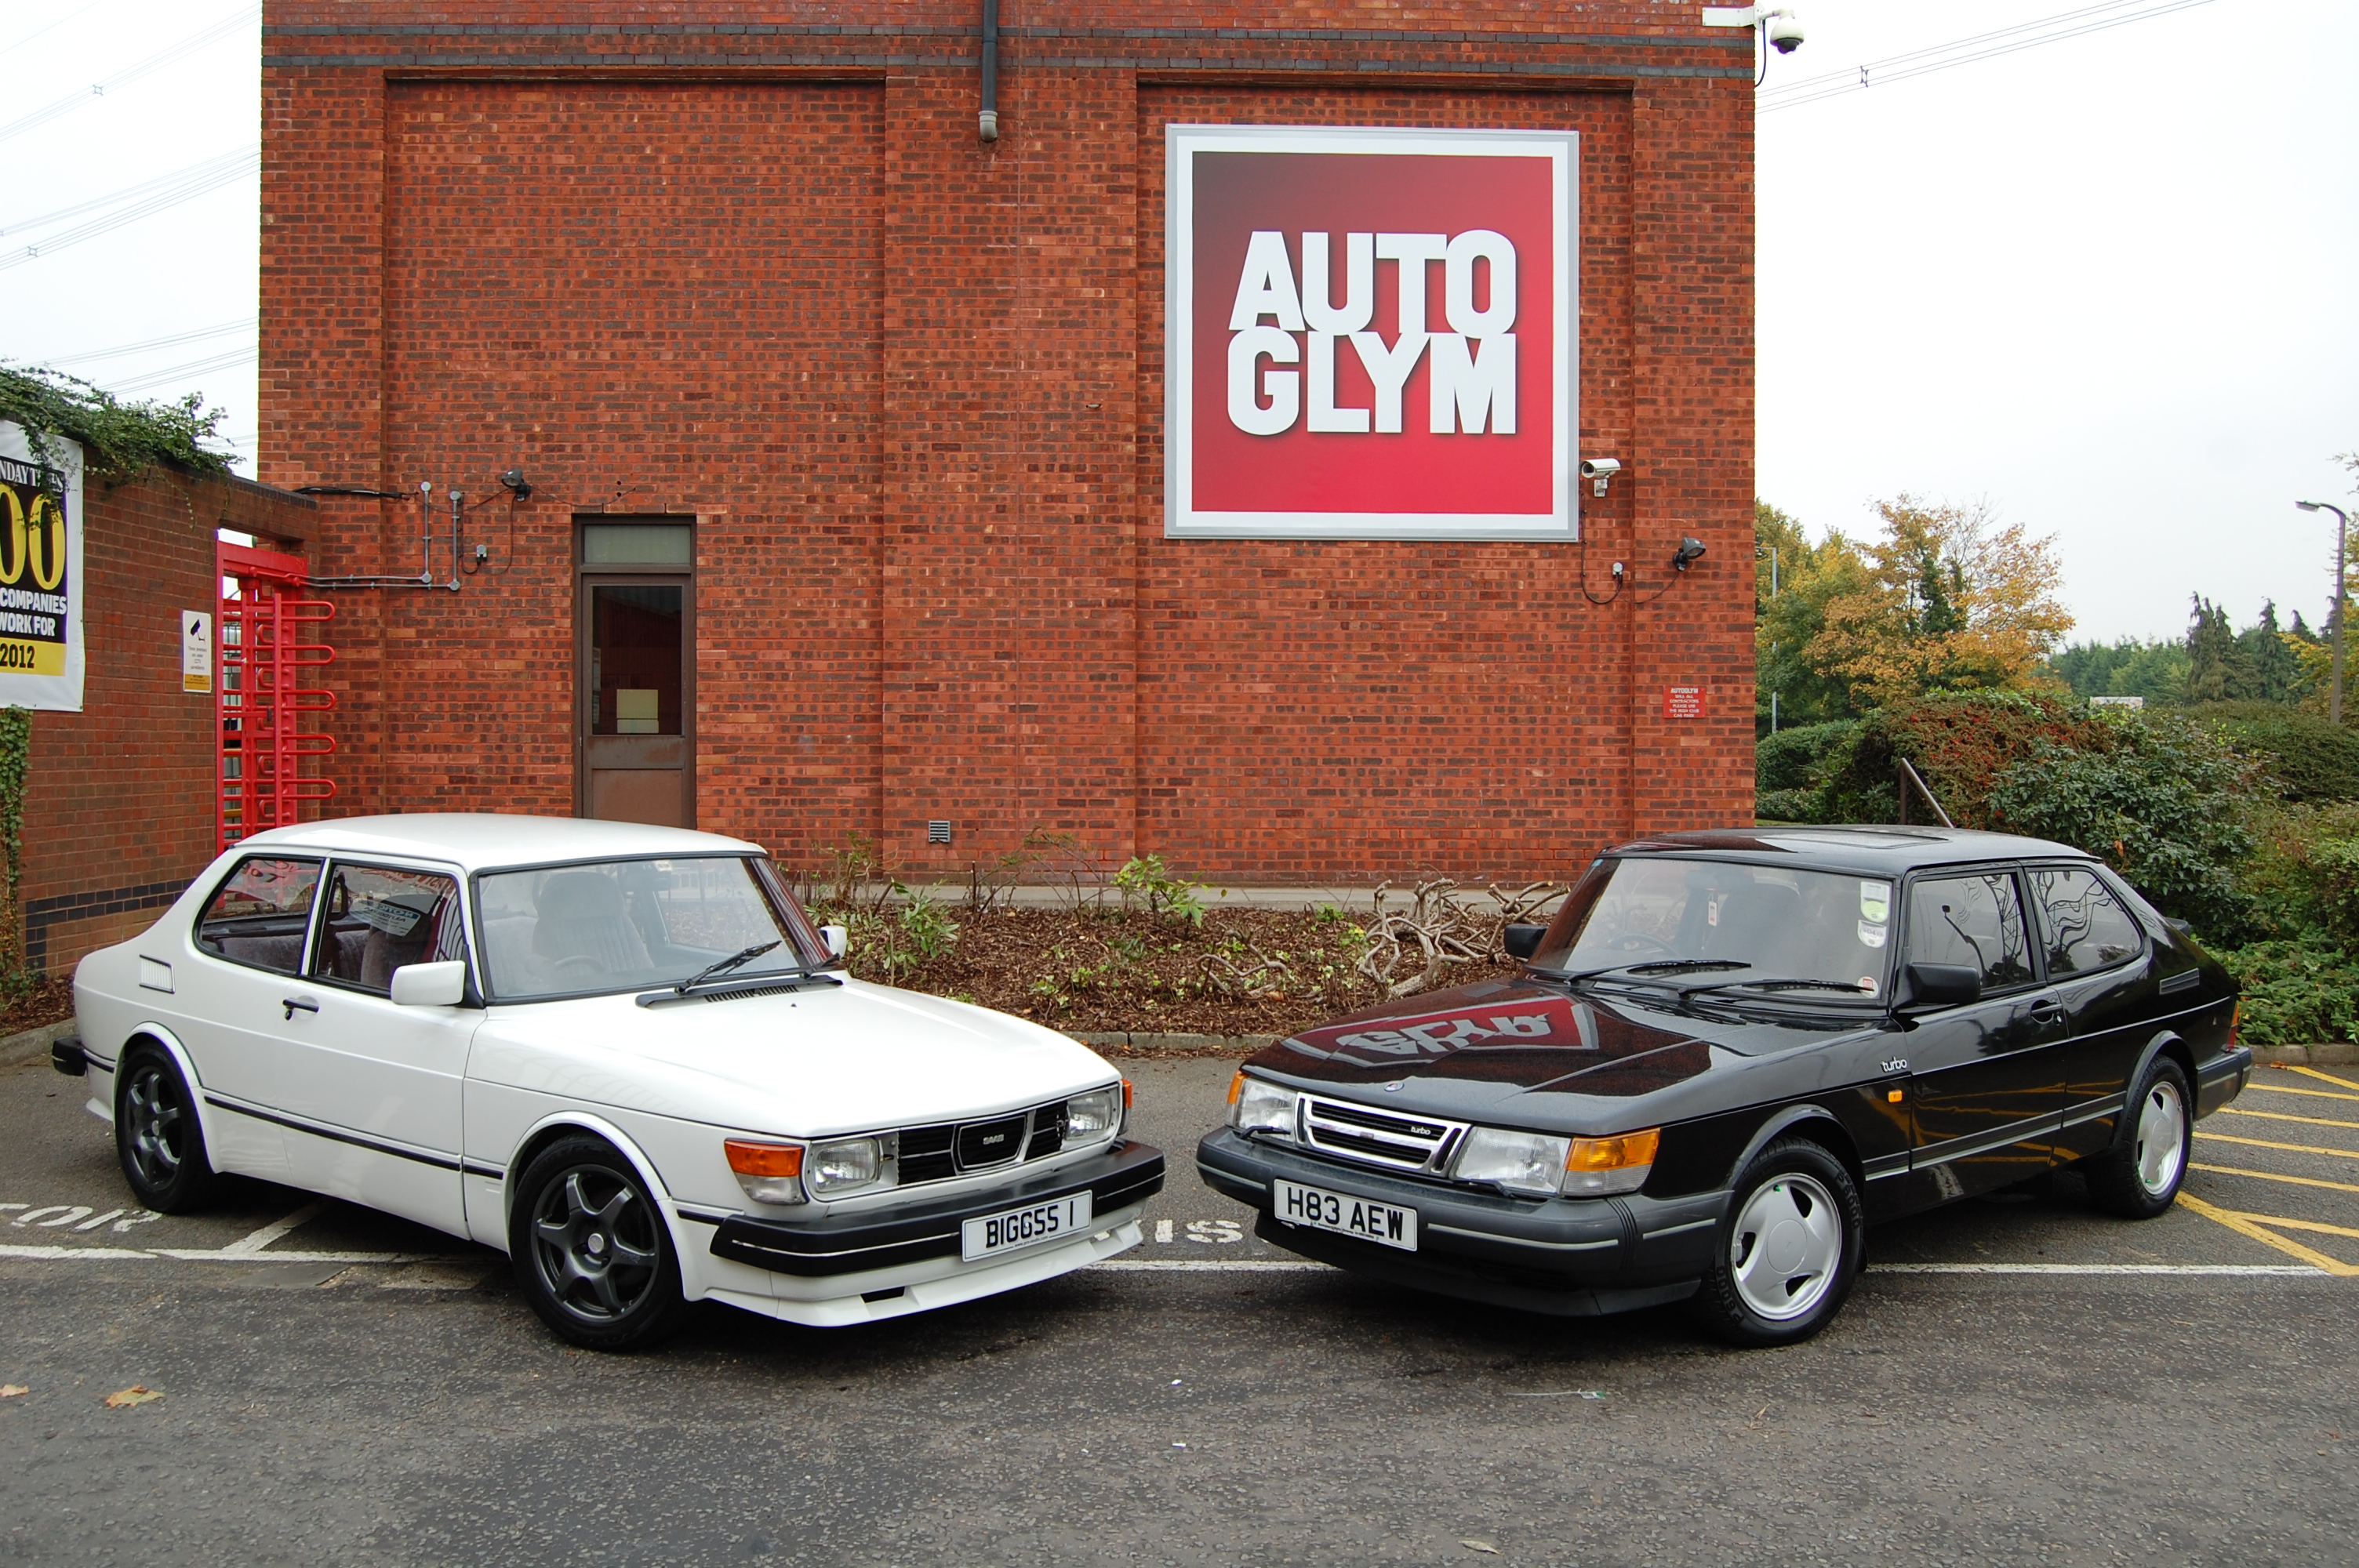
Instant Tyre Dressing added that ‘showroom fresh’ demeanour and after the wax was polished off, we were ready to roll out in to the late afternoon light for a few ‘after’ pictures. Autoglym’s marketing guru Mark is also a classic Saab buff and even went to fetch his own 900 for a quick family portrait. There’s little point in me saying that the guys did an incredible job – I’m pretty sure you can work that one out from the pictures. So, if your retro ride looks more like a barn-find than a cover car, you now know what you need and how to apply it! Shine on!
Massive thanks once again to the amazing TEAM AUTOGLYM!
99, airflow, autoglym, carwash, classic, cleaning, detailing, retro, saab